
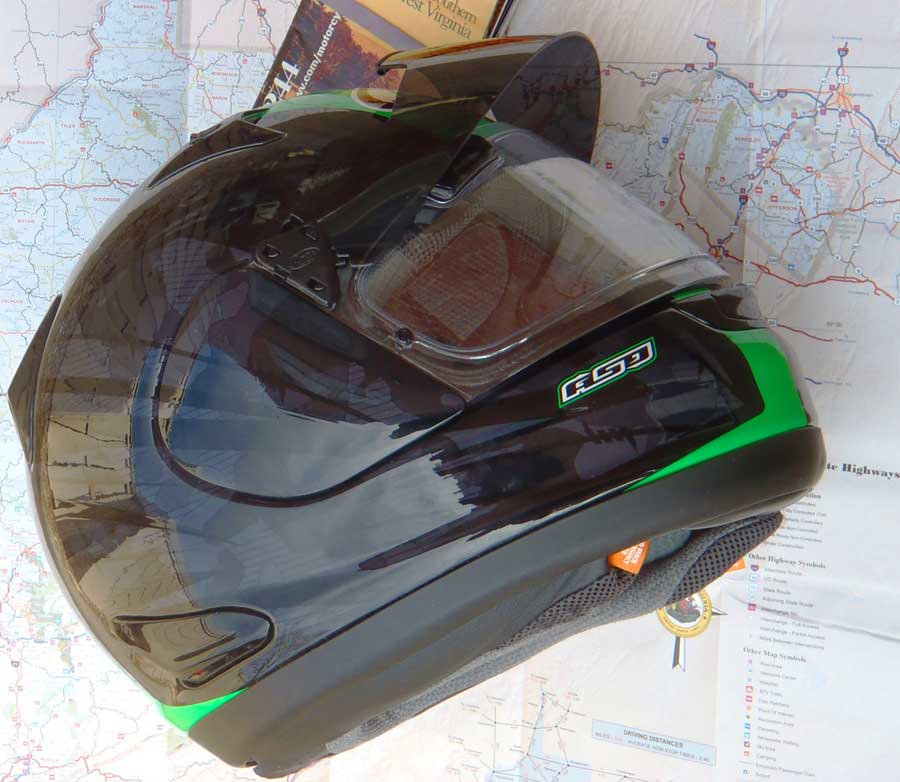
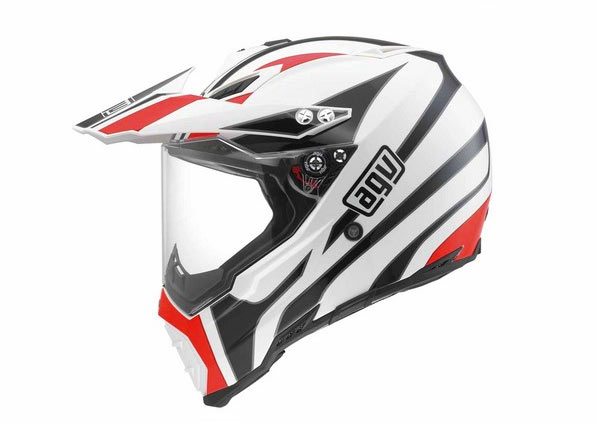
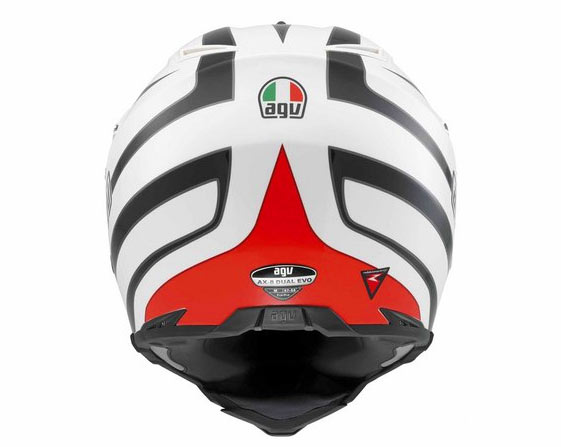
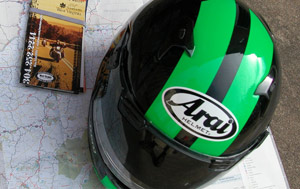
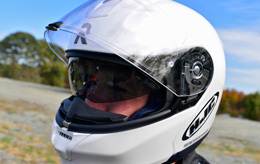
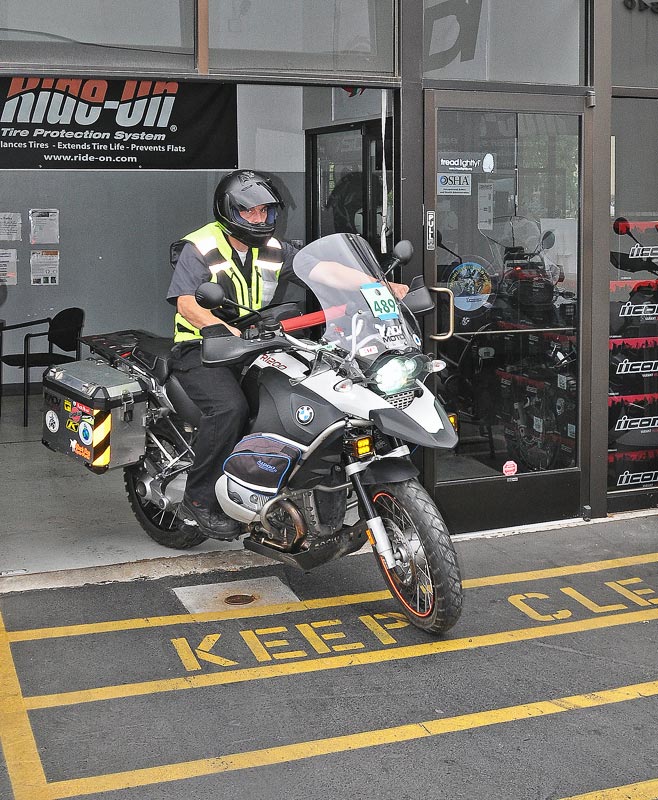
When first handed a Signet-Q Pro-Tour helmet for evaluation, I was struck by the appearance—all class, obvious fine fit-and-finish, and quality materials. Let me put that sucker on my head and go riding!
After fondling the headgear for awhile, and manipulating the several intake and exhaust covers, I tried it on—uh-oh, a little SNUG! Although the long oval profile welcomed my so-shaped head, things were a little tight, cheek-wise!
Not a problem; this design has peelable layers of foam on the cheekpads—a little layer peeling here, and—I have a really plausibly wearable helmet! The comfort pad in the crown has peelable temple pads also; I removed them for a little more headroom.
As to protection; not included in the evaluation—I’m NOT a crash test dummy! However, Arai has a convincing strategy and policy in the shock energy management department; I felt comfortable and confident this lid would take care of my noggin in the event of a crash, to the extent of today’s technology and design.
In the mid-30 degree (F.) temperature, with high humidity I rode around some. Surprise: No condensation on the clear face shield! The “Pin Lock” system, of two transparent layers with an air volume between them was doing its job. I even pushed the bike around while on foot for a block or so, huffing and puffing, but . . . my vision remained clear; no fog at all.
Riding down the highway, the “wide-screen” viewing angle was useful, checking for highway signs, other motorists, and obstacles like dead skunks in the middle of the road (was this Skunk Convention month?).

Riding in sunlight and in shadow, the “Pro-Shade” tinted visor system proved its worth. In its upright position, the visor works much like the peak on a moto-cross helmet—the head can be tilted to gain the advantage of some shadow, protecting from bright light, like the setting sun. When rotated downward, the darkened visor protects from harsh lighting and its consequent glare.
The tinted visor leaves enough clear visor surface at the bottom, useful, for example, when entering a tunnel on a sunny day—the severe contrast between bright sunlight and dark tunnel can be accommodated by simply tilting the head upward when entering the hole; when exiting, the shock of intense light can be modulated by moving the head to a more erect riding position, taking advantage of the light-filtering lens.
The ventilation system was tested only BRIEFLY, because—all riding was done in the mid-20 to mid-30 degree (F.) range. This test was adequate (well MORE than adequate!) to demonstrate a dramatic, free-flowing ventilation system, especially if all five intake ports, and all exhaust ports are opened. Not to say summer riding offers air conditioning, but—comfort level should be greatly enhanced, over helmets with less generous air circulation.
The vent openings are positive, and easily controllable, even with gloves on, once some familiarity with their location and function is achieved. On-and-off is easy enough, with a conventional twin D-ring strap fastening system.
The transparent shield snaps down with authority, and seals out drafts and dust effectively. NOTE: When riding, Arai helmets are designed to be worn with the shield DOWN, for maximum structural integrity and crash protection.)
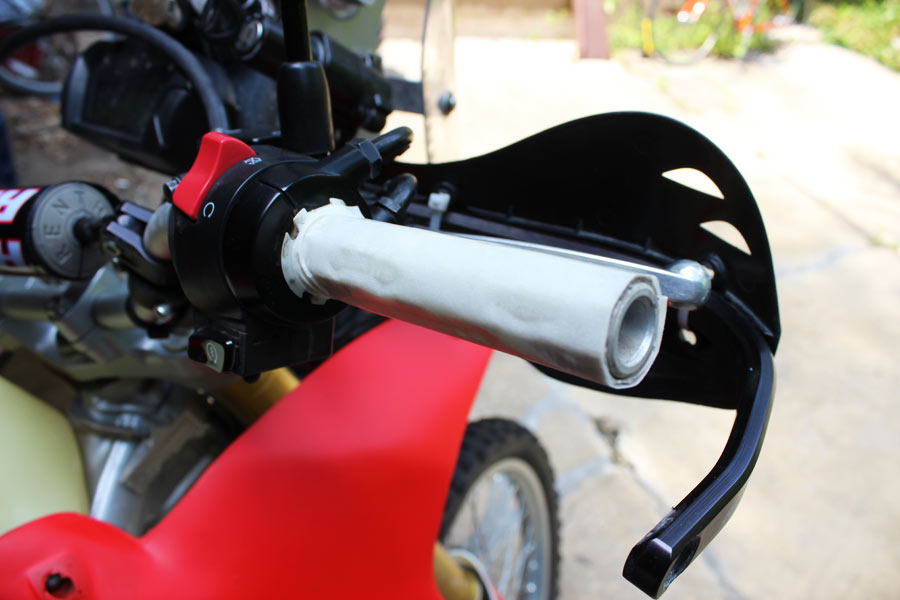
I found road and wind noise considerably quieter than with my usual moto-cross style helmets; the cheekpad design and foam density chosen may account for the attenuation. While I had no Blue Tooth speaker to insert, a cheekpad cavity was waiting for one, when available.
Research from company public information, from both American and European distributors, as well as interviews with Arai Helmet (Americas) executives, provided the following content.
Protection:
Protection remains the driver in motorcycle helmet choice. Arai has this base covered, this square checked, with the Signet-Q Pro-Tour headgear, featuring both DOT and Snell Foundation certification. Arai goes beyond these helmet certification agencies’ requirements, applying Arai’s own test criteria to each helmet produced.
The governmental and institutional tests apply shock impact to one single point of each helmet under test, measuring G-force impact transmitted to the head area. But, Arai asks, how can the singular test impact area of interest of these tests be extrapolated to the actual critical impact zones of real-world incidents?
Where, exactly, might the guardrail, the footpeg, the concrete curb, or whatever obstacle encountered, strike the helmet of a motorcycle rider involved in an accident? Arai, accordingly, expands the test impact area to cover any point within, essentially, the hemispherical zone covering the entire top of the rider’s head.
Arai in-house certification, anvil force drop tests probe the entire upper coverage surface of each helmet design; each impact must transfer less than the allowable G-force to sensors in the head area for product acceptance. DOT, Snell, and ECE (European) certification tests use metal head forms striking flat anvils, measuring force impact but not penetration resistance.
Arai adds tests with pointed anvils to insure structural integrity from impact with angular objects. The Signet-Q Pro-Tour helmet’s rigid outer shell features high-density fiberglass and resin Super CLC (Complex Laminate Construction), with excellent strength-to-weight characteristics enhancing protection. The helmet weighs in at about three pounds.
The “Super” fiberglass of the Signet-Q was originally developed for aerospace and military applications. About the same density as ordinary fiberglass, its extension and bending strength is up to 40 % greater than that of typical fibers.
Helmet shells are hand-laminated (signed by the technician), with two layers of super fiberglass fabric sandwiching a layer of special composite fiber used to facilitate production. The thermally-cured fiberglass-and-resin shell’s exceptional strength combines with structural design to increase rigidity: A “Hyper Ridge” surrounds the head opening, stiffening the helmet with negligible weight increase.
Arai’s approach to managing head energy impact involves a “hard” outer shell, and a “soft” energy-absorbing interior layer. Front, side, and rear areas of the one-piece helmet inner shock-absorbing liners are made of different density materials, depending upon the preferred distribution of impact G-loads to various head regions. The geometry of the human head leads to this optimization of protective inner layer materials and design.
Fit:
Protection notwithstanding, no one enjoys wearing a helmet producing pain and discomfort from improper fit. Besides providing five different shell sizes, Arai approaches comfort fundamentally with custom interior sizing options. Further, the Signet-Q’s shell design is “Long Oval” in profile, an advantage to those with long oval head shapes, including me!

Arai’s “Facial Contour System (FCS)” assures a custom fit for each rider. The removable cheek pads have layers of cushioning, “peelable” if the headgear fits too snugly. Each helmet can be fitted to its wearer with these facial contour cheek pads.
Also, the comfort liner cushioning the crown of the head can be customized by peeling off a layer of cushioning in the temple area, if more head-room is needed. Further, cheek pads are available in different thicknesses, if customization beyond the peelable foam layers is needed.
Interior cheek pads, neck roll, and comfort layer can be removed for cleaning. Orange tabs on the cheek pads inform trained first-responders of access points for removing cheek pads without removing the helmet, if desirable during incident management.
Vision:
The Signet-Q Pro-Tour provides an extraordinarily wide field-of-view. Its SAI (“Super Access”) MAX-Vision shield combines the enhanced field of view of the SAI eye port (with 5mm more peripheral view at each side than previous models), with a full eye port cavity to accept the Pin Lock 100% Max-Vision™ lens for larger anti-fog field of view.
Face shield fogging is minimized by the “Pin Lock” lens system. A second transparent layer lies over the face shield, held in place by screws, trapping an insulating volume of air between the two viewing surfaces. This thermal isolation minimizes fogging, reducing the consequent safety compromise of occluded vision.
The chin vent of the helmet’s ventilation system helps dissipate breath condensation; Another shield fogging countermeasure exists in the “breath deflector,” an impervious strip above the wearer’s upper lip. This barrier deflects breath away from the shield and toward the mouth vent, where moist air can be expelled. This component is easily removable, if desired.

Additionally, the Signet-Q features its “Pro-Shade” system pre-installed, shielding the rider from excessive sunlight brightness. A tinted shield fits over the clear face shield, adjustable upward to a helmet peak position (similar to a “motocross” helmet profile), or downward as a sun visor.
Notches in the Pro-Shade plastics insure the eyebrow vents are clear to air flow, regardless of shield position. Pulled forward and lowered over the transparent shield, the wearer’s eyes are protected from sunlight and glare.
The transparent face shield fits the helmet opening tightly, limiting entry of dust, water, and wind. When the shield is opened, small “sliders” on the helmet lift the shield slightly, preventing scratches from shield/helmet shell contact.
Ventilation:
Five closeable air intakes (chin vent with three-position cover, two brow vents and two top vents) help cool a Signet-Q wearer’s head. Two venturi vents and a closable neck roll vent exhaust air from the rear.
All intake and exhaust vents may be closed in cold weather. The aerodynamic design of the inlets and exhausts provide a free-flowing airstream, helping keep the interior fresh and dry, with minimal wind noise. The helmet’s ventilation system also helps dissipate breath condensation.
Bottom Line:
The Arai Signet-Q Pro-Tour helmet will take the rider from the road, through track day, comfortably and safely. The combination of design, materials, testing and quality control produce a road helmet approaching the capability of GP headgear.
I found the deluxe features of the Pin Lock fog-fighting scheme, the fit-enhancing Facial Contour System, the ambient light-management Pro-Shade visor, and the free-flowing ventilation system all meaningful and relevant to a practical road helmet. MSRP: $749.95 AraiAmericas.com
PROS | CONS |
| ▲ High-tech head protection | ▼ "Learning curve" to manipulate vents |
| ▲ Quality shell and interior materials | |
| ▲ Customized fit | |
Click to enlarge image gallery1.jpg
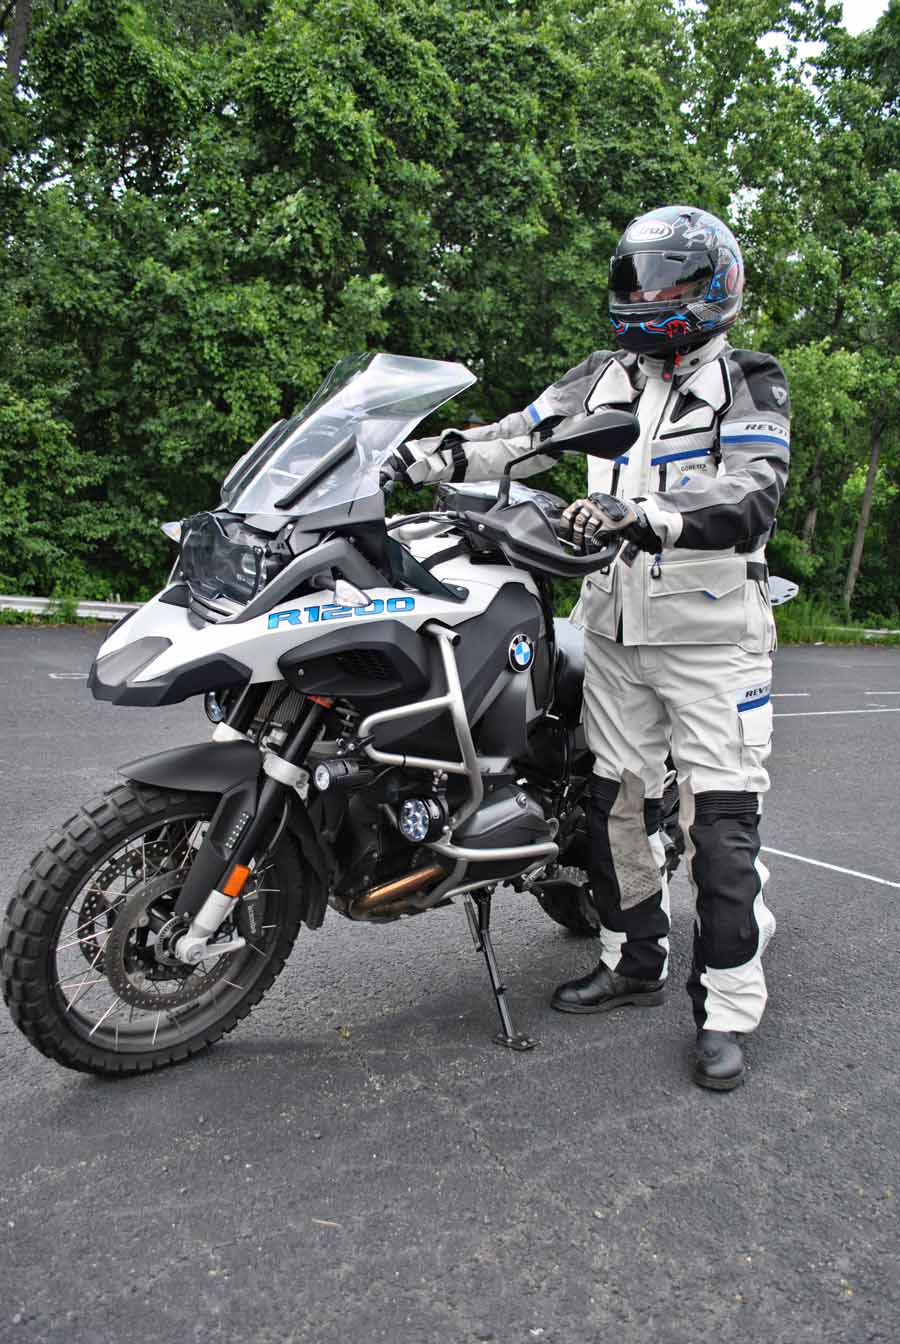


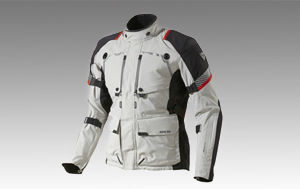
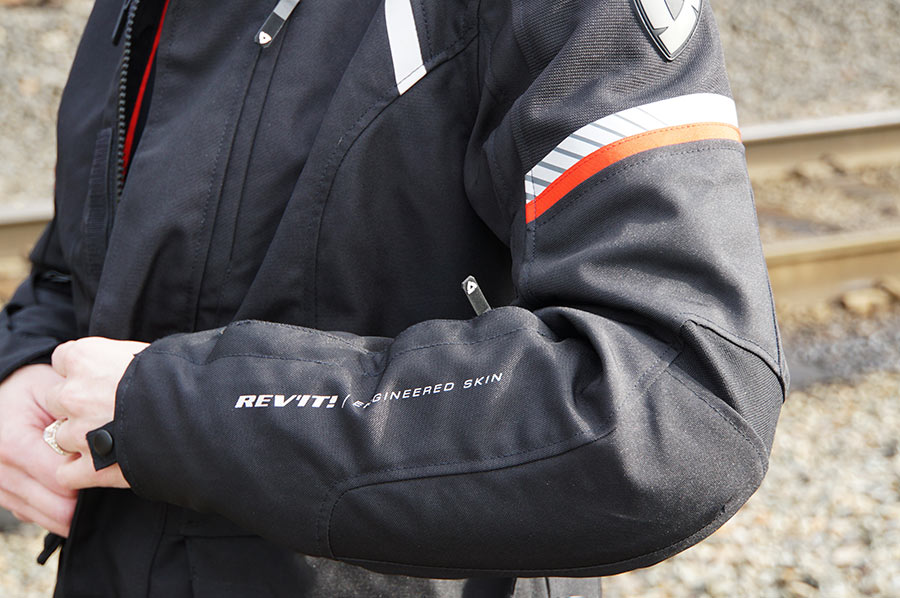
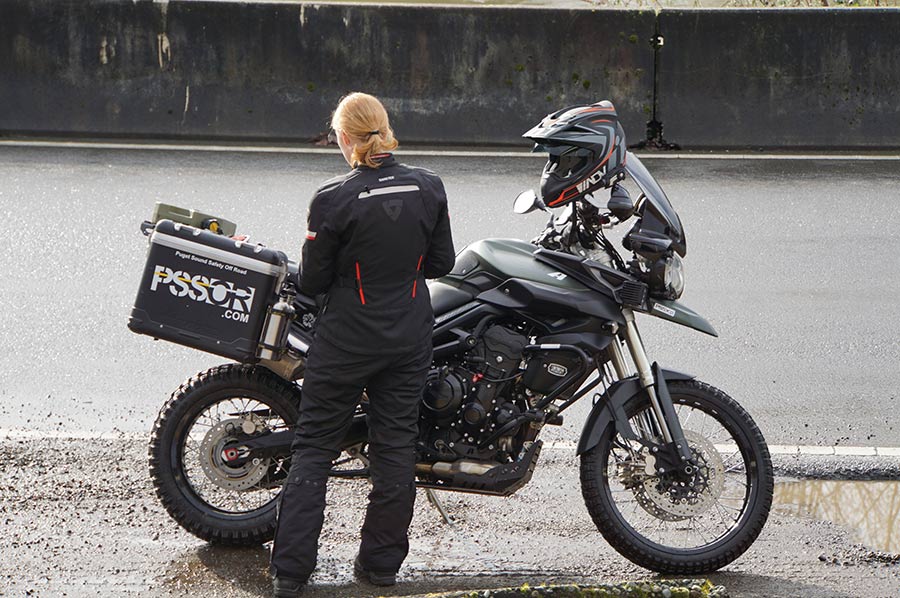
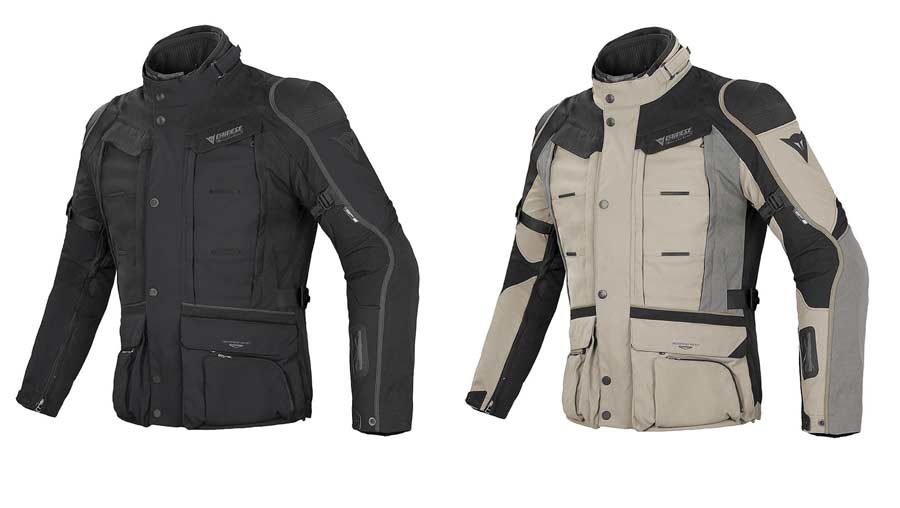
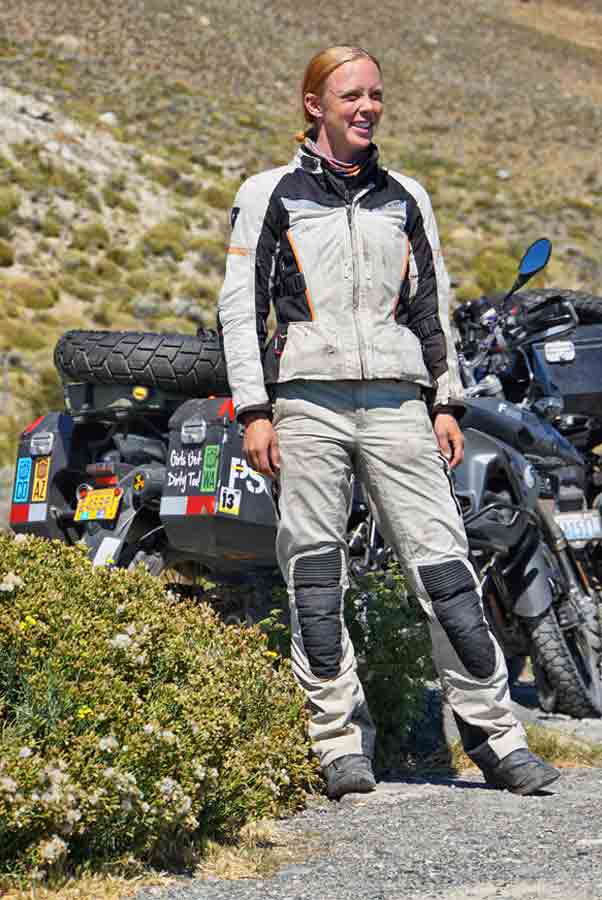
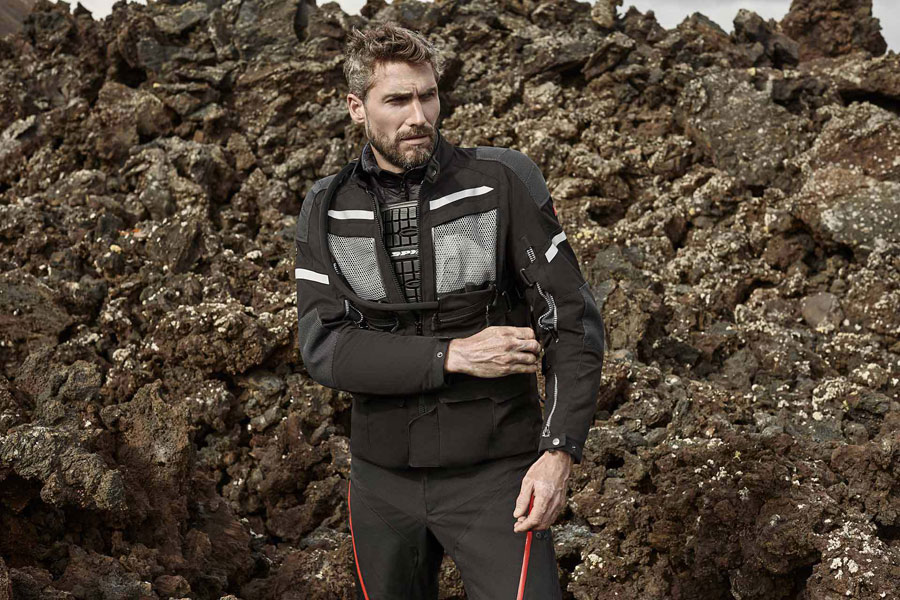
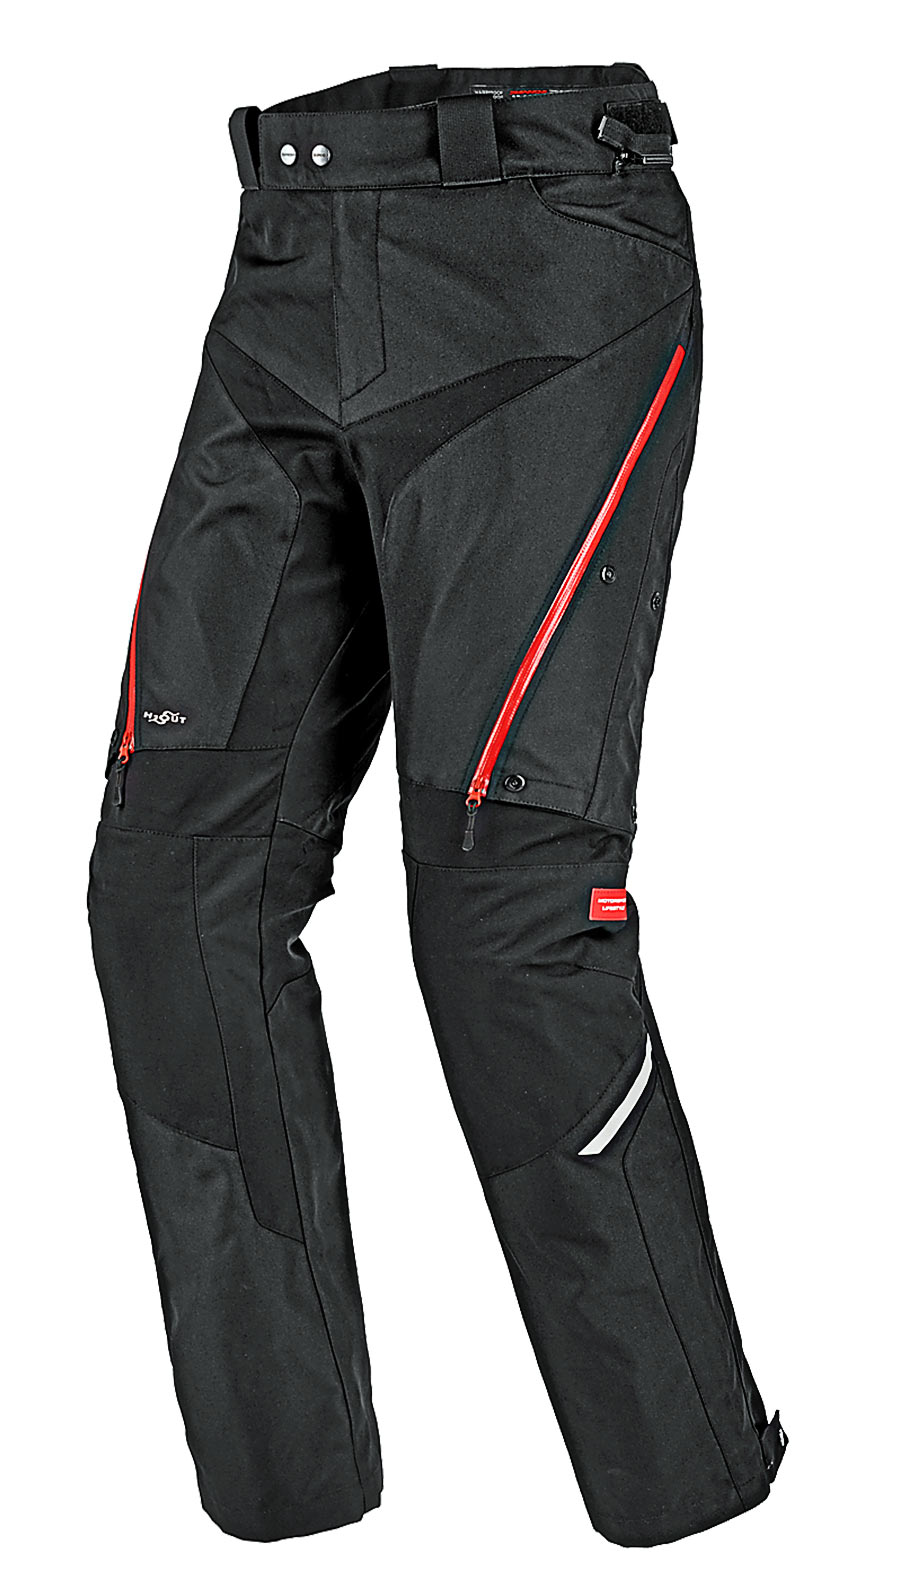
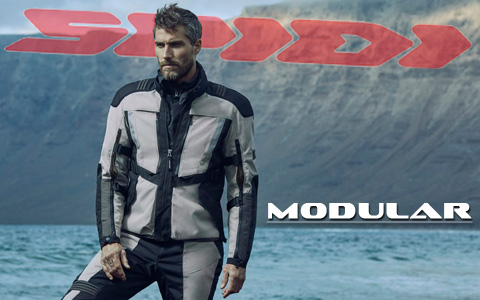
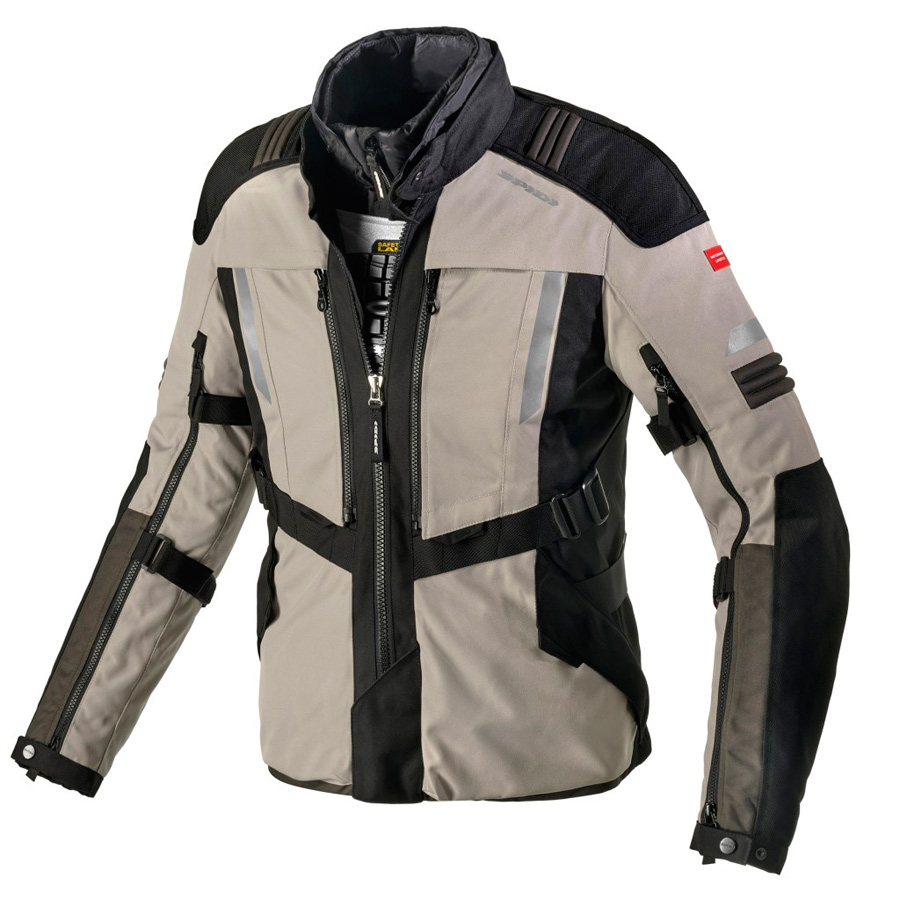
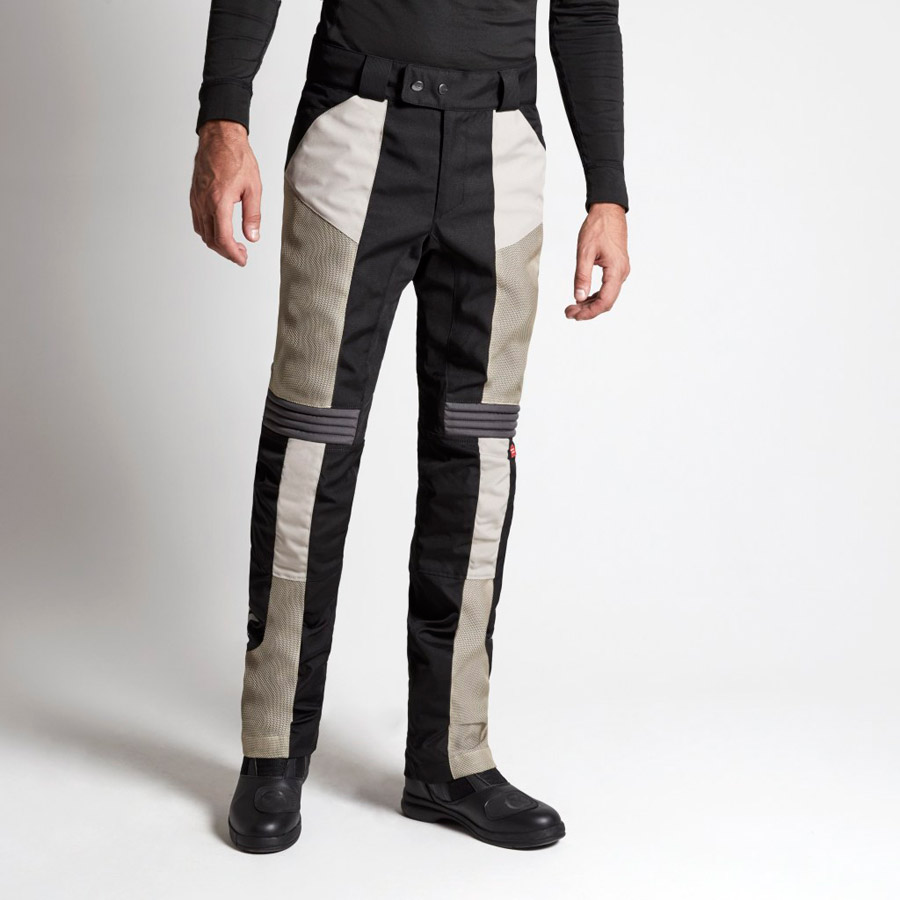
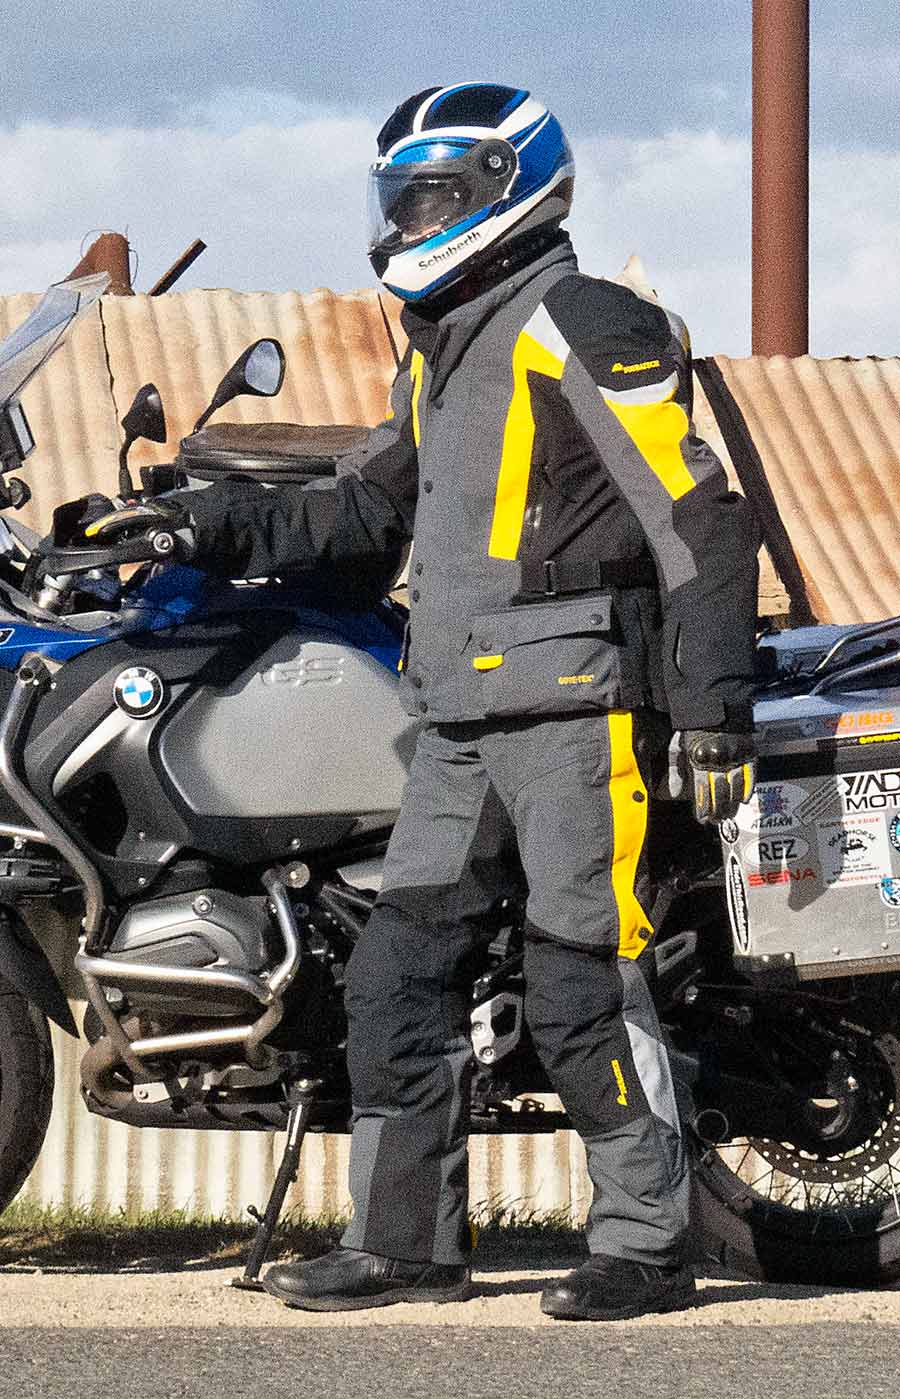
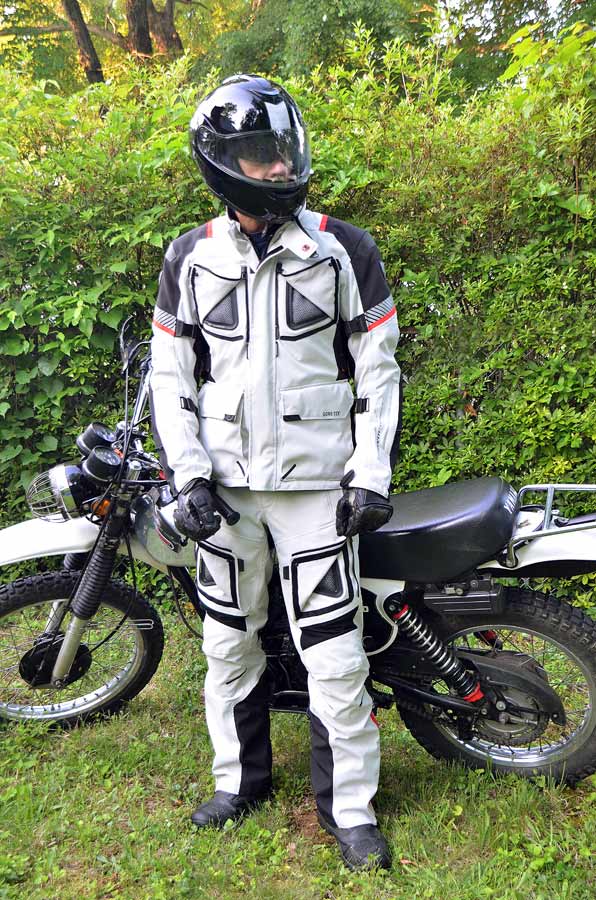 Nine hundred dollars for a motorcycle jacket and six hundred for a matching pair of pants is a lot of money, especially for gear that you hope to get wet, dusty, muddy, and at some point possibly (and this is not hoped-for) ground into asphalt or gravel. But, what do you get for this price?
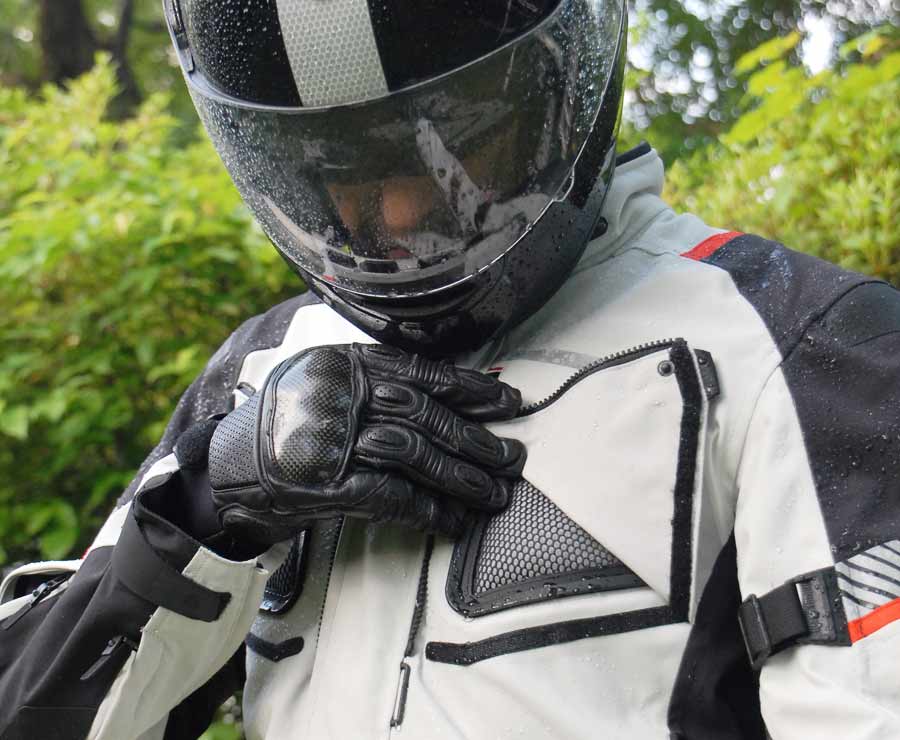
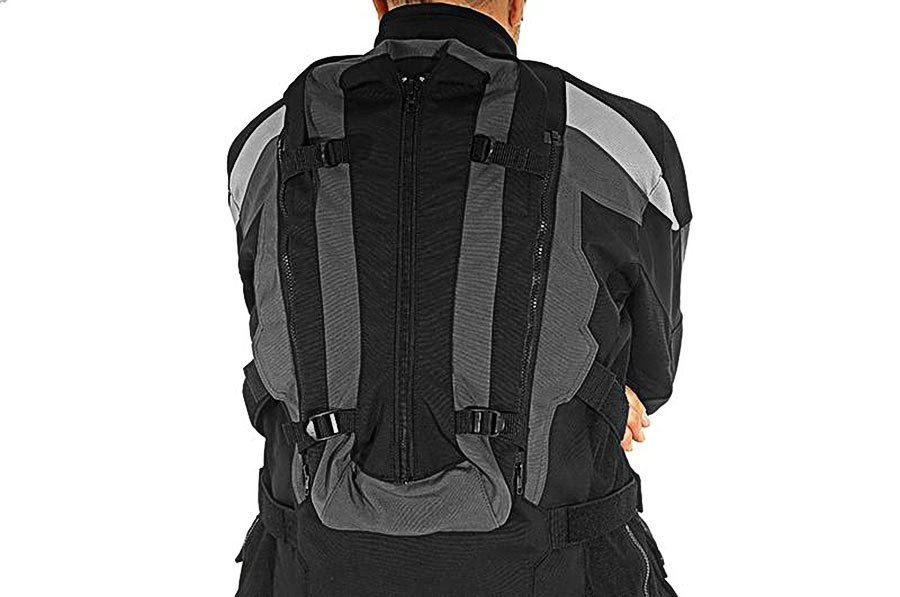
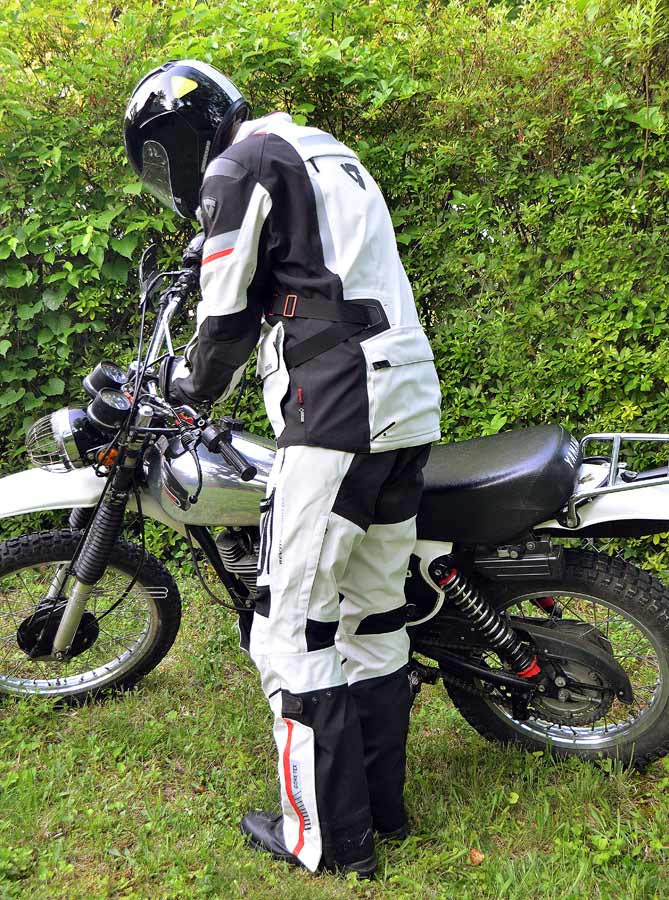 Another feature of this jacket and pants system is excellent protection. The jacket and pants are supplied with CE-2 rated Seesoft elbow, shoulder, and knee guards. This unique material is soft and pliable, but during an impact the foam instantly stiffens, giving more protection.
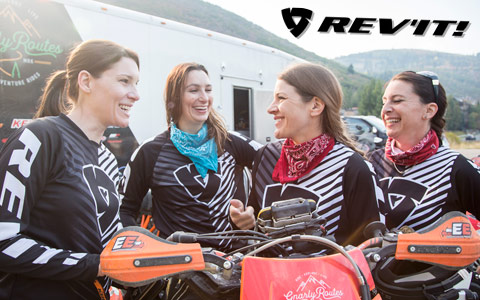
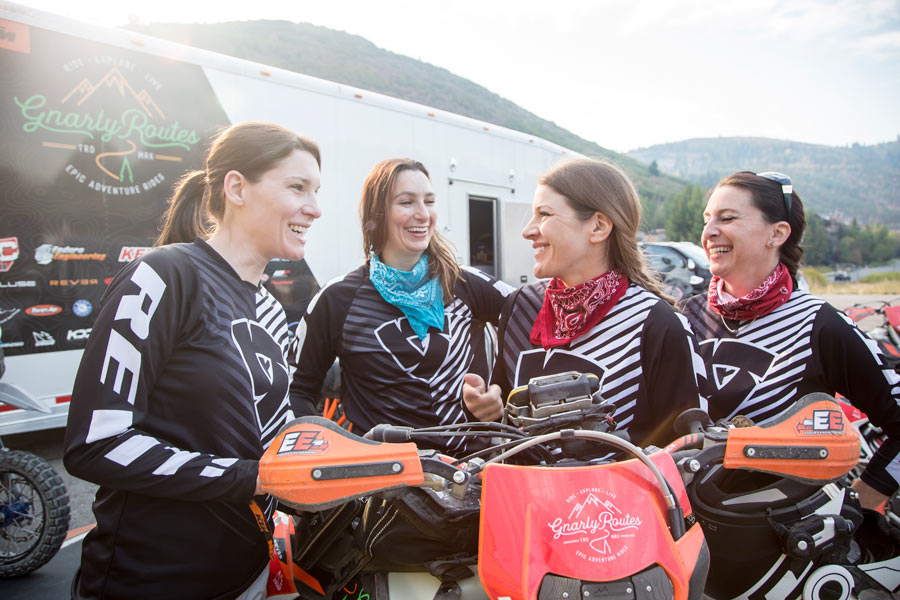


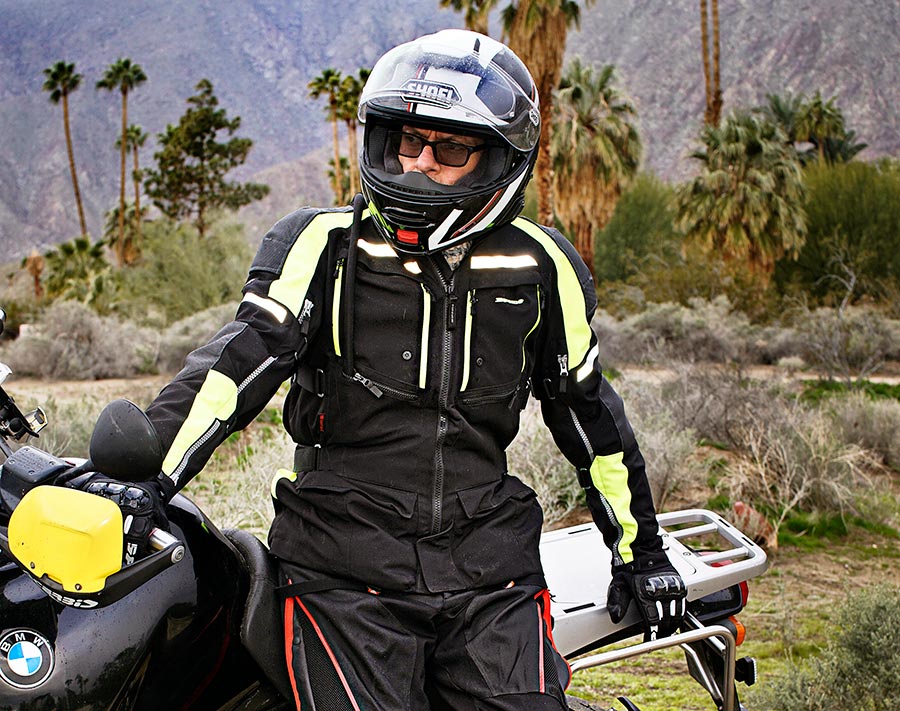
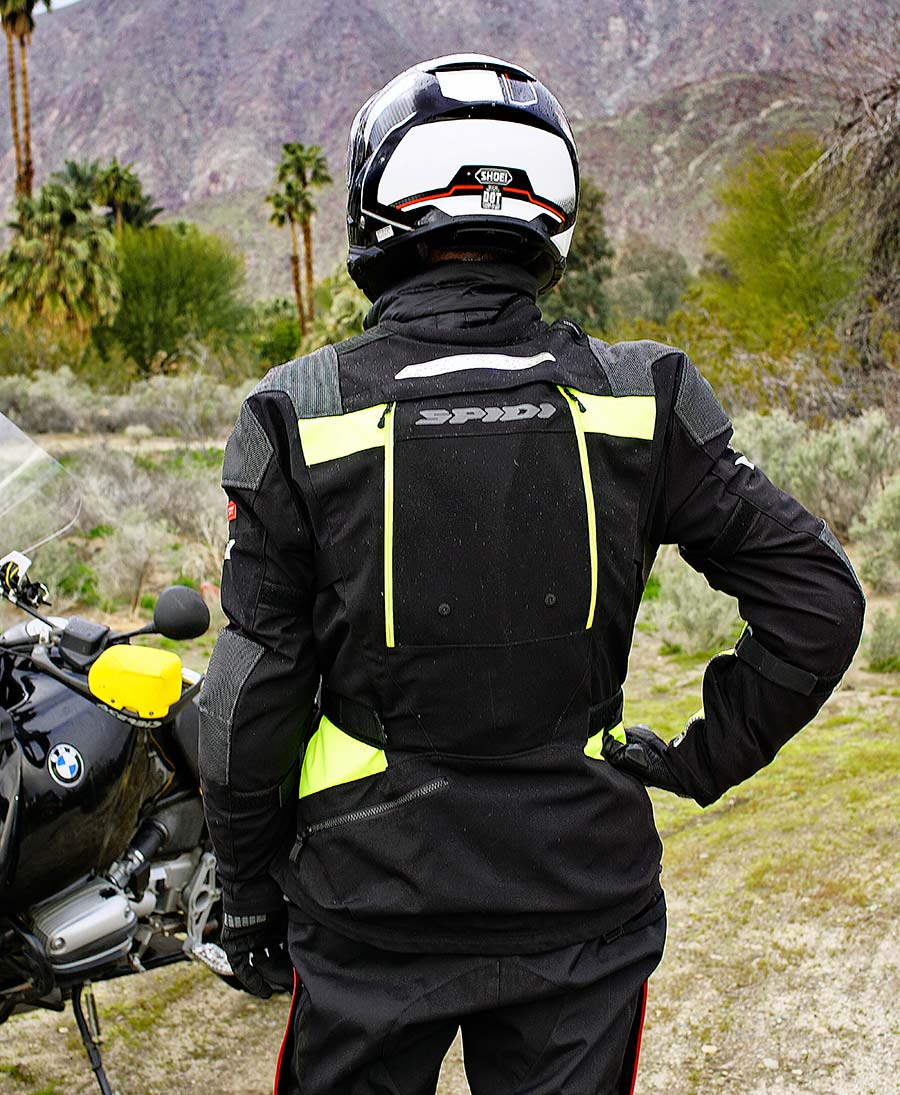
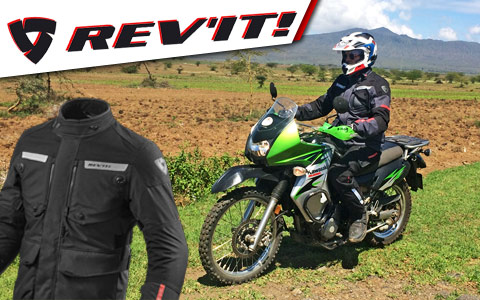
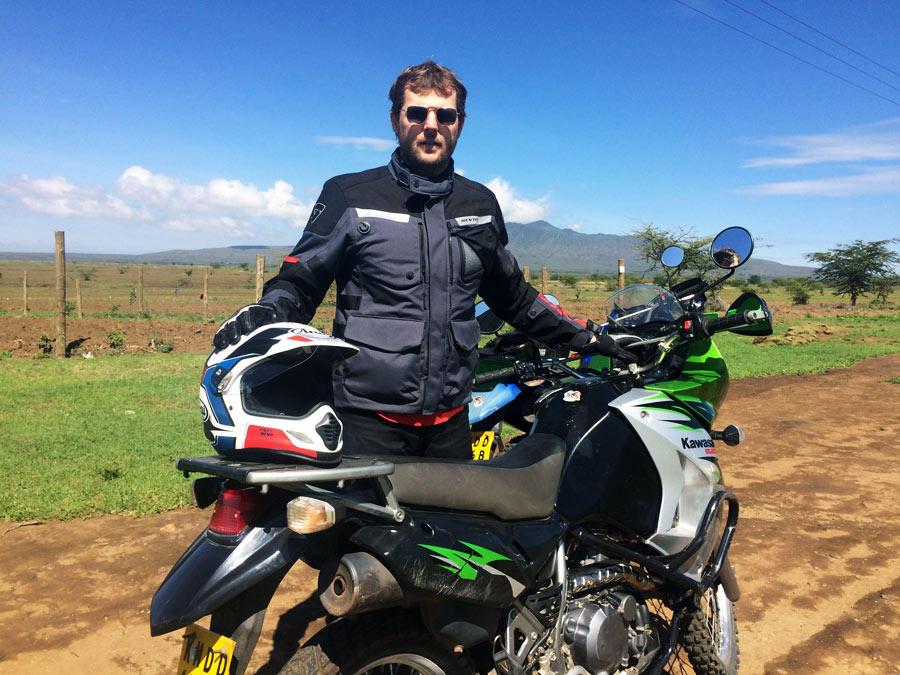
 The Dutch company, REV’IT!, is a respected leader in adventure riding clothing. Their large assortment of designs covers a broad range of riding needs and styles specific to our genre of motorcycling.
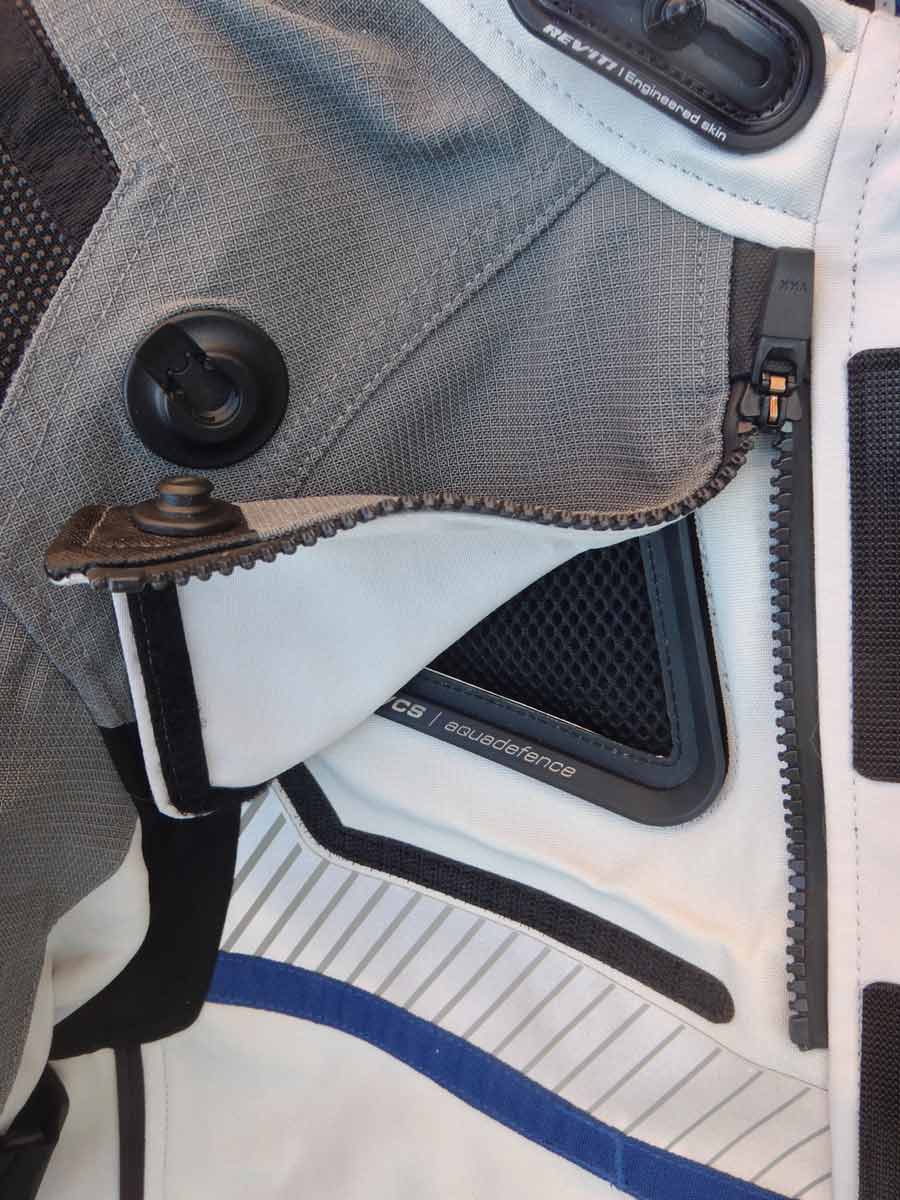
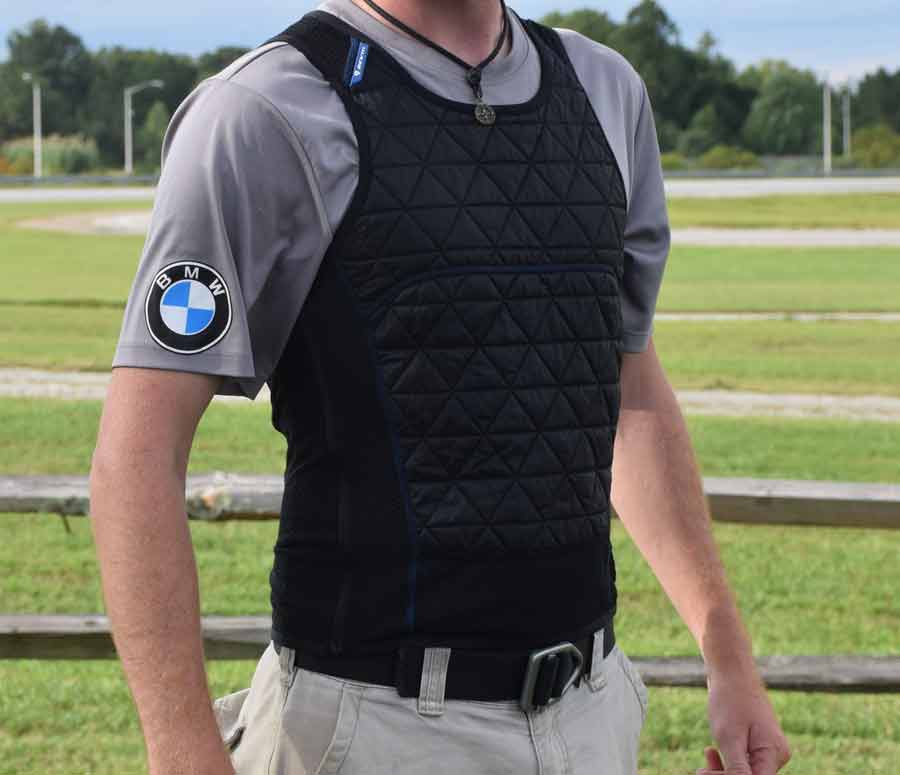
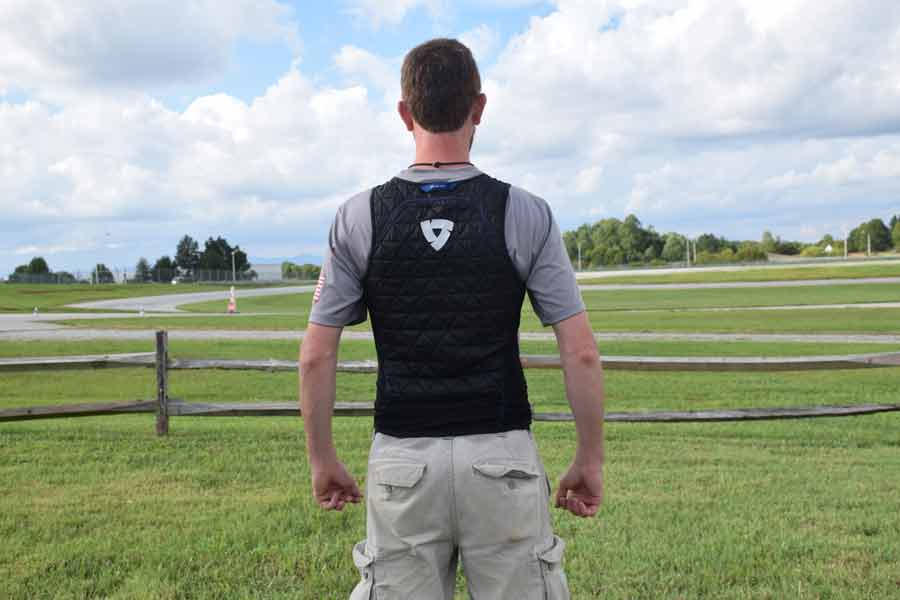
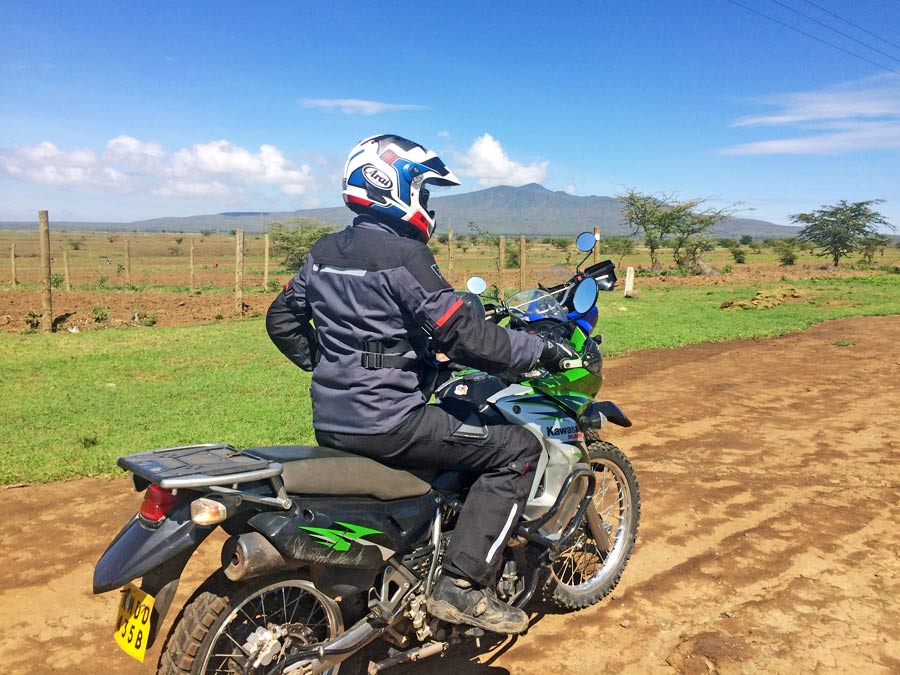
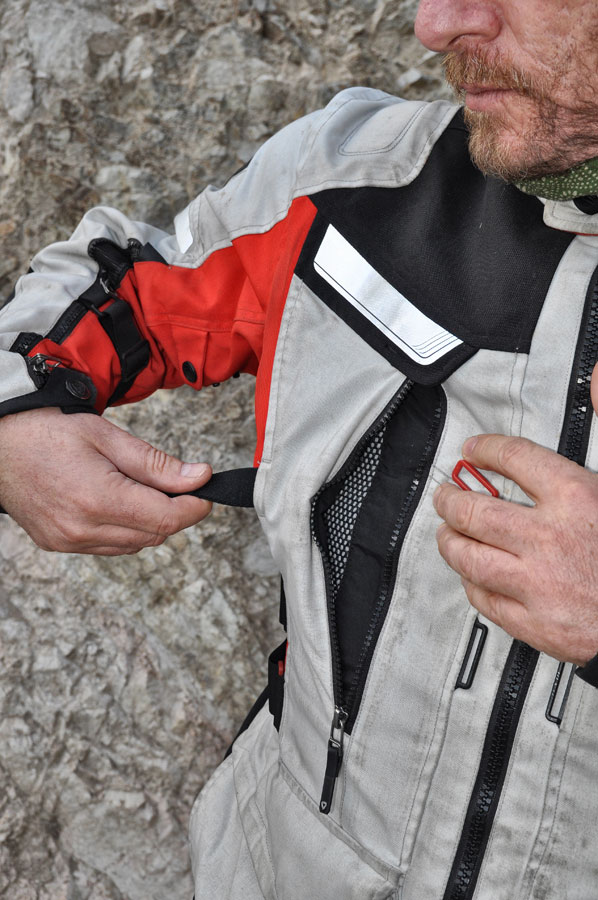 Speaking of which, I was absolutely blown away by the REV’IT! Challenger Cooling Vestwhich comes separately. This is something you have to try to believe. Essentially it’s a quilted sponge-like vest that attaches to the inside of the jacket’s shell. Soak it in water, then as you ride the wicking effect keeps your core cool—as in remarkably cooler than the outside temps—for hours! And, as the vest’s inner side is waterproof, you’re never wet, per se. When the vest is dry, it functions as another thermal layer. An ingeniously simple idea that I’d like to see on every riding jacket.

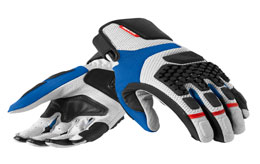
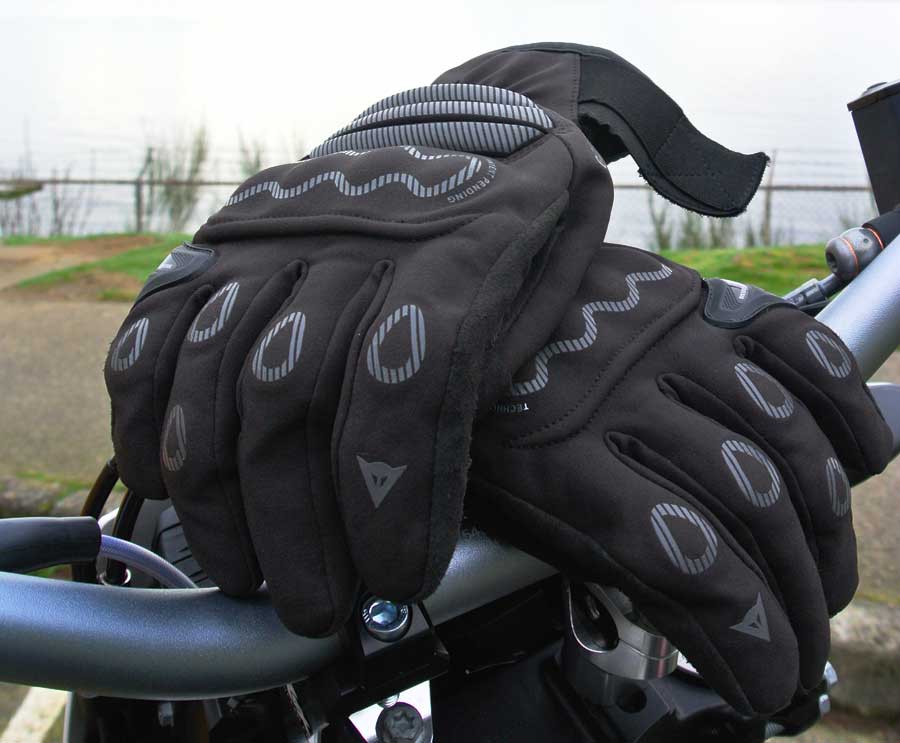
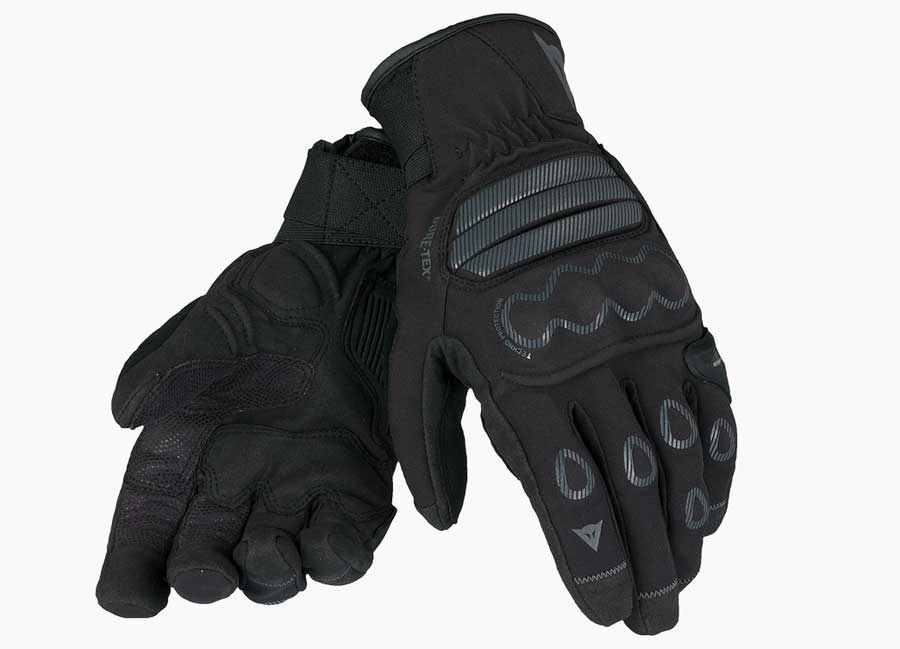
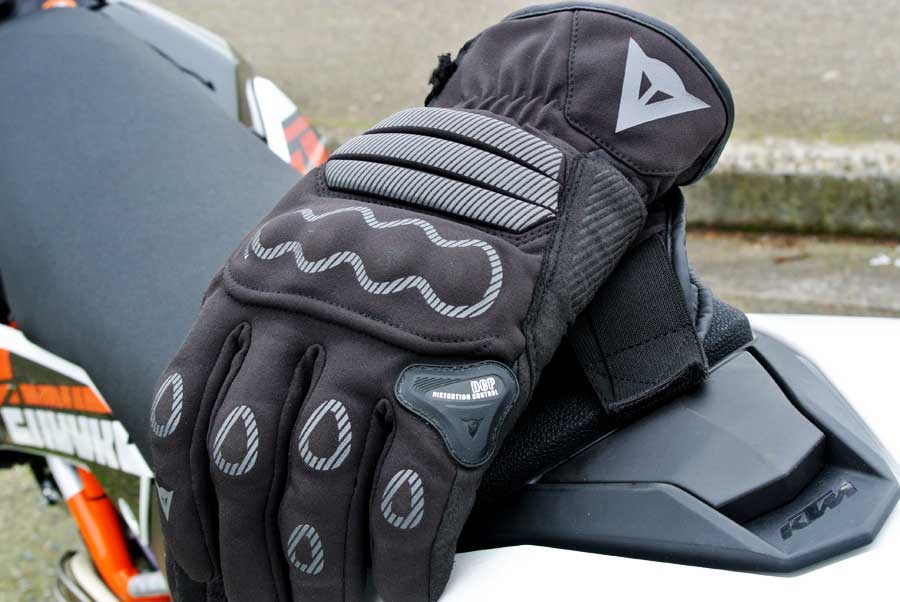
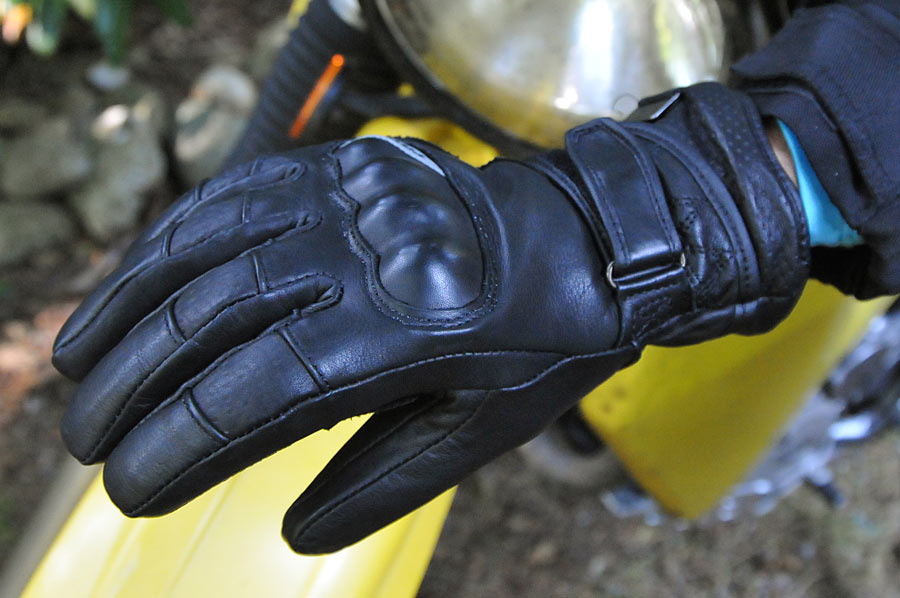
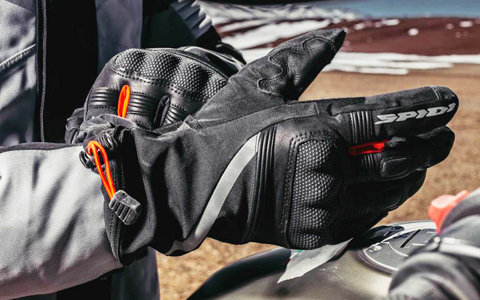
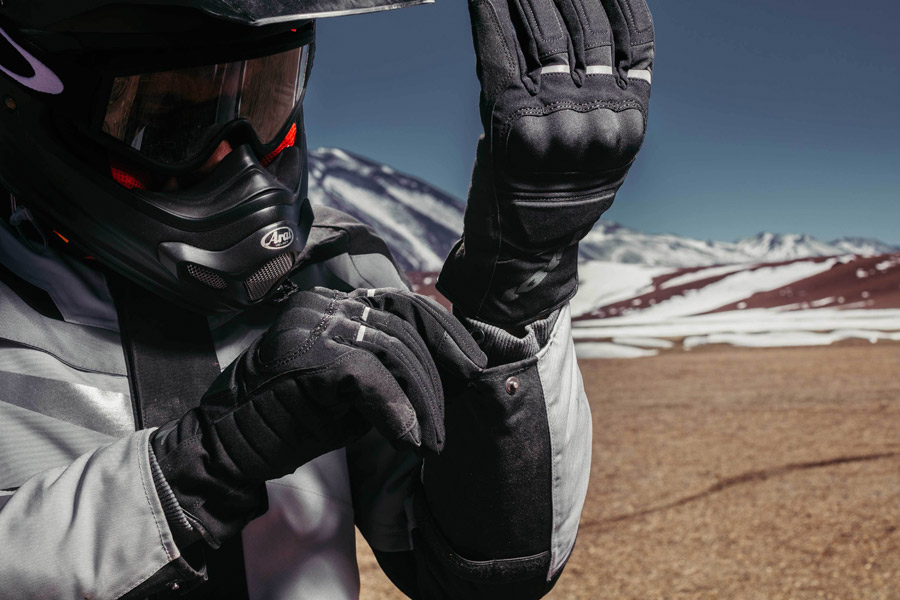
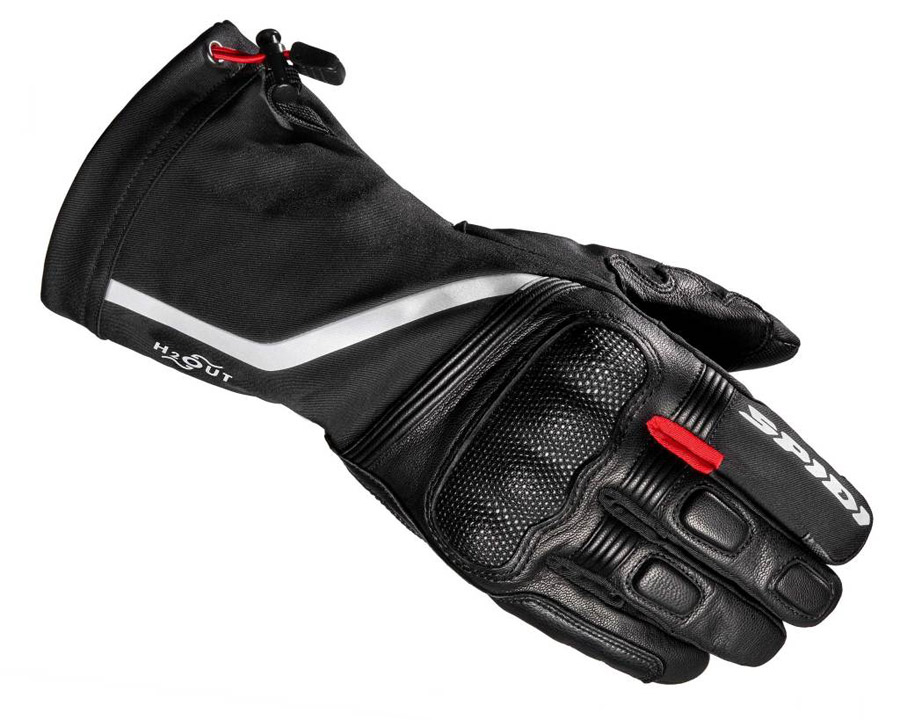
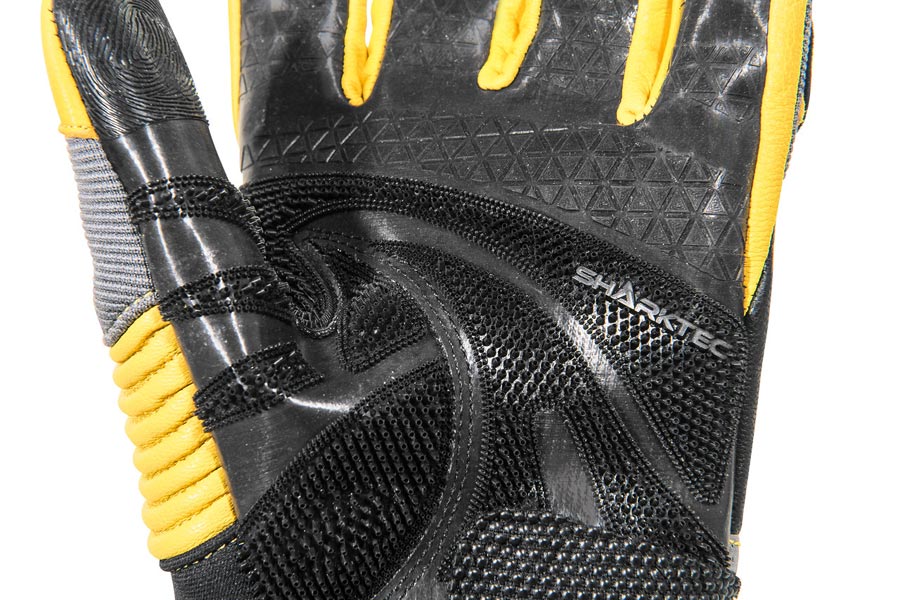
 In the world of gloves, one size doesn’t necessary fill all. Although there are riders who’ll wear just about anything, if you’re like me, choosing a new pair can sometimes be a task. These days, with glove technology so advanced, it’s surprising that so many could be so uncomfortable.


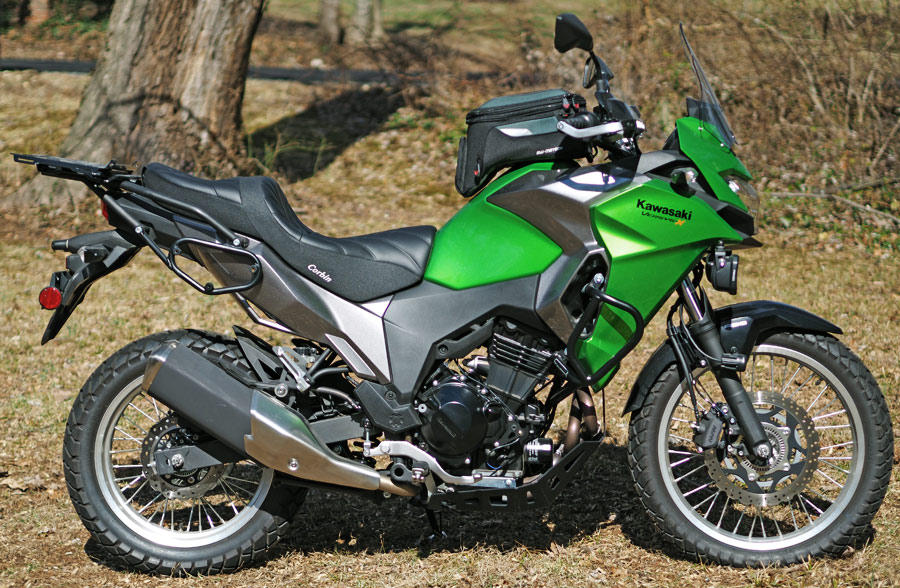
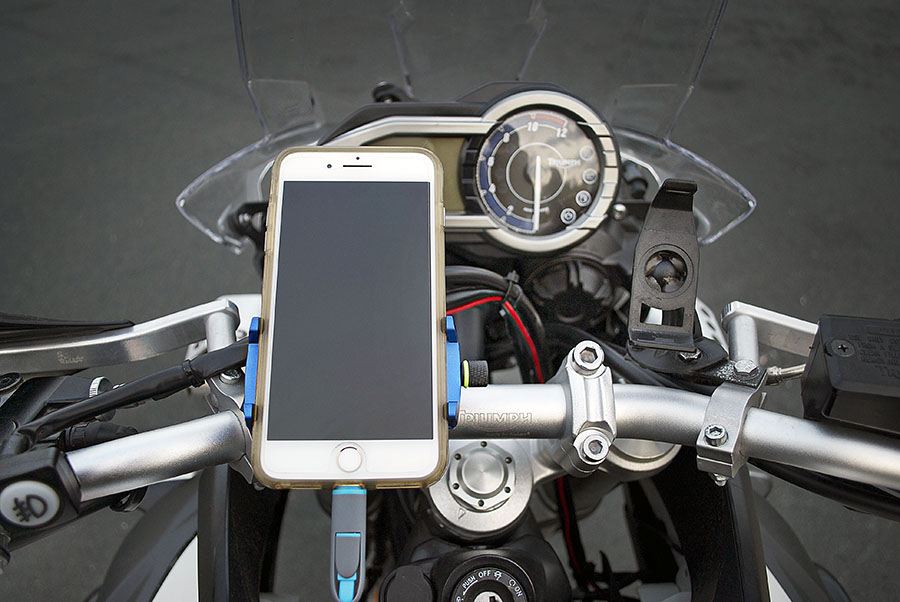
 There may not be any KLRs racing in Dakar but that shouldn’t stop you from making your Kawasaki look and feel a bit more rally-ready. The Dakar windshield from Bajaworxis a key component for those who demand the most from their KLR.
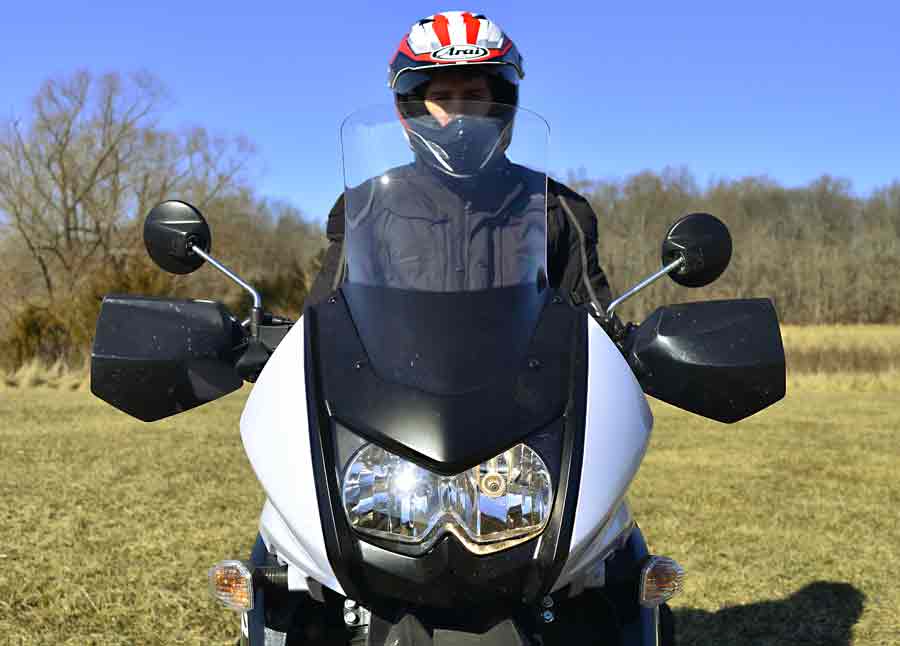
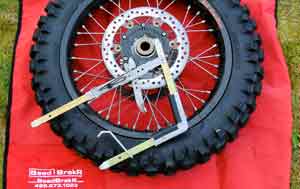
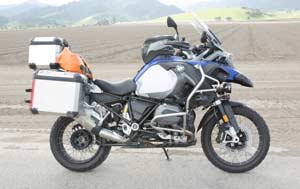
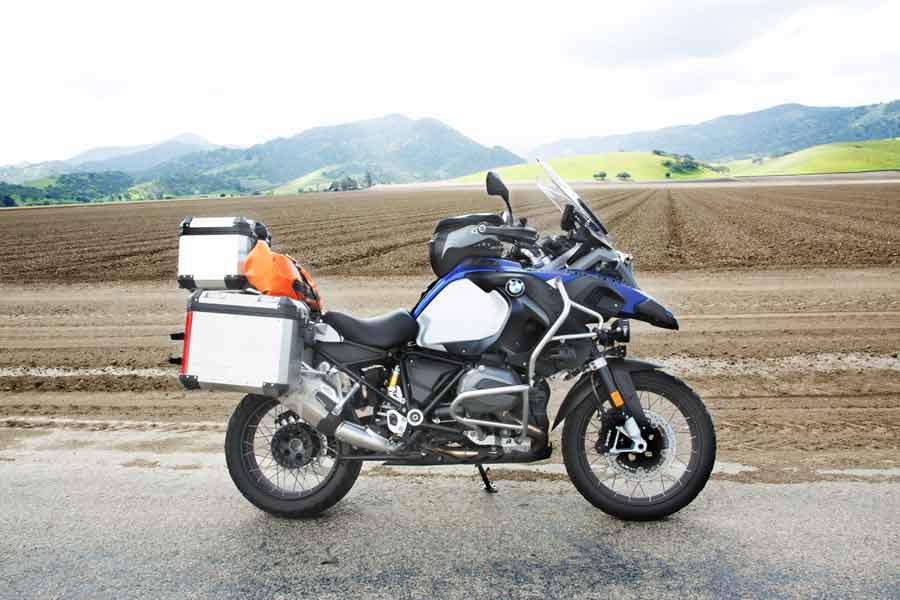
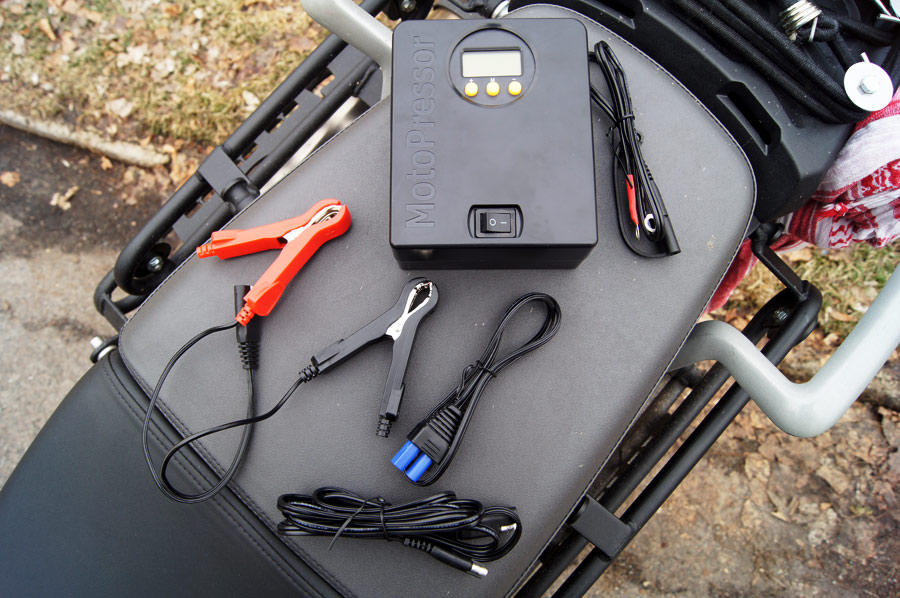
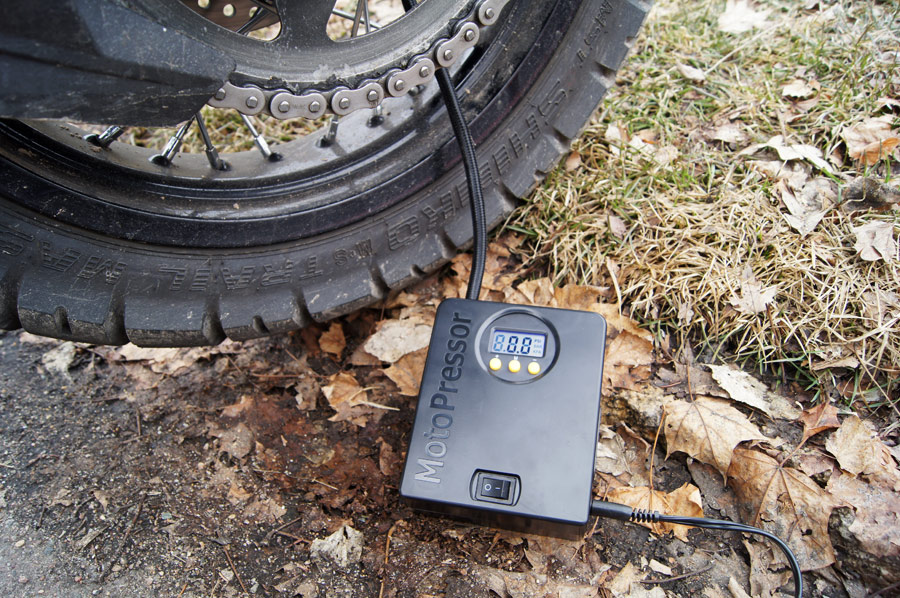
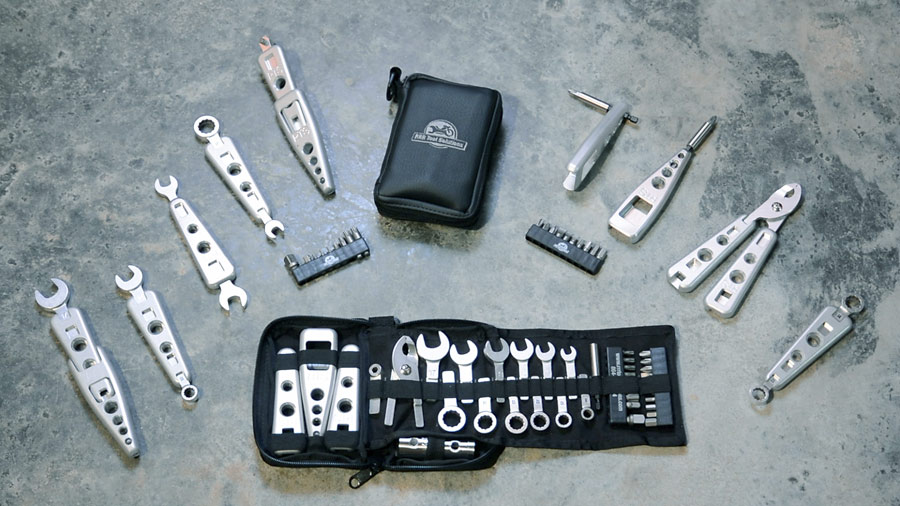
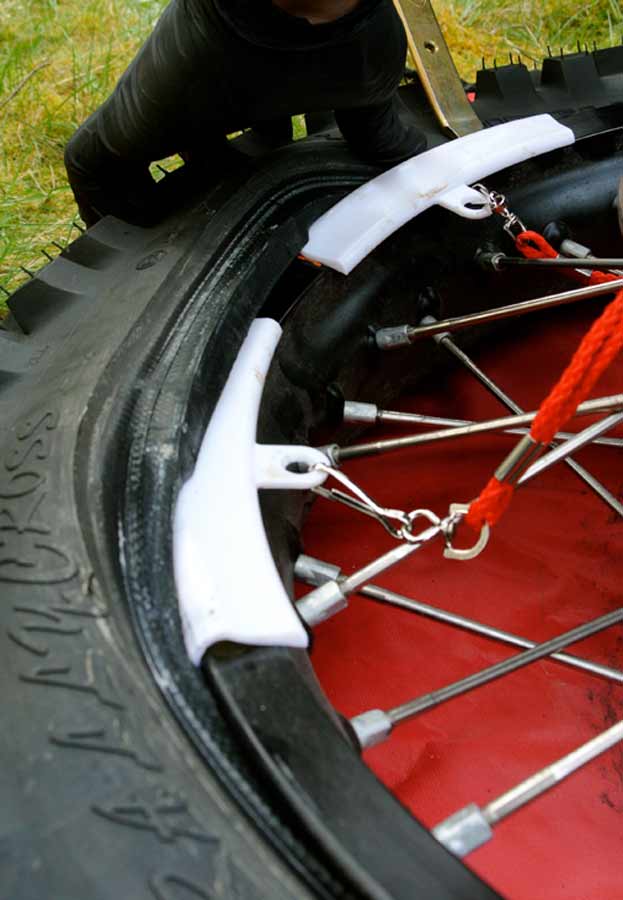 Tire repair and tire changing are huge in adventure motorcycle riding. We ride long distances over rough terrain in remote places. Getting a flat tire in the middle of your trip not only halts progress and puts a damper on the day but if you cannot fix the problem then you could be in serious trouble.
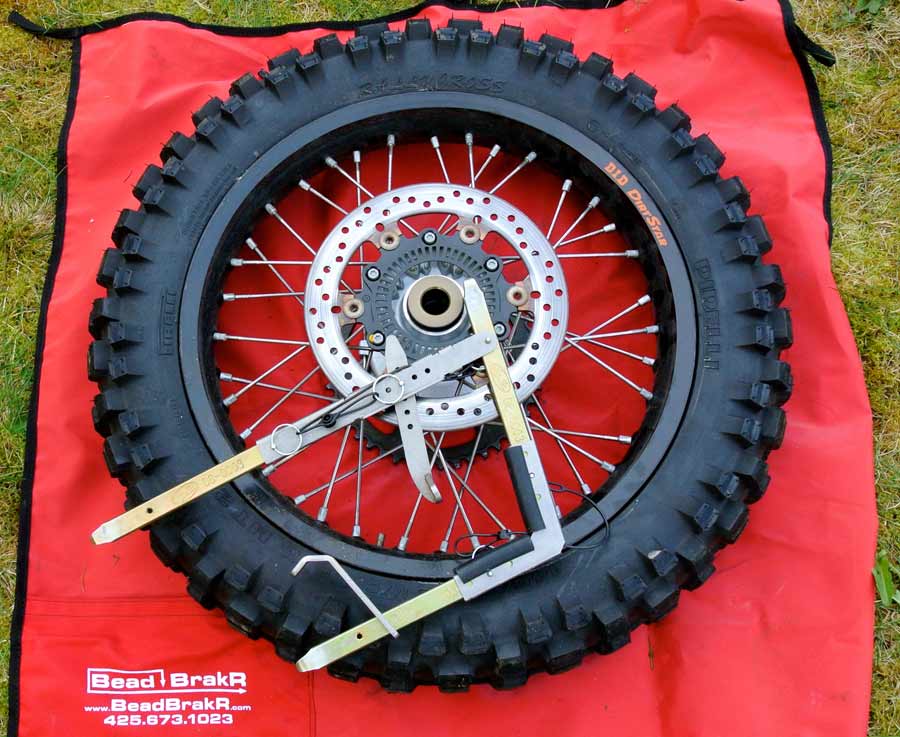
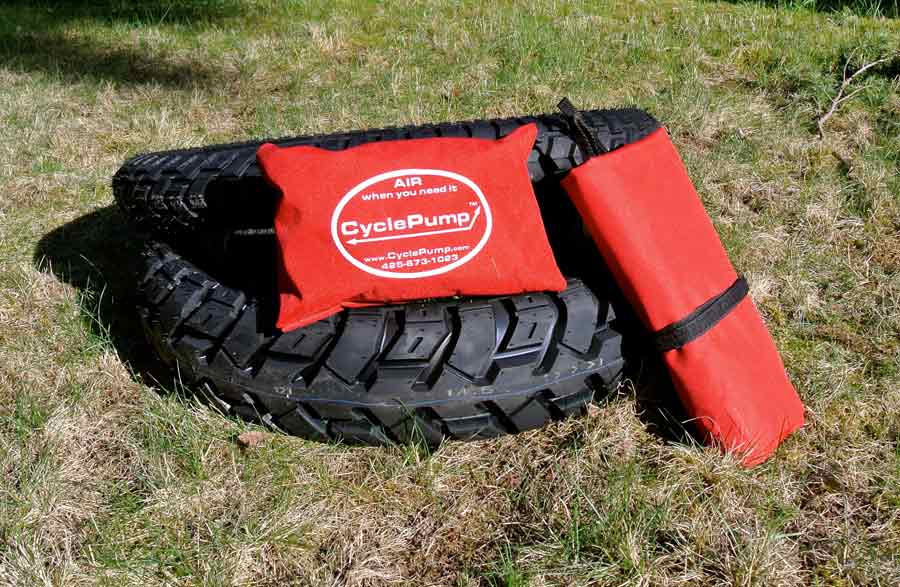


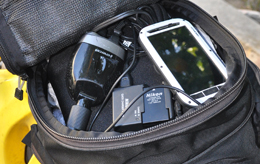
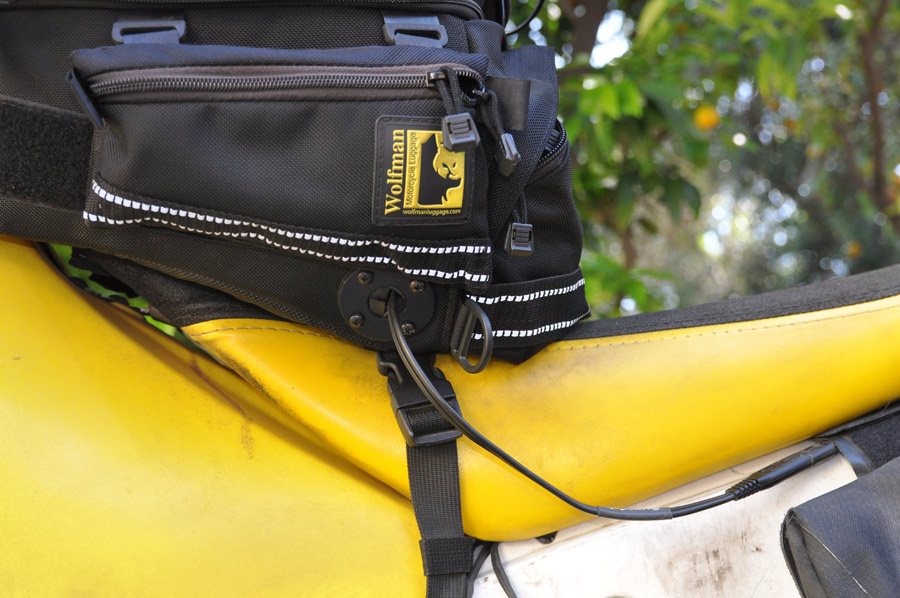
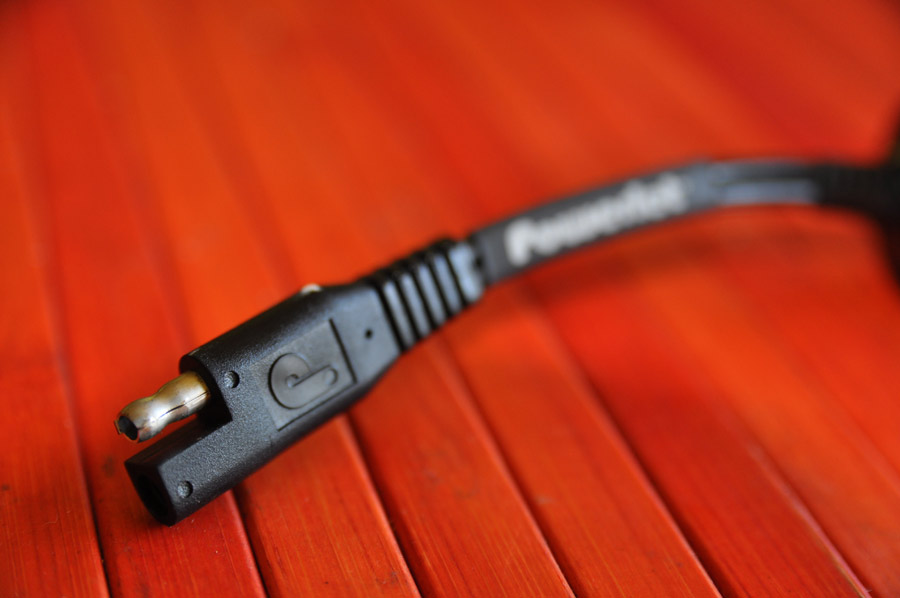
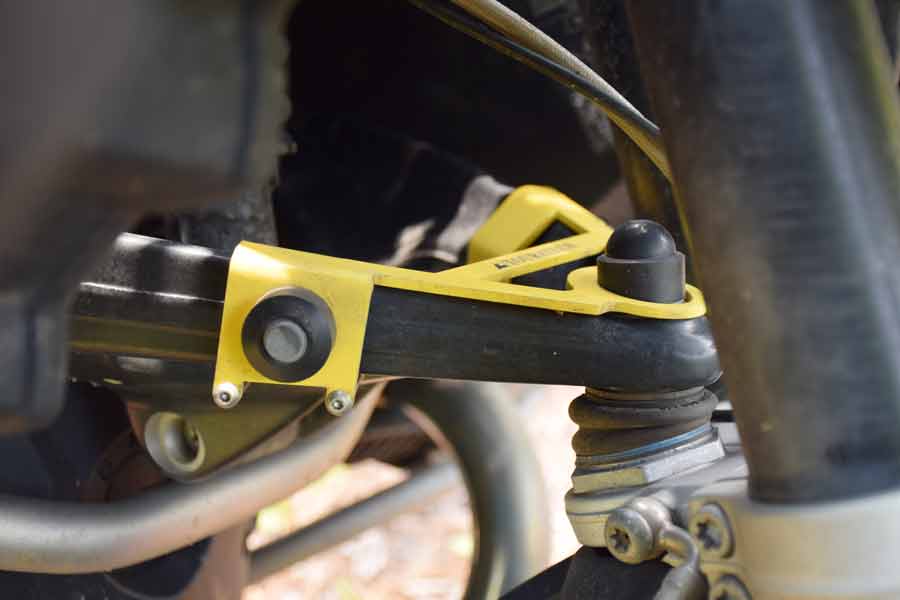
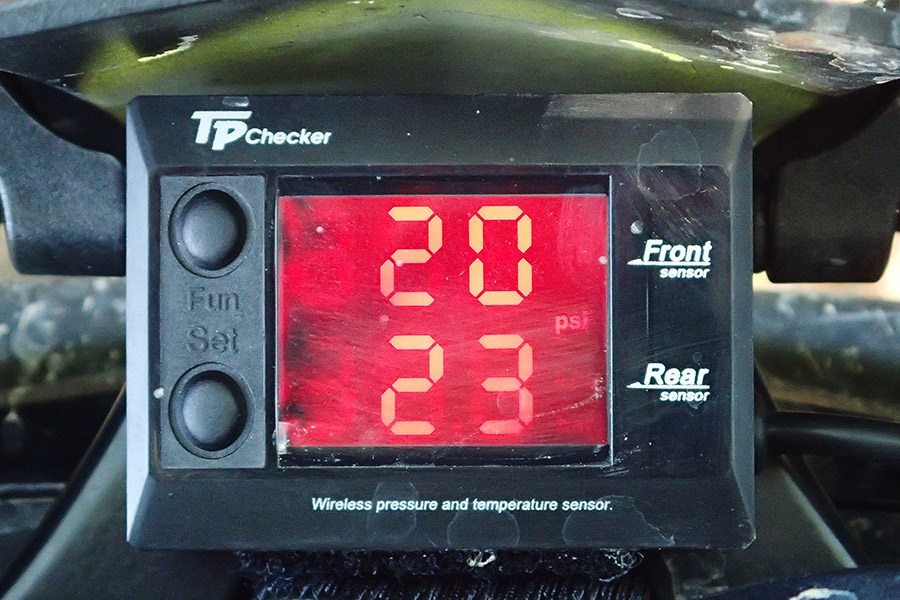
, on the left and the Mayer unit for the R1200 liquid cooled bikes, on the right. Note they are identical.")


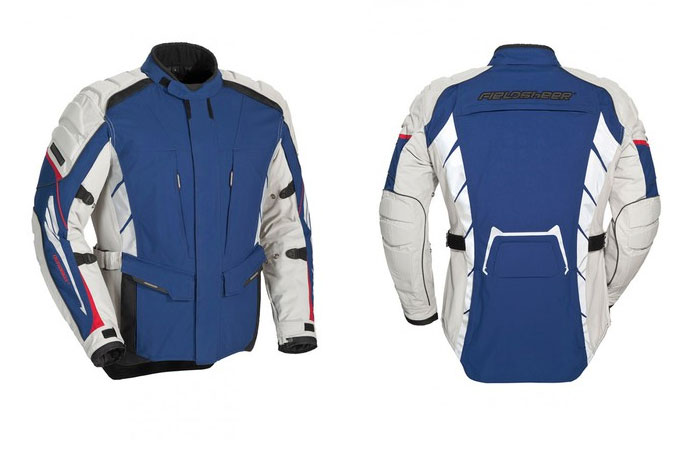
 I’m not usually a fan of budget-minded, multiple-layered riding gear, but Fieldsheer has done a far better than average job with their Adventure Tour Suit. The outfit is comfortable with good armor and has a number of well-placed reflective Phoslite panels for visibility, lots of useful and properly positioned pockets, good quality zippers, and some of the best venting around.
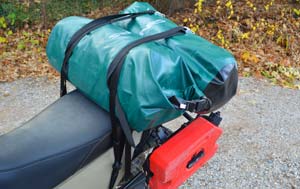
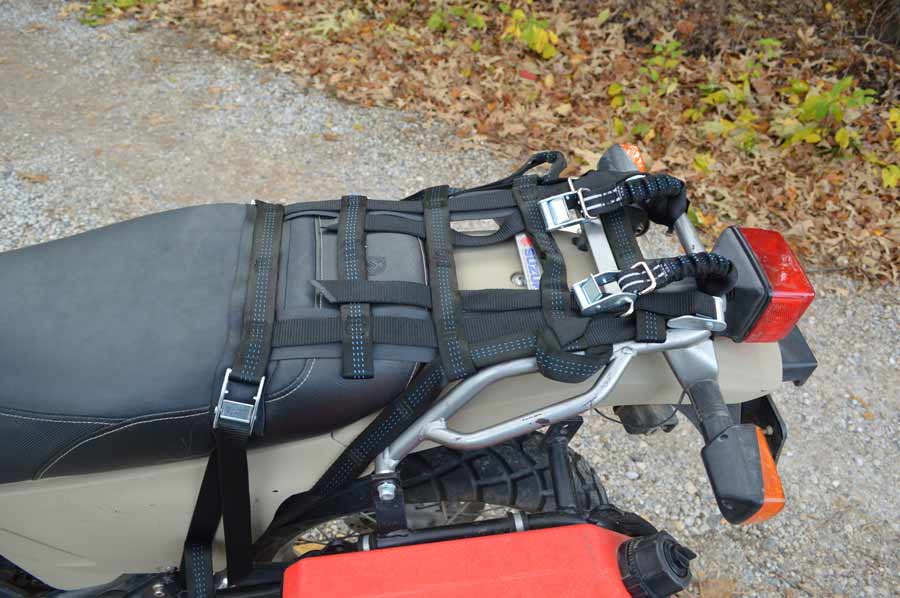
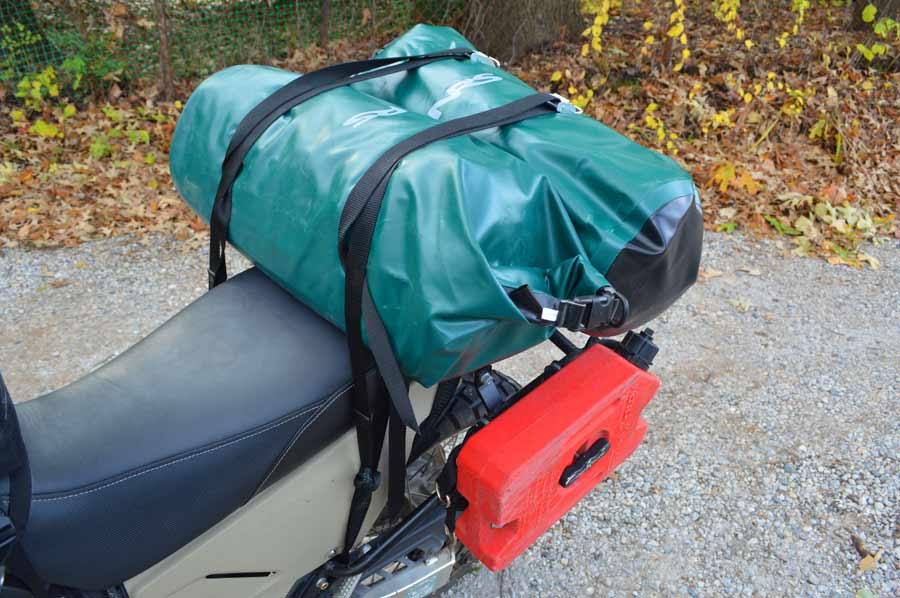
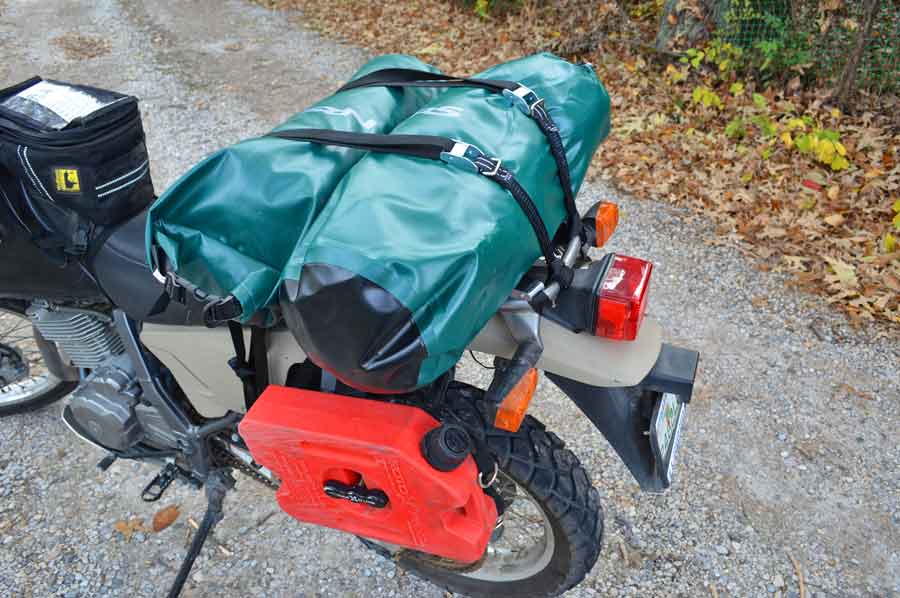

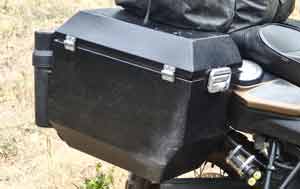
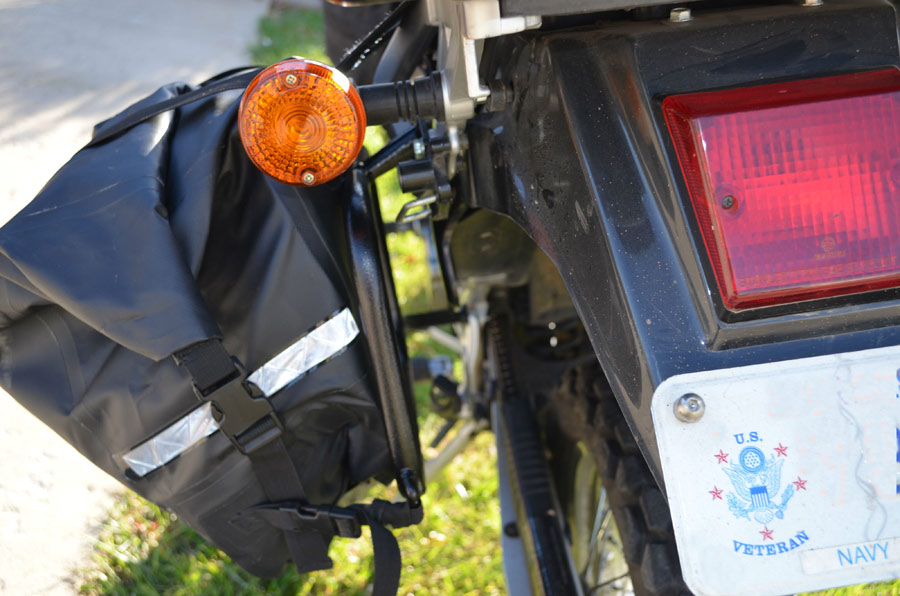
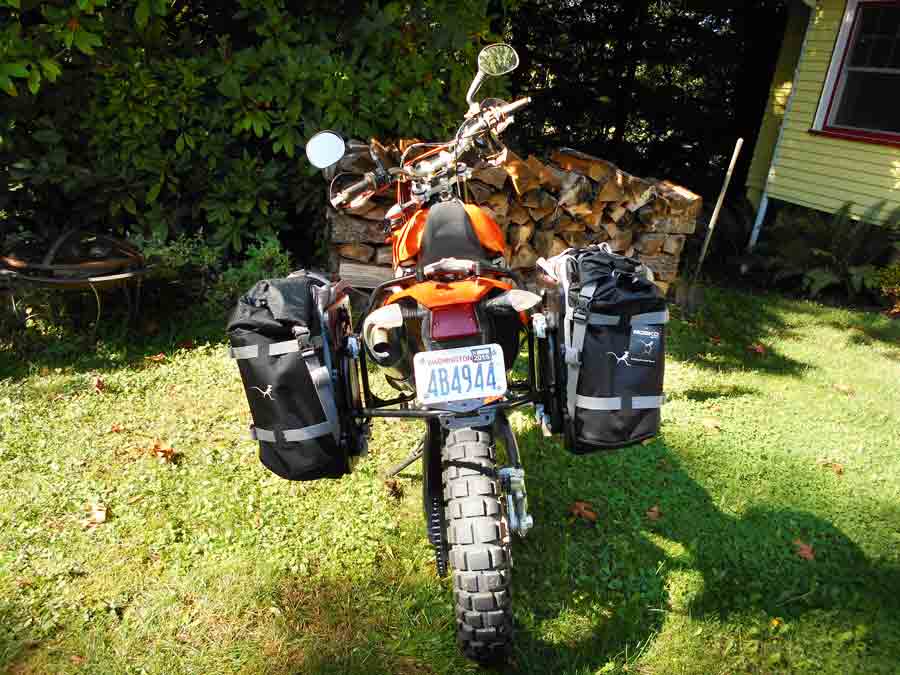
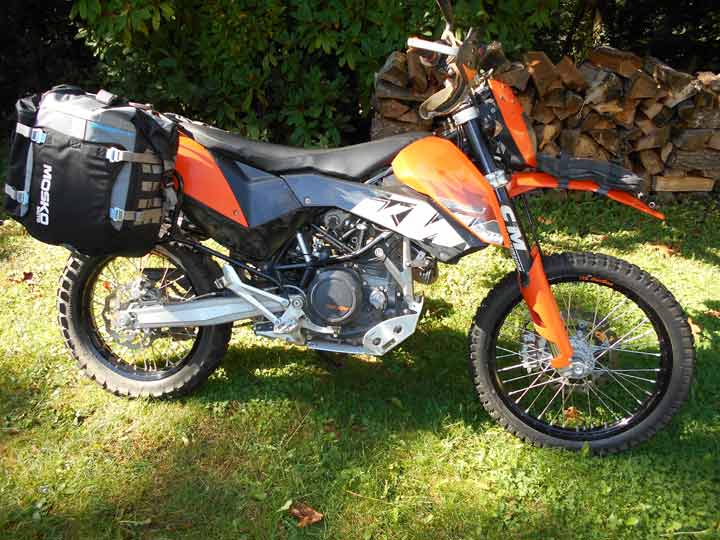
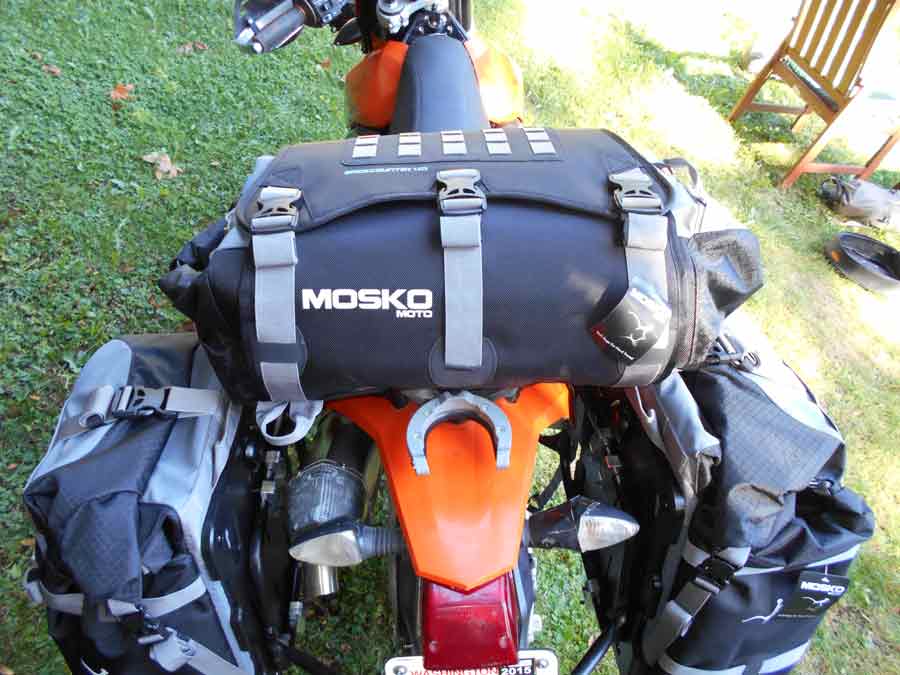
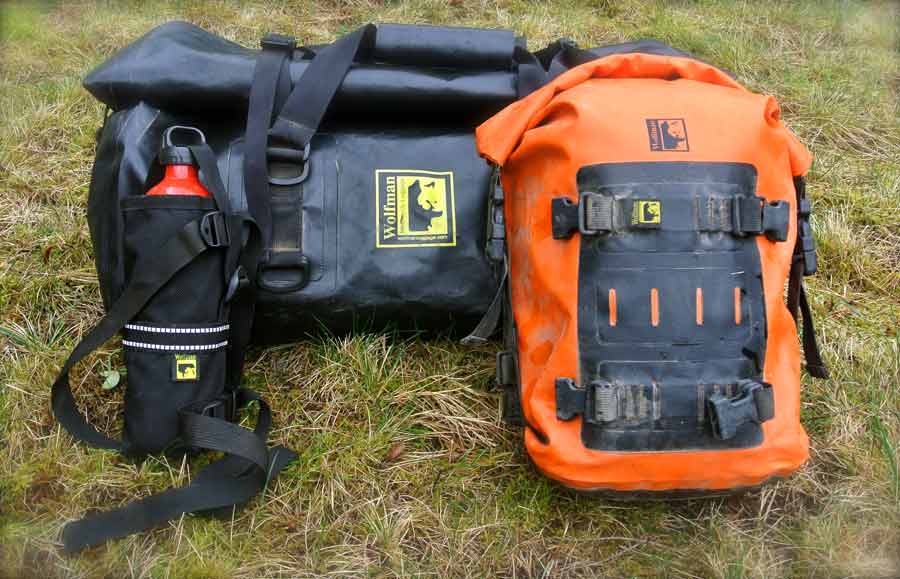
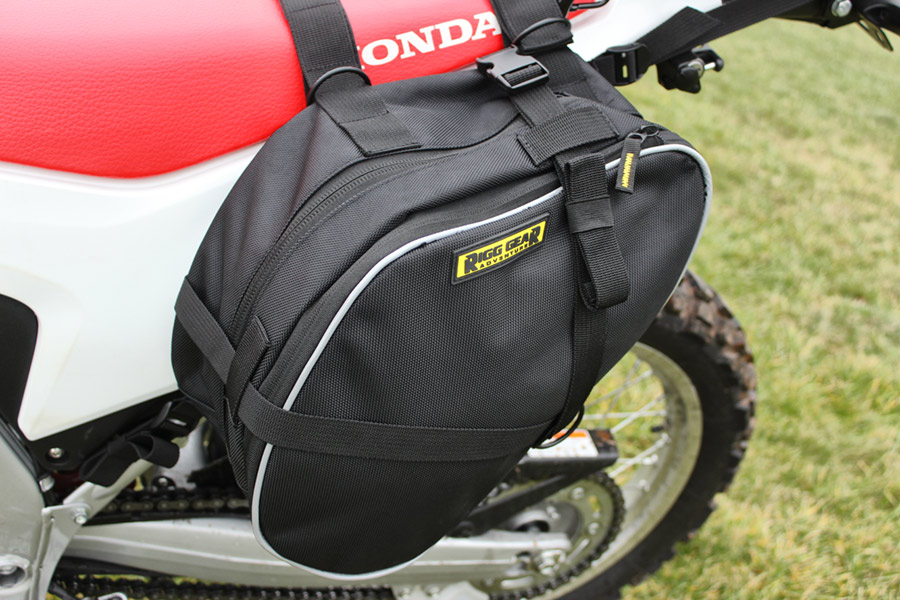
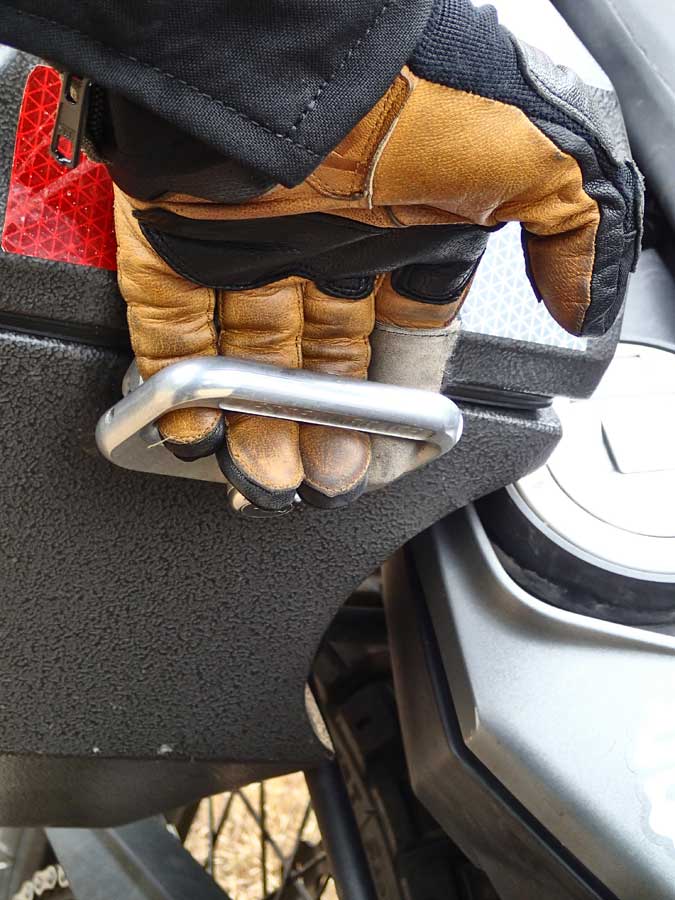 Sometimes the best kit upgrades begin with a story, and my switch to Jesse Luggage Systems is no exception. As I was happily cruising along an incredibly twisty highway, I stopped for a quick victory photo only to discover that somewhere along the steep cliffs above a fast flowing river my OEM BMW aluminum pannier had jettisoned, never to be found again.
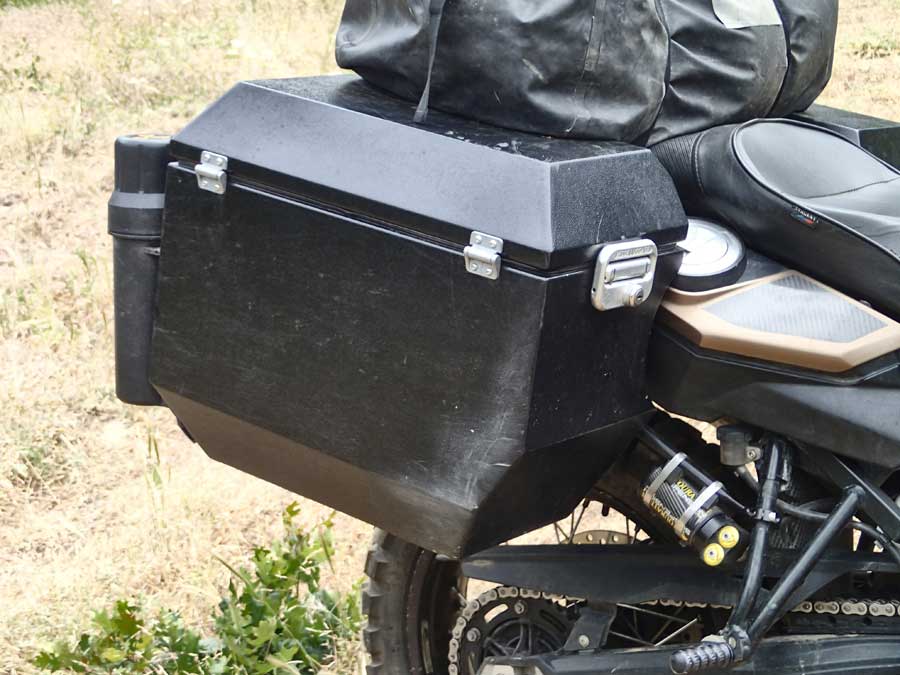


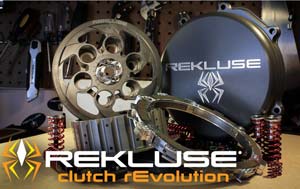
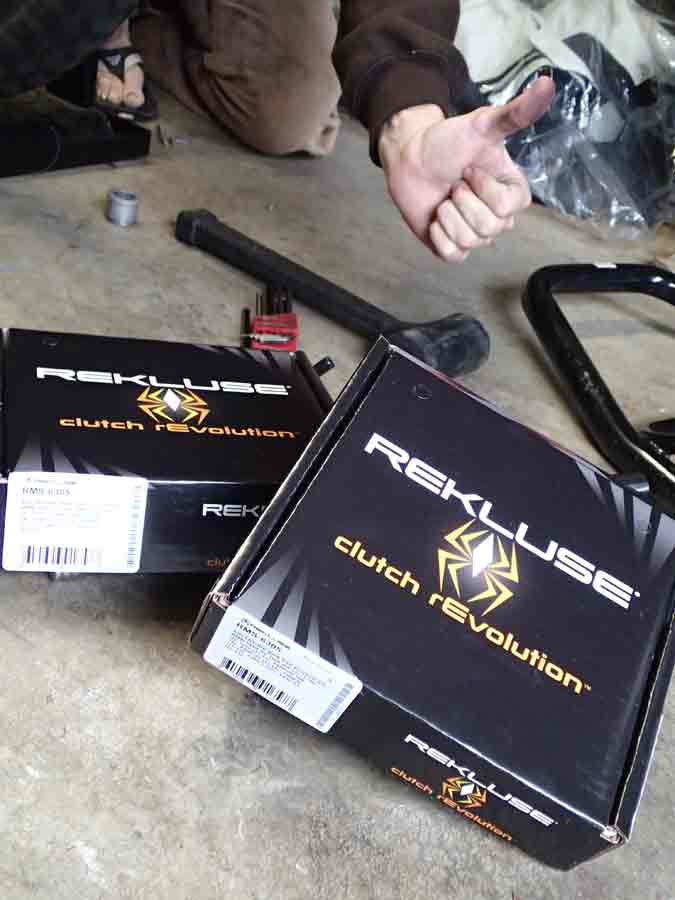 Tired of stalling your F800GS off road or fighting for traction on rough surfaces? Rekluse is now manufacturing the EXP 3.0 auto-clutch for the BMW F800 series—a product many riders need to know about.
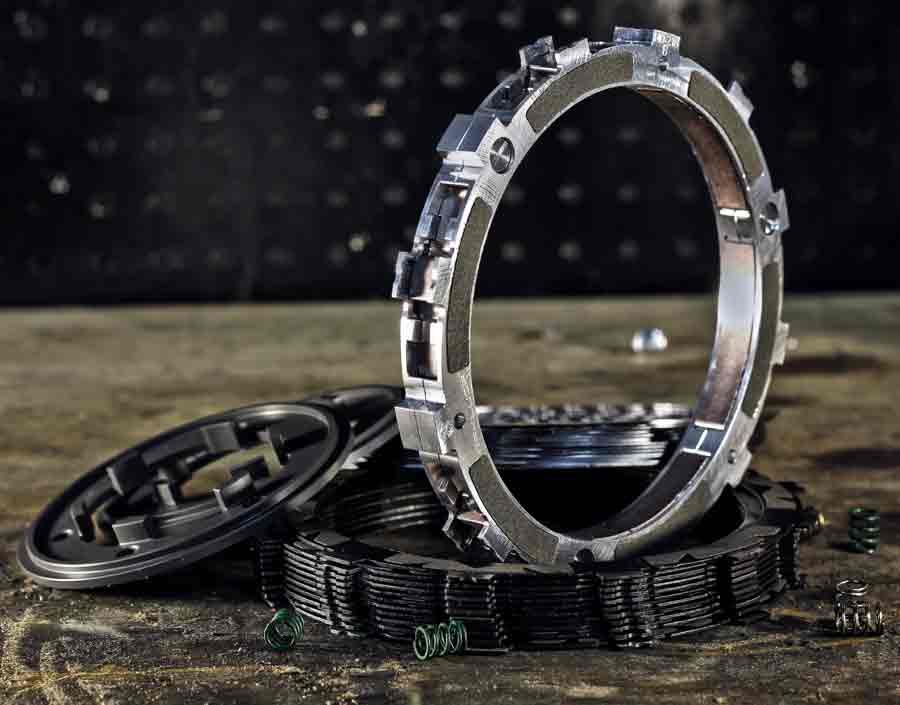
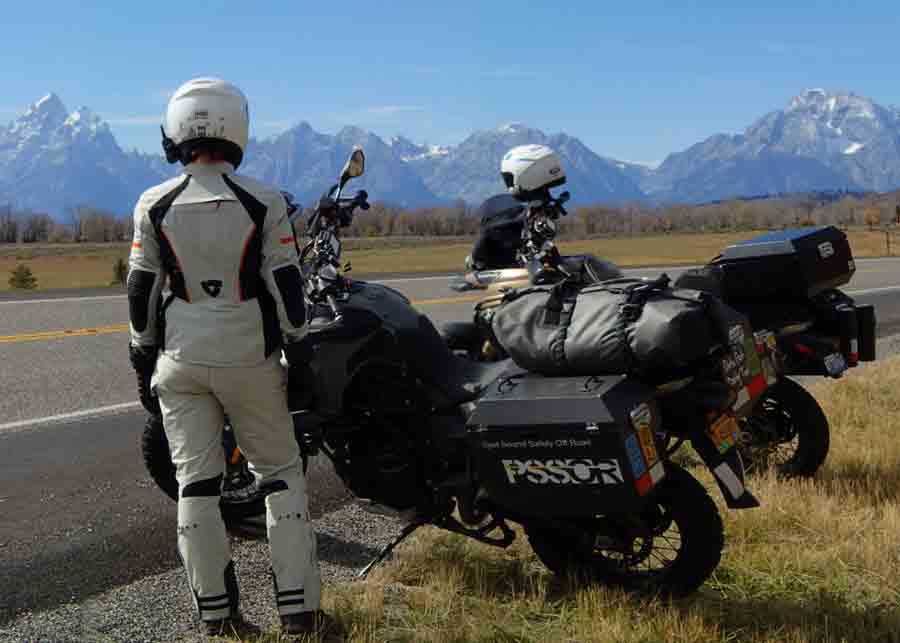
 The Sand is a form-fitting two-piece suit that’s so comfortable it seems to “disappear” while riding. It can also be worn just as comfortably off the bike. The armor stays put, even while walking, and the pants don’t have that heavy swishing feel that’s so common with all-weather gear. It’s also undoubtedly female, with a perfect hourglass shape that lets everyone know that a woman is riding ahead.
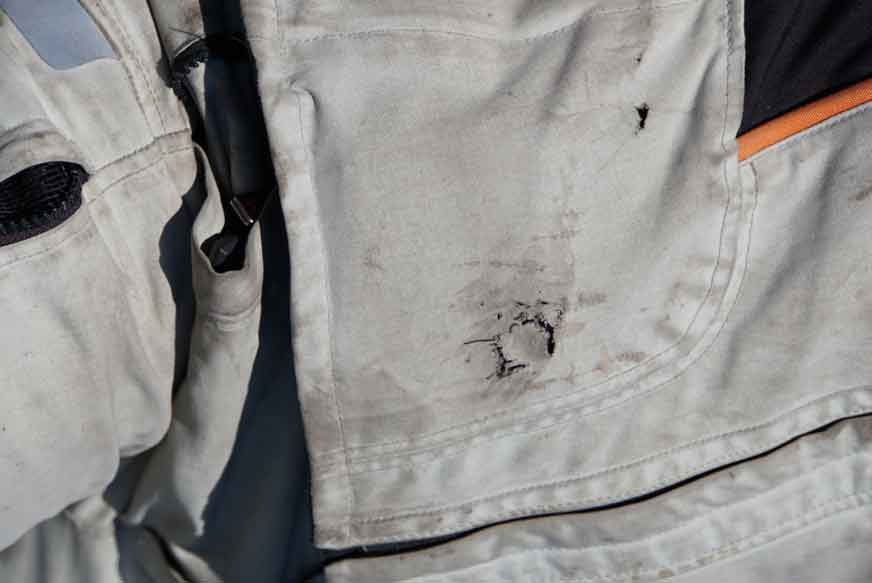


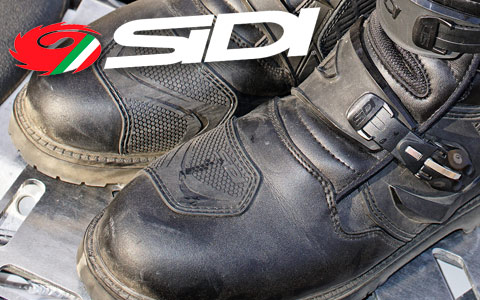
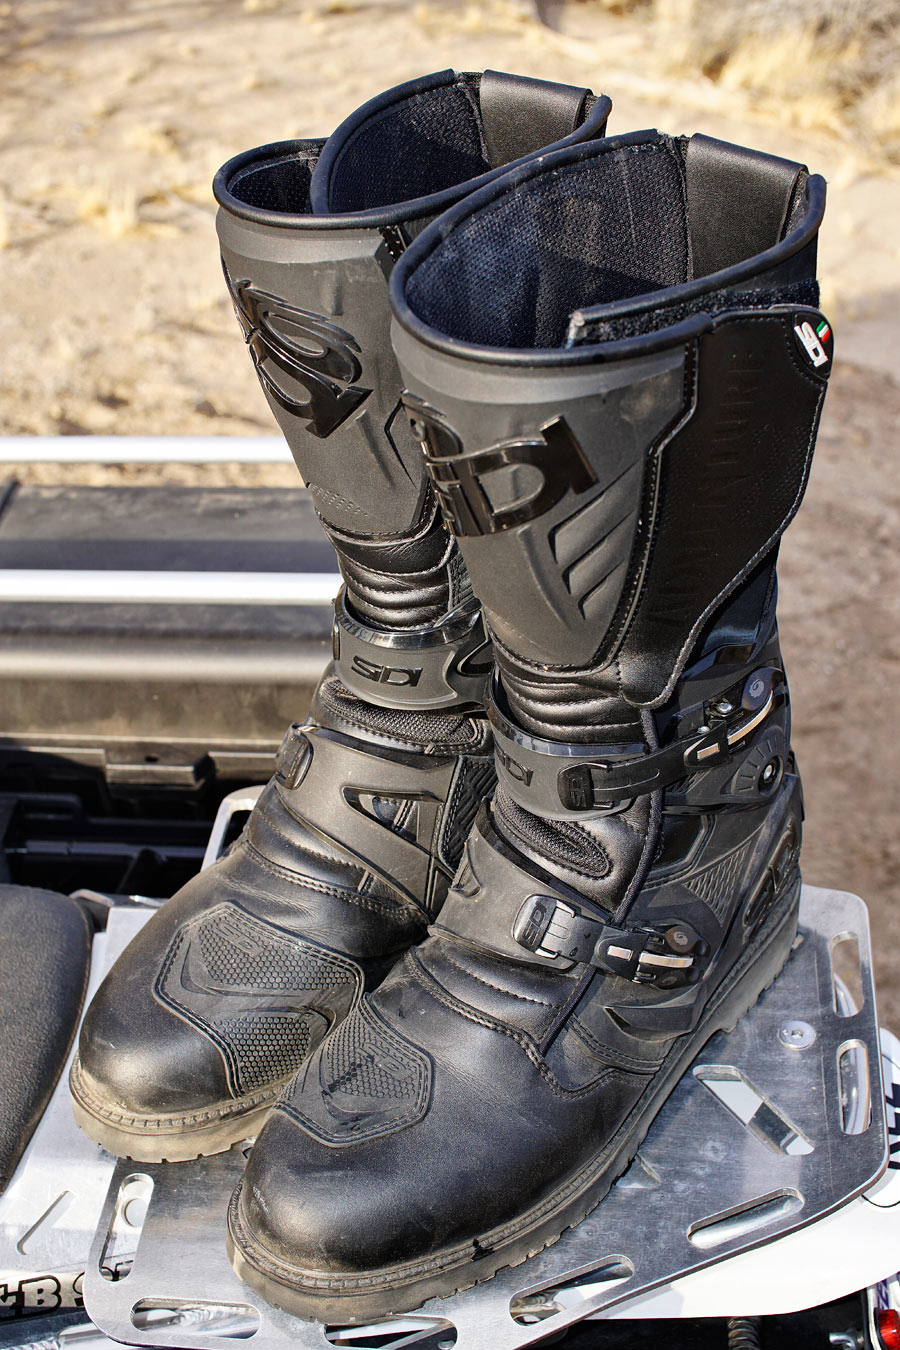
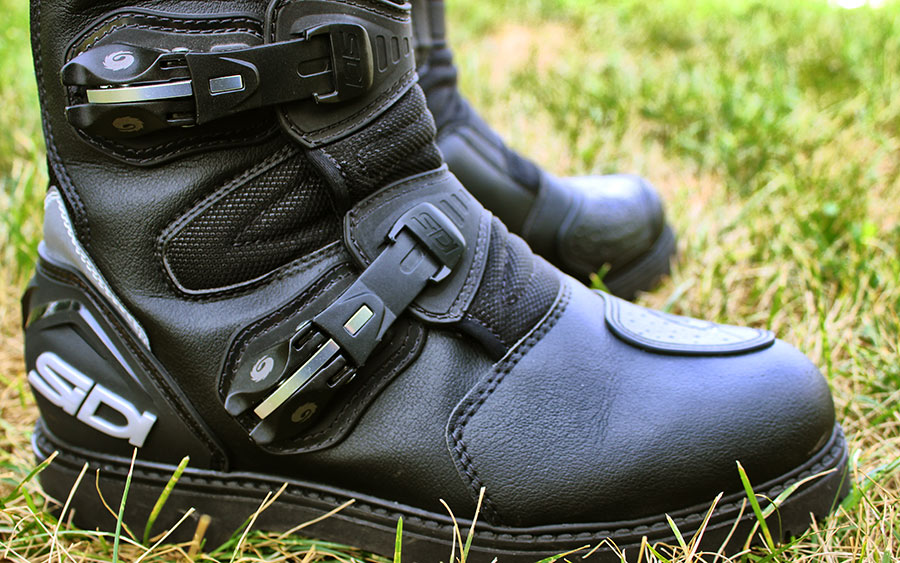
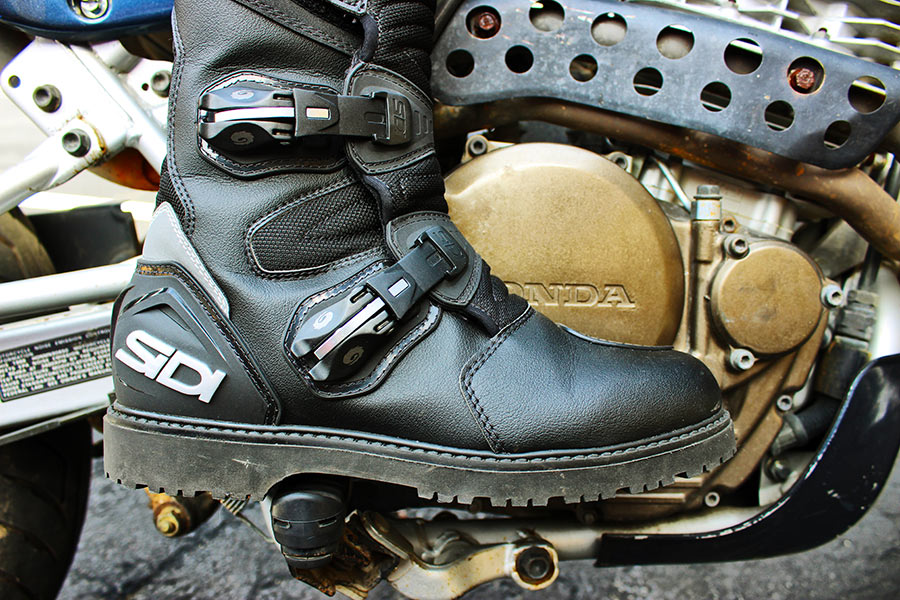
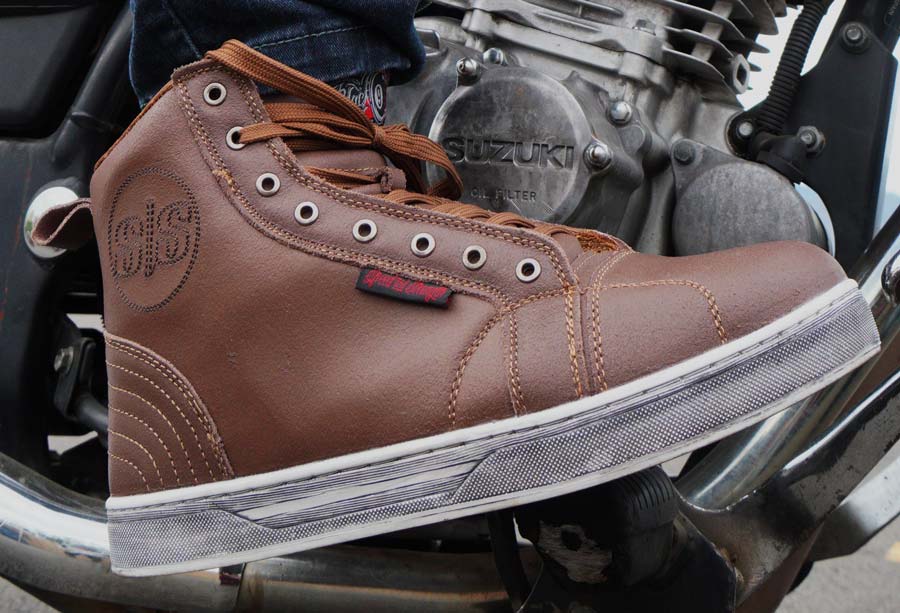
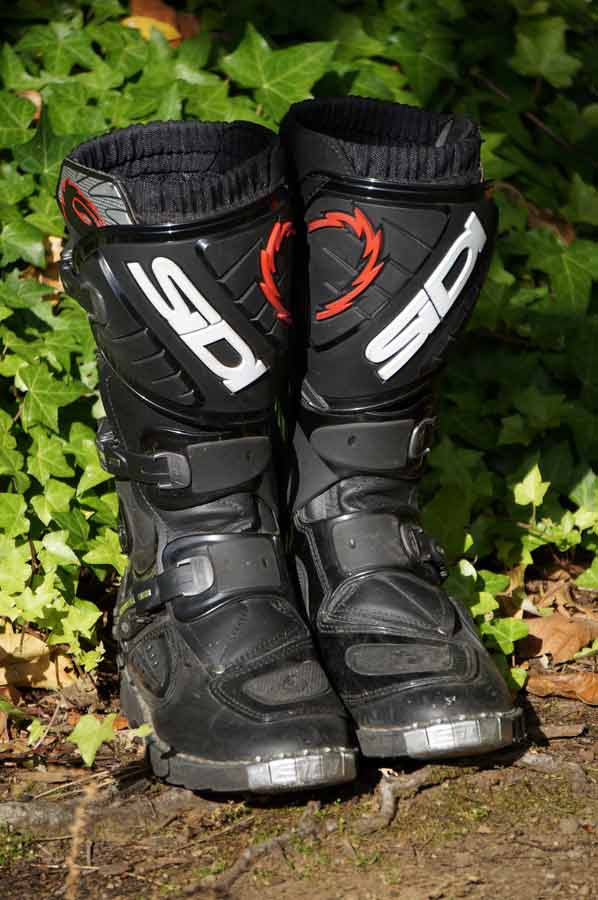 As a comparatively adventurous adventure rider, I require boots that will protect my ankles when I drop my loaded F800GS, but that also provide enough flex and comfort for a hike or an impromptu rock scramble. Not unlike a dual-sport tire where the consumer is caught between the on vs. off-road capabilities, I’m caught between the on bike protection and off bike comfort.
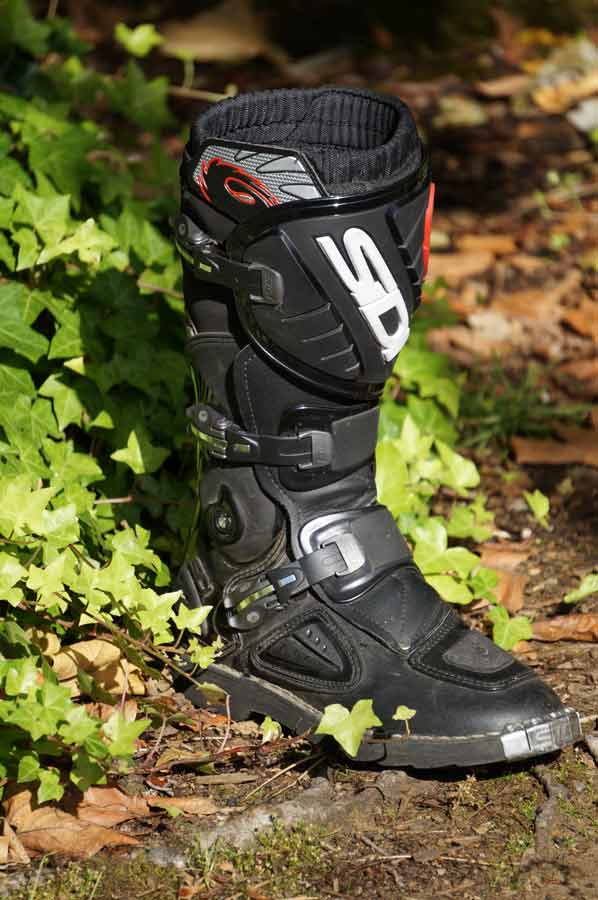 They’re constructed in two parts—a lower boot that the foot easily slides into, and an upper that wraps around the calf. The lower boot is joined to the upper by SIDI’s Flex System, allowing ankle movement to have an immediate “broken in” feel. The Flex System allows the rider to either stand or sit while riding, without excessive pressure in the front of the ankle. And for a field test, I climbed 300-plus steps at the Mt. St. Helens National Park in Washington where the Flex System worked as intended.


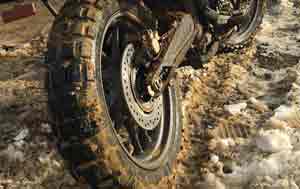
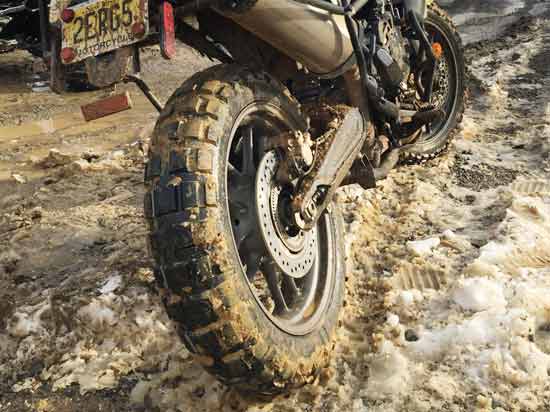
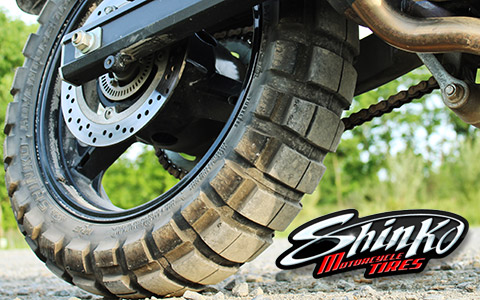
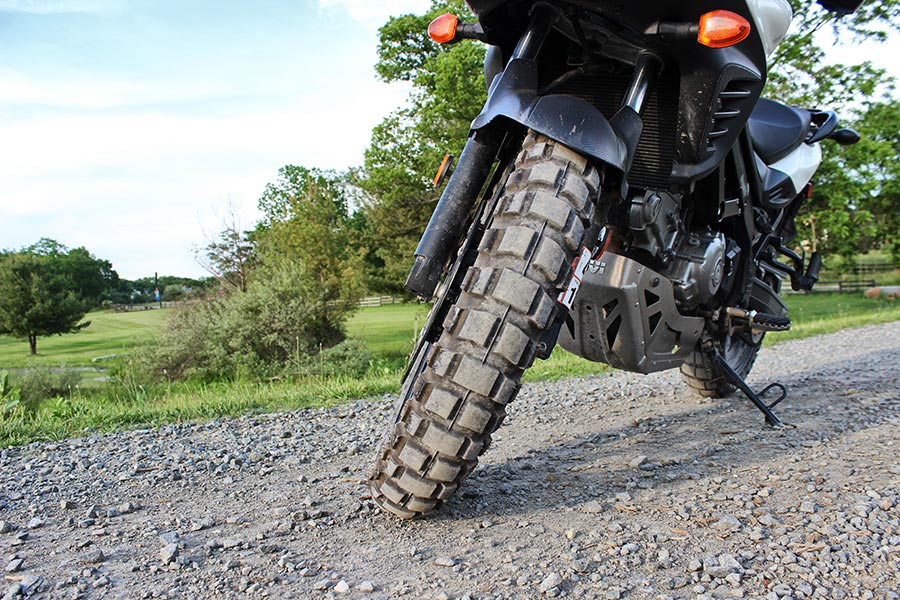
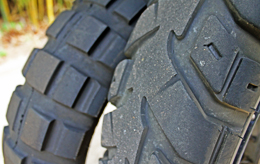
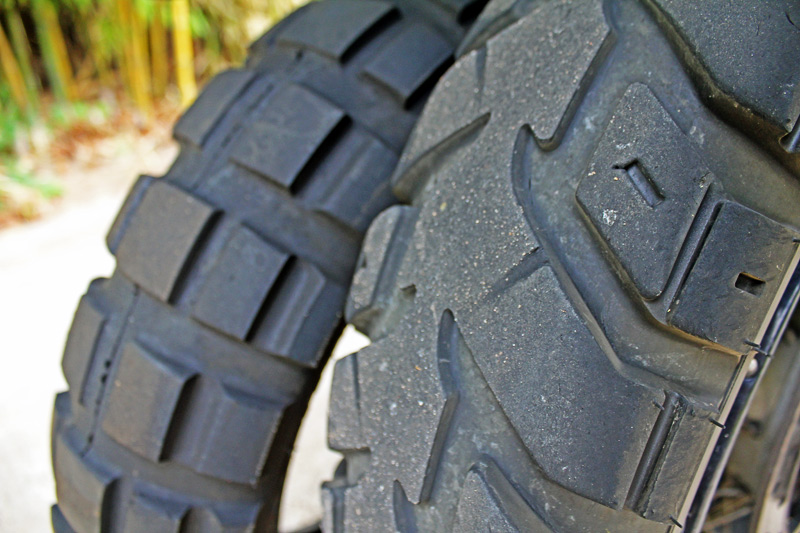
 Riding styles evolve. The purchase of a bike with better off-road capabilities, the addition of new friends who take you off your beaten track, or the experience of a particularly well run dual-sport ride, can significantly change what you’re asking from your tires.
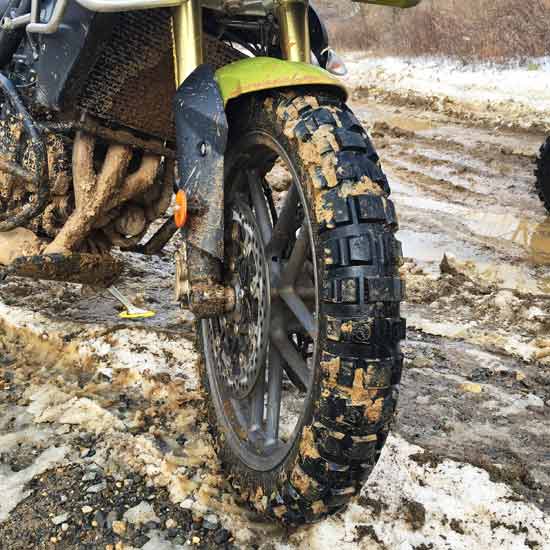

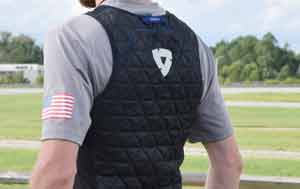
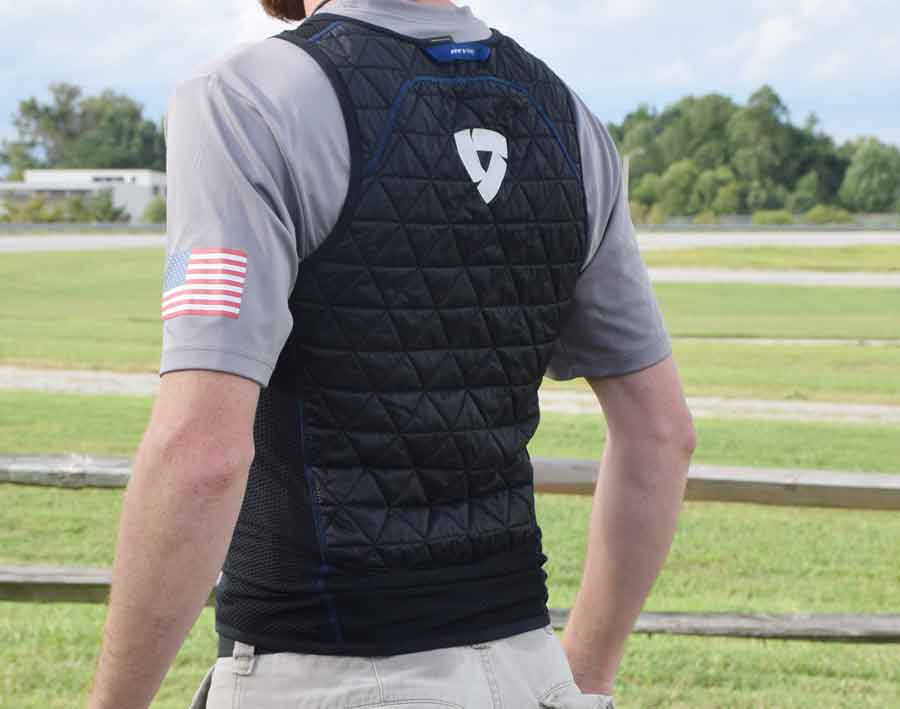
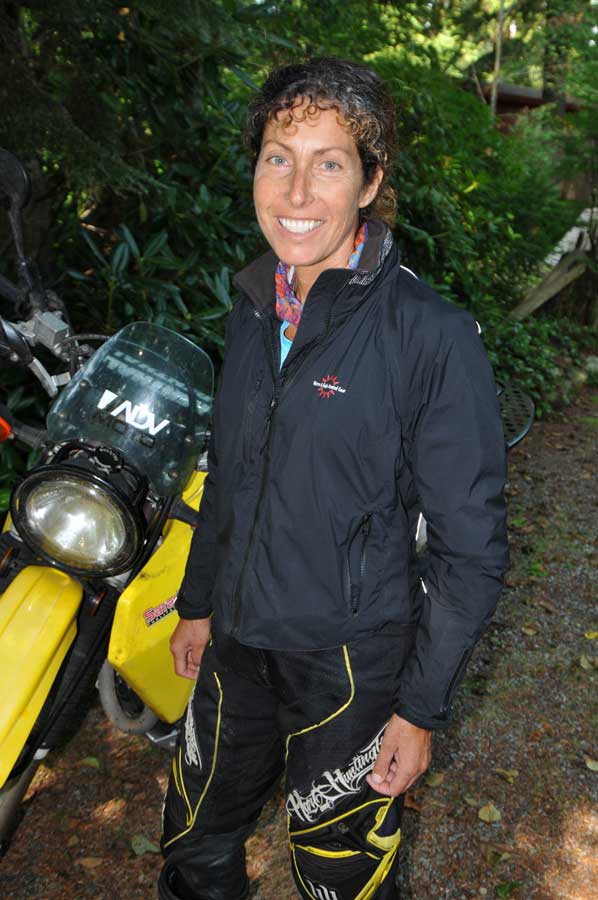 Warm & Safe is on the cutting edge of first-to-market superior electrically heated clothing for motorcyclists -- a pioneer approach to heated gear that caught my attention and now makes my kit more streamlined and efficient. Why is this one piece of heated gear worth its weight in gold? Because it can provide you with a lengthier riding season and the necessary warmth for quicker reaction times.
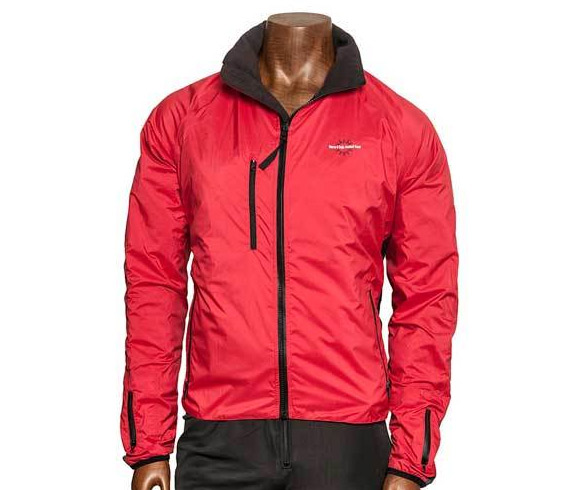

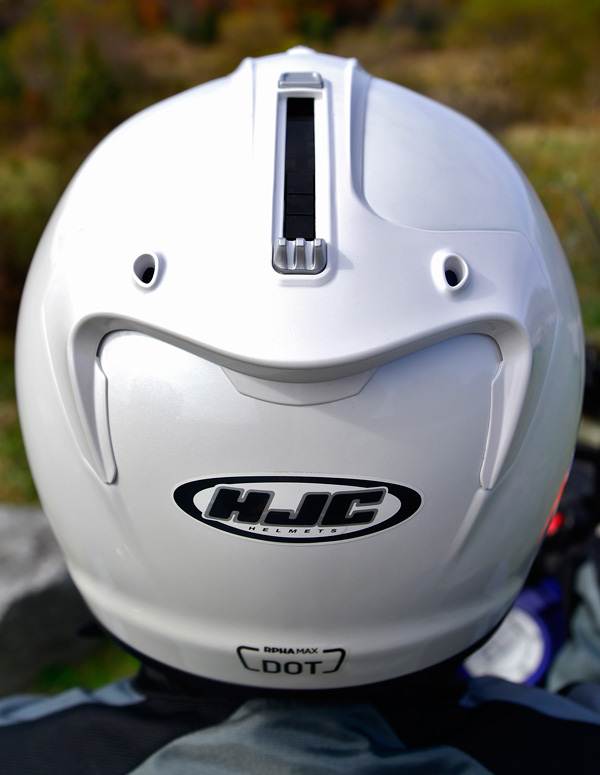 Right out of the box, there’s no doubt the craftsmanship and solid construction of the new RPHA MAX exceeds the SY-MAX III. HJC really went to town making sure the new triple composite (carbon fiber, aramid fiber and fiberglass) PIM shell technology, was up to snuff against the competition. The lightweight (1,600g or 3.5 lb), firm and beautifully molded exterior is finished off with a brilliant white pearl metallic paint. To add to the RPHA MAX’s safety and rigidity, they’ve incorporated a new 360 degree closing mechanism in the chin bar, as well as higher quality male locking posts near the cheeks, providing highly positive latching. Lifting the chin bar is an easy one hand “pinch and lift” job. The RPHA MAX’s new shape and construction tally up to the quietest modular helmet ever made by HJC and we’d say just as silent as higher priced units. Inside, the one piece removable liner’s quick dry fabrics feel silky smooth when sliding it over your noggin and remain comfortable regardless of how much sweating goes on inside the helmet—which is unfortunately a fair amount.
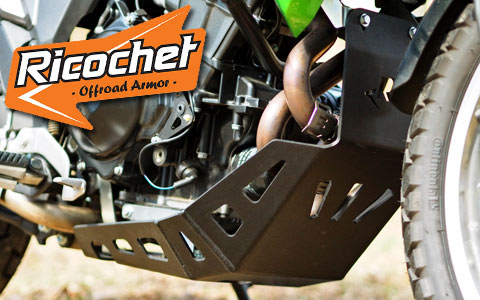


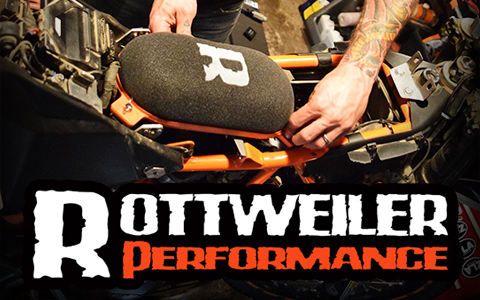
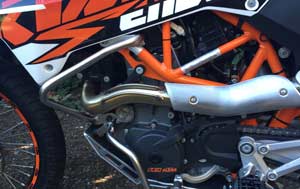
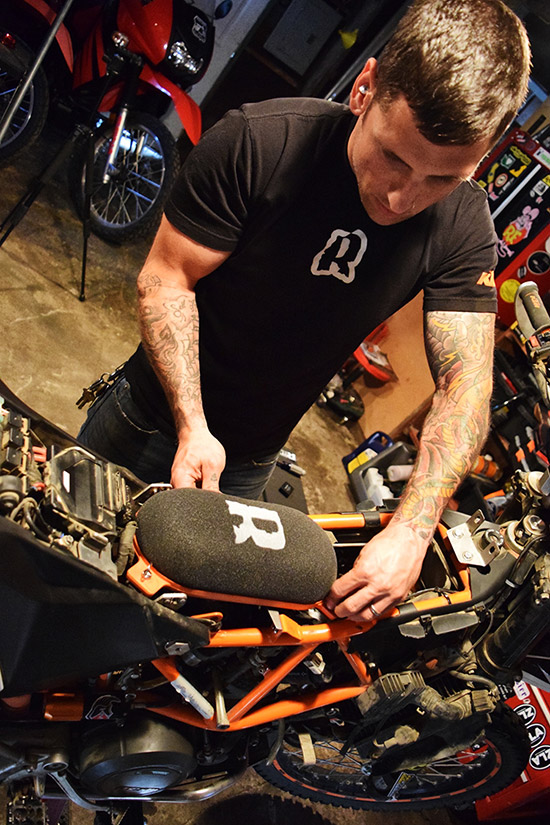 Rottweiler Performance specializes in air intakes for KTMs and has developed a reputation as the one-stop shop for both practical and performance modifications. They are tireless with their research and development on new models while continuing to produce functional fixes and aftermarket parts support for even earlier model KTMs. When it comes to the air your KTM breathes, Rottweiler Performance has you covered.
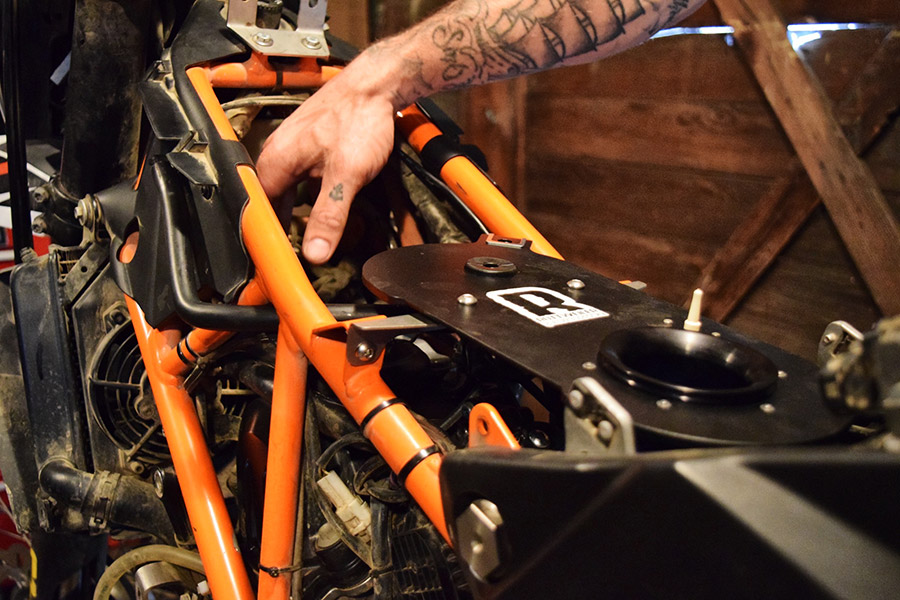

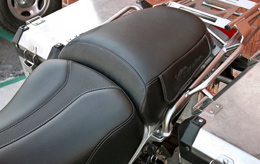
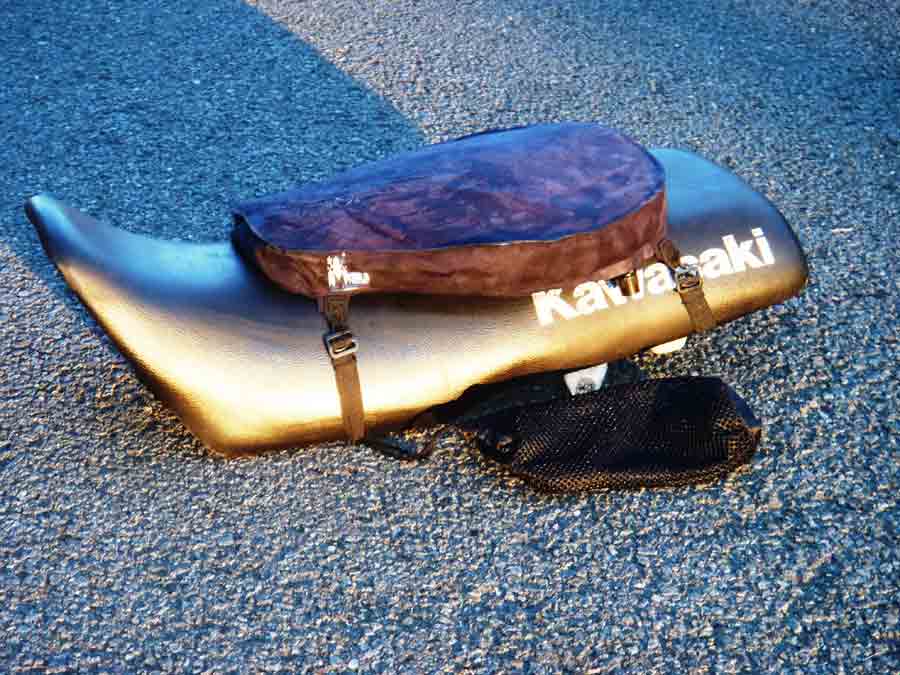
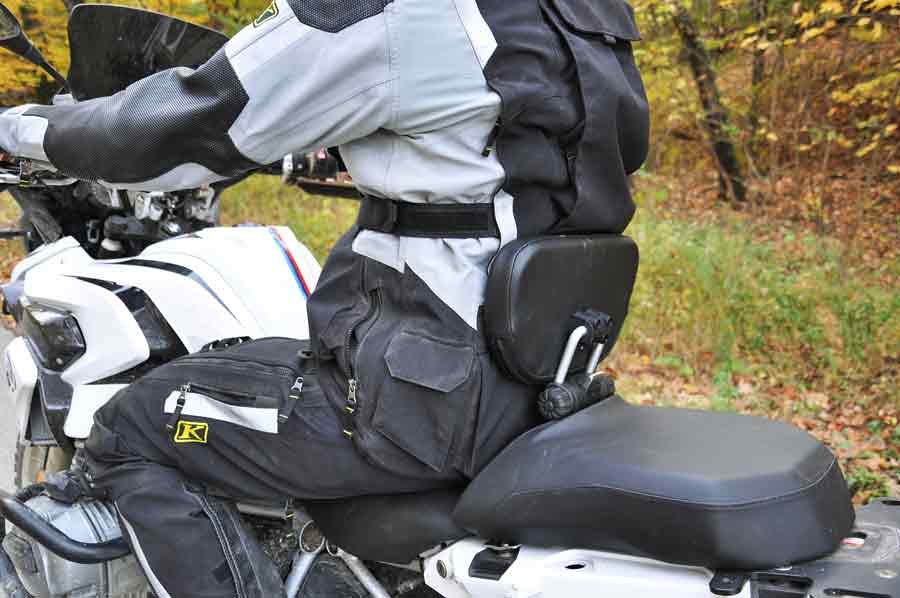
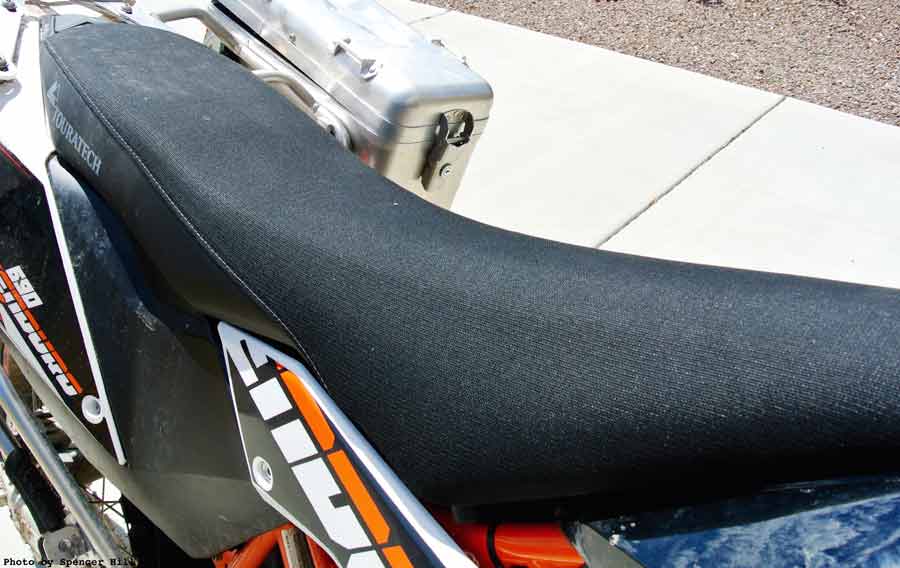
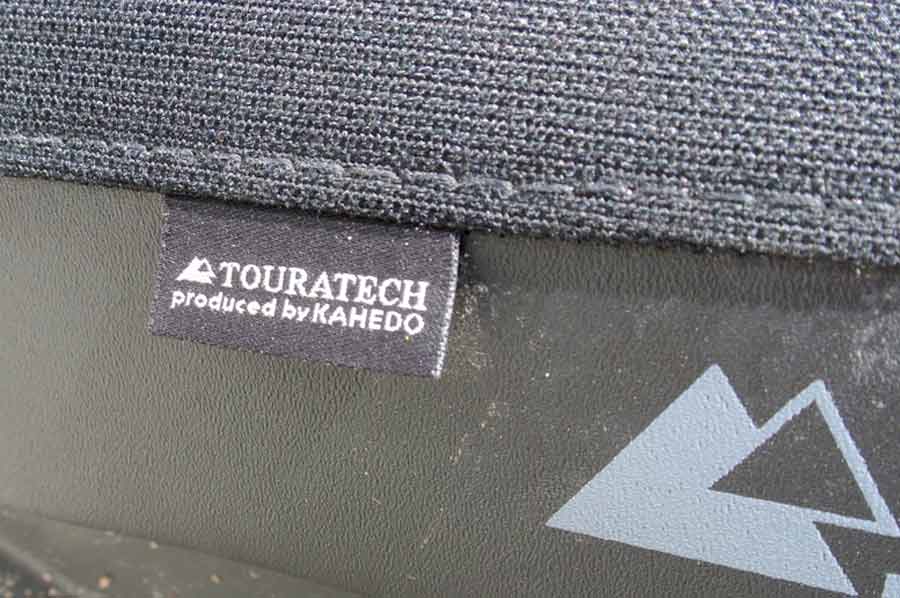
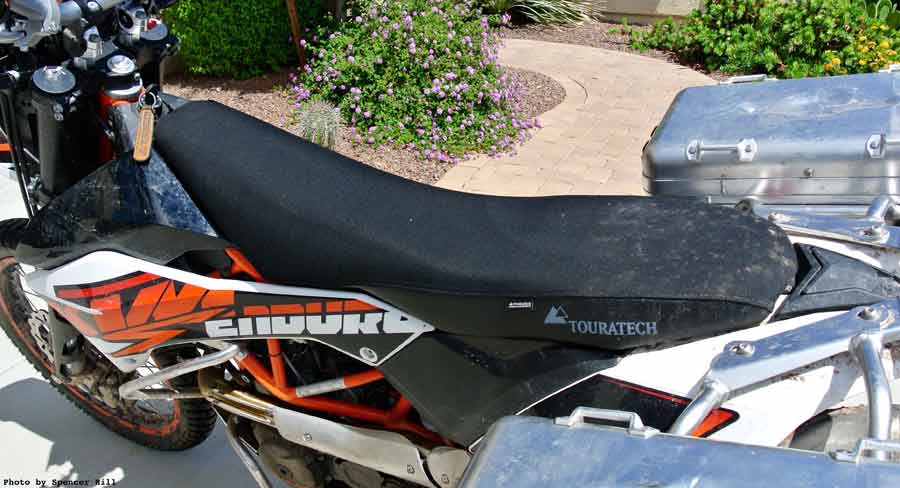
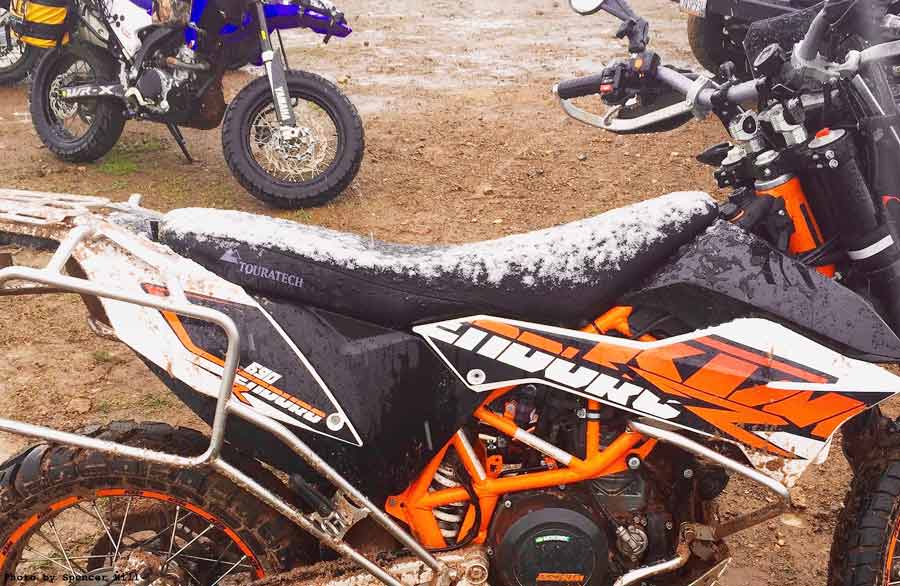
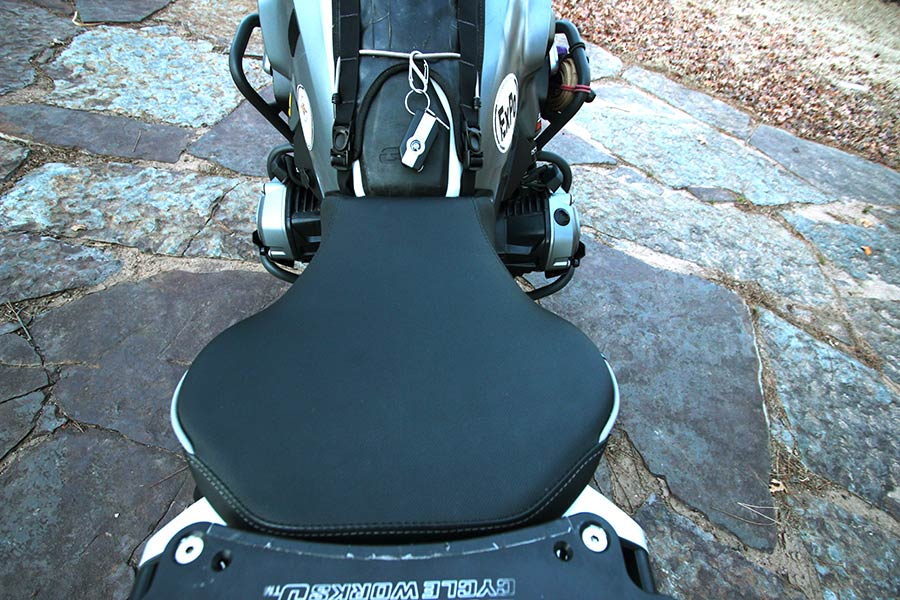
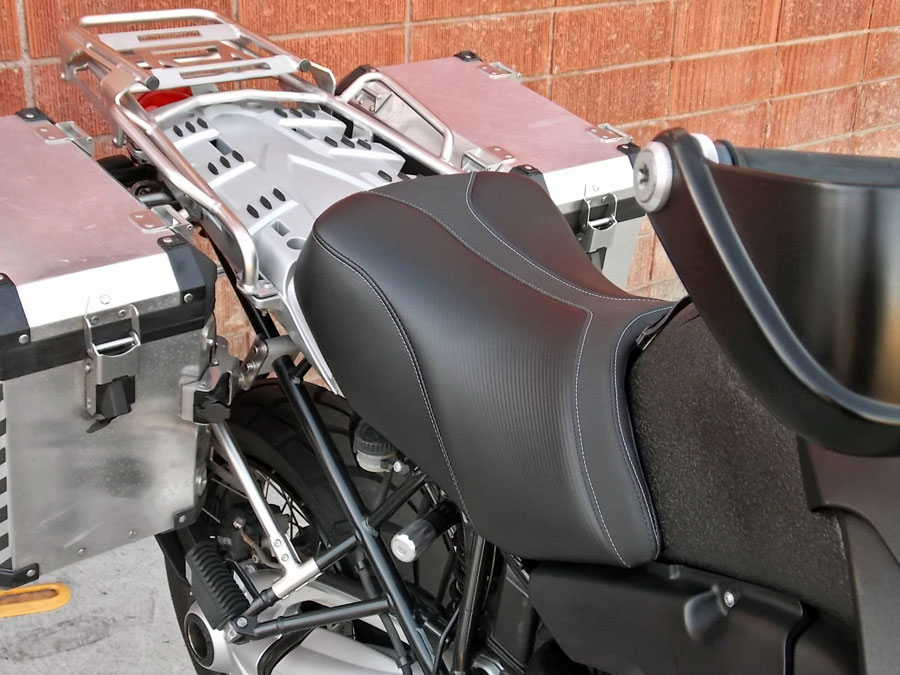 At one time or another most of us end up experimenting with different seat styles, especially if you’re a long-hauler spending weeks or months of day after day in the saddle. There’s a dizzying array of choices out there—everything from DIY reskinning of seat pans to full-blown plush upgrades. Nevertheless, given the myriad of upgrades and bolt-ons available, is the investment in a better seat warranted, or should the money go elsewhere?
 Seat contours are another matter, not just for fit, but also for practicality. Almost every manufacturer has their own take (or multiple takes) on saddle forms and shapes. However, the couch-like design preferred by so many long-distance Wing and Harley riders isn’t an option for adventure riders. It’s a tricky compromise, especially because a mixture of sitting and standing are very much a part of the genre. The Adventure Tour is sculpted so that the thighs are free while sitting, and provides plenty of leg-shifting room with minimal contact while standing.
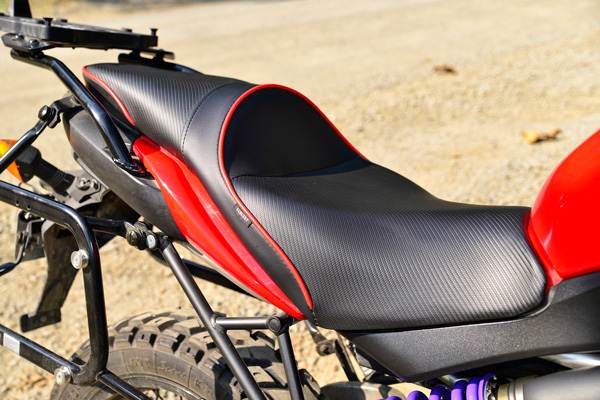 Few farkle decisions are as much of a pain in the butt as saddle upgrades. Until now, the range of available options for adventure bikes was rather slim. Every year more custom saddle makers dot the horizon, each offering their own versions of saddle-sore salvation. Most of them will re-skin your existing seat pan, and while this makes for a very cost-effective solution, downtime and lack of a fallback stock saddle when you’re done will deter some. The only other option is to buy a saddle from a company that makes their own seat pans, although this route is often more expensive.
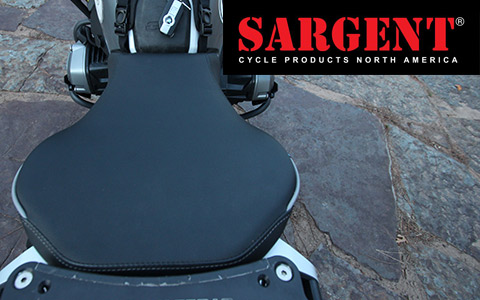


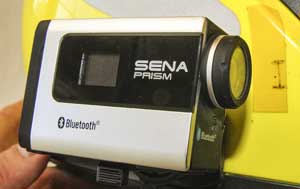

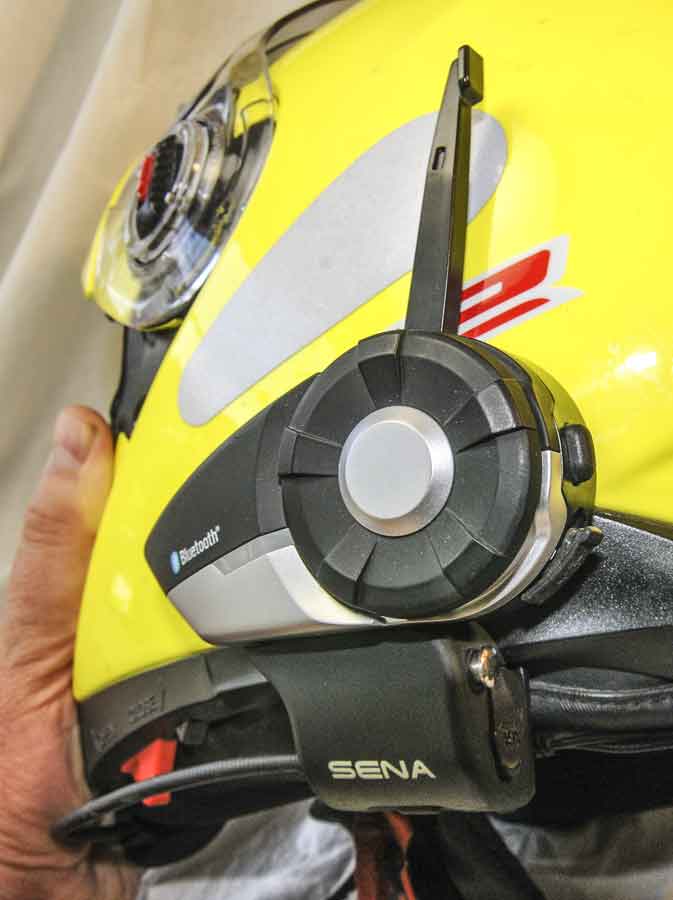


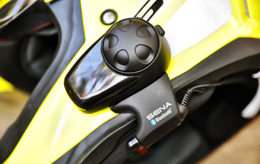
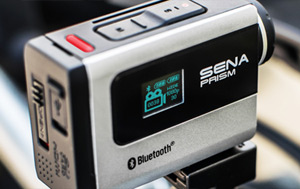
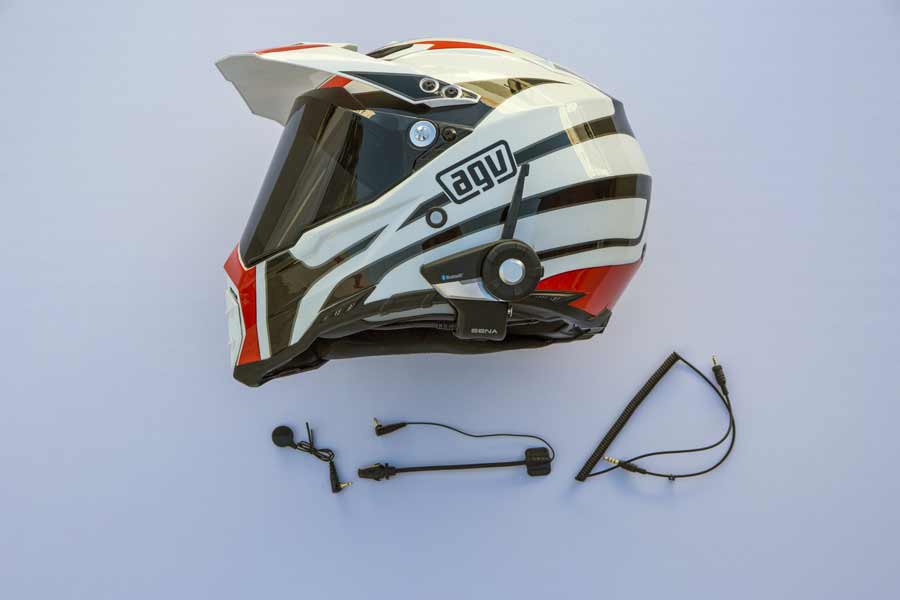
 We’ve been testing a pair of Sena SMH10 units for the last few months. Whether you’re already using an intercom or considering it, there are several solid reasons to acquire these Bluetooth 3.0-based devices for interconnectivity with a navi, listening to iPod/MP3 players, communicating with a riding partner(s), or as an interface to cell/smart phones.
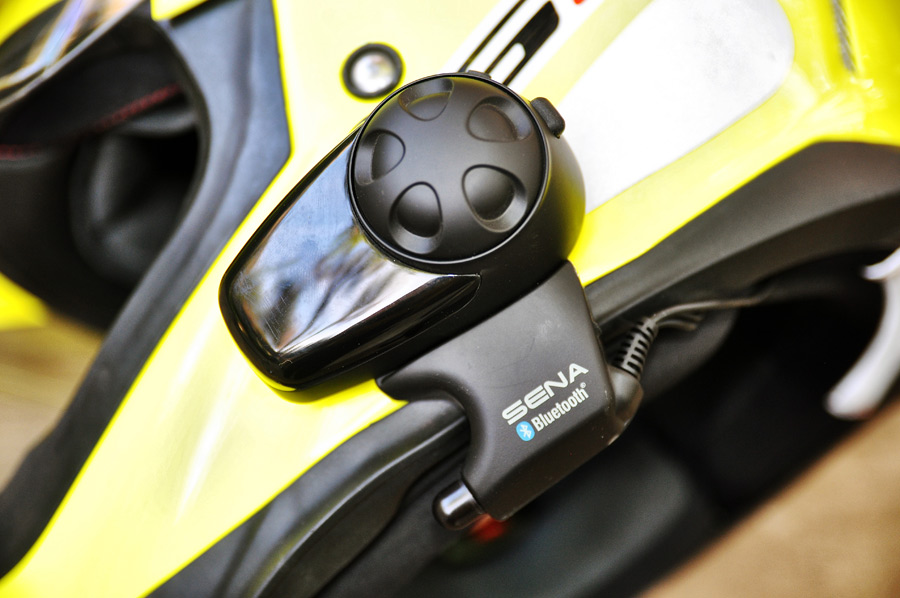 The package contains components that ensure the units will attach to most helmets. There are two microphones, a boom-style for open-face or flip-front helmets, and a small alternative wired mic that can be more permanently attached within the helmet. For full-face helmets, I prefer this method because it’s more “set it and forget it.” But you’ll need to pay particular attention to where the microphone is attached to minimize wind/road noise.
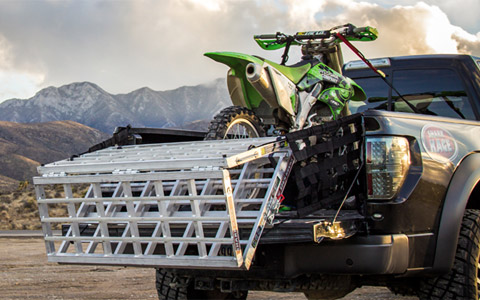
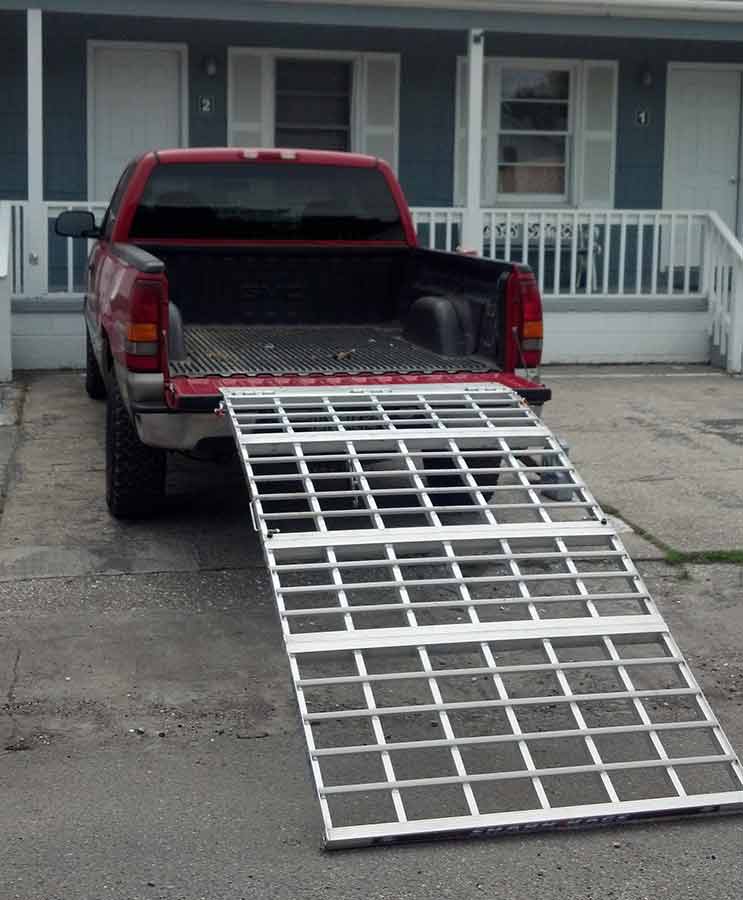 When I got the Shark Kage truck ramp my first impression was that it was big, bulky and would take up a bunch of bed space. I was wrong, but that's a bit ahead of the game. The heavy duty aluminum loading ramp is intended to provide added safety when loading a motorcycle into a truck bed by attaching to the tailgate. But let's get to the install. The directions are clear, well laid out and very easy to follow. I opted to take my measurements three or four times before drilling, a good general rule simply because incorrectly drilling into a tailgate is permanent.
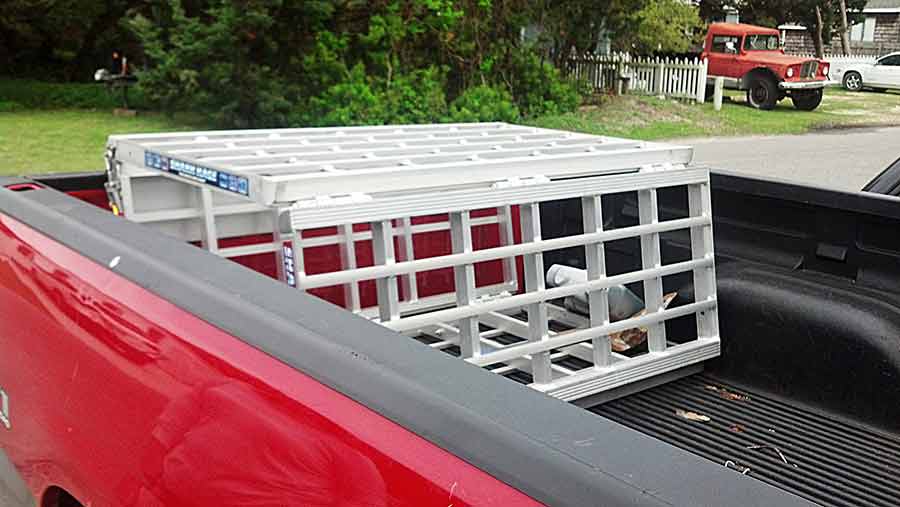


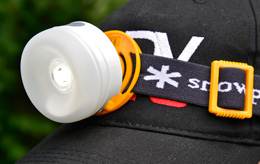
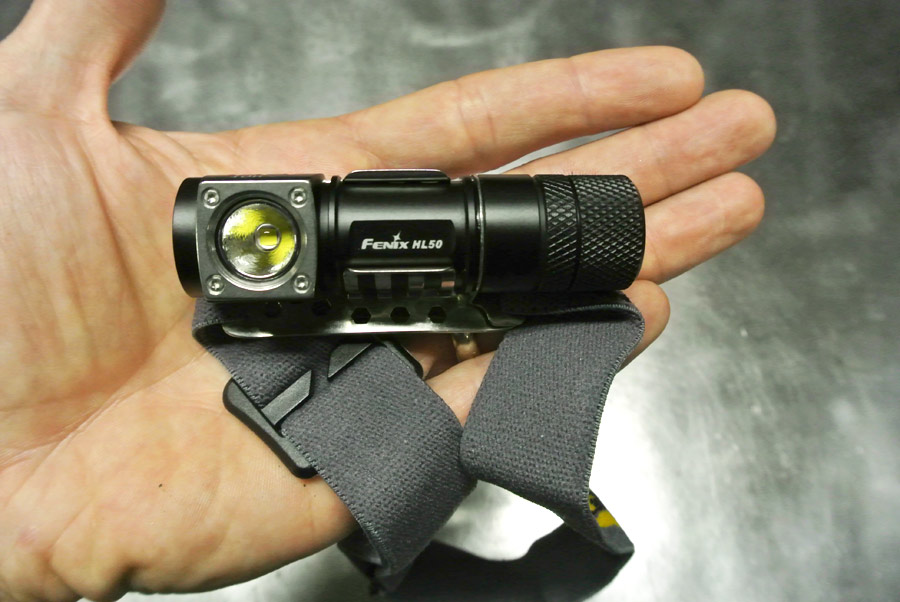
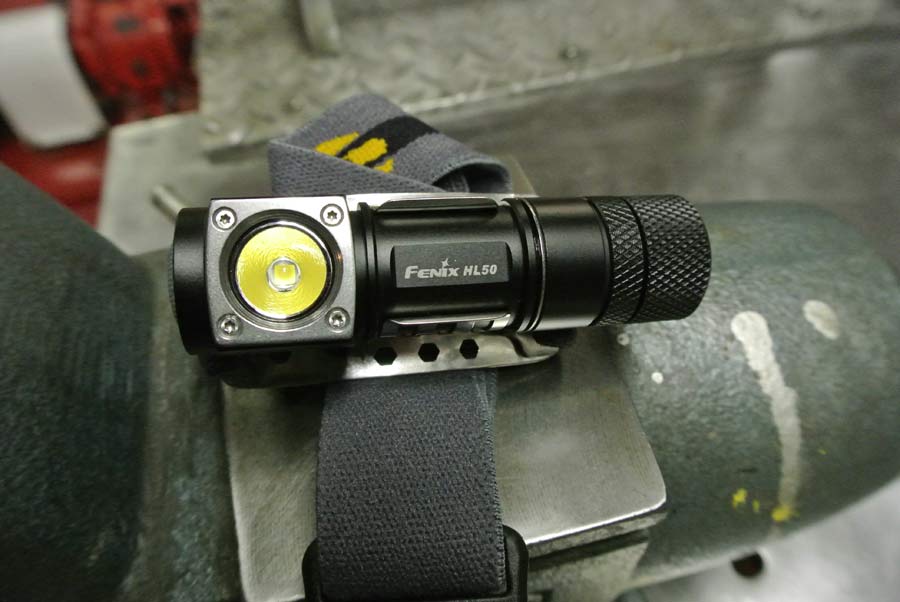
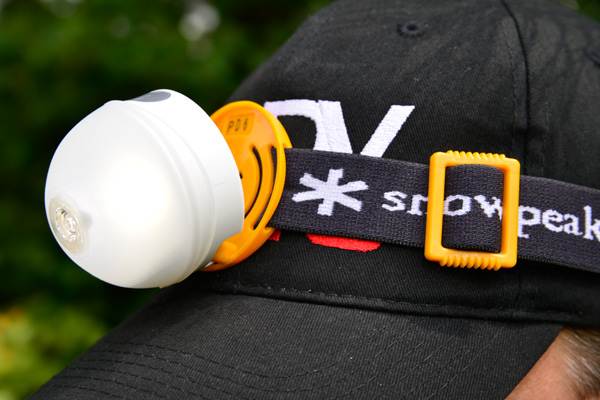 When traveling light, getting multiple usages from your gear is important. The Snow Peak SnowMinor headlamp and lantern design is great for those who spend a good amount of time in tents or are active outdoors at night. An expandable white silicone rubber diffusor changes the SnowMiner’s light pattern, depending on position, and is the core of its unique design. In the headlamp position, a small plastic lens, situated in the center of the hemisphere-shaped diffusor, magnetically sticks a plastic lens to the main LED which focuses its 80 lumen output, in a usable beam, good for 30–40 meters in clear conditions.
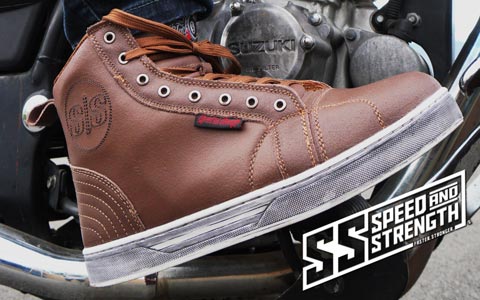


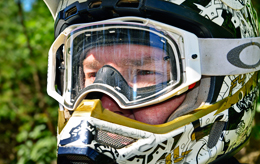
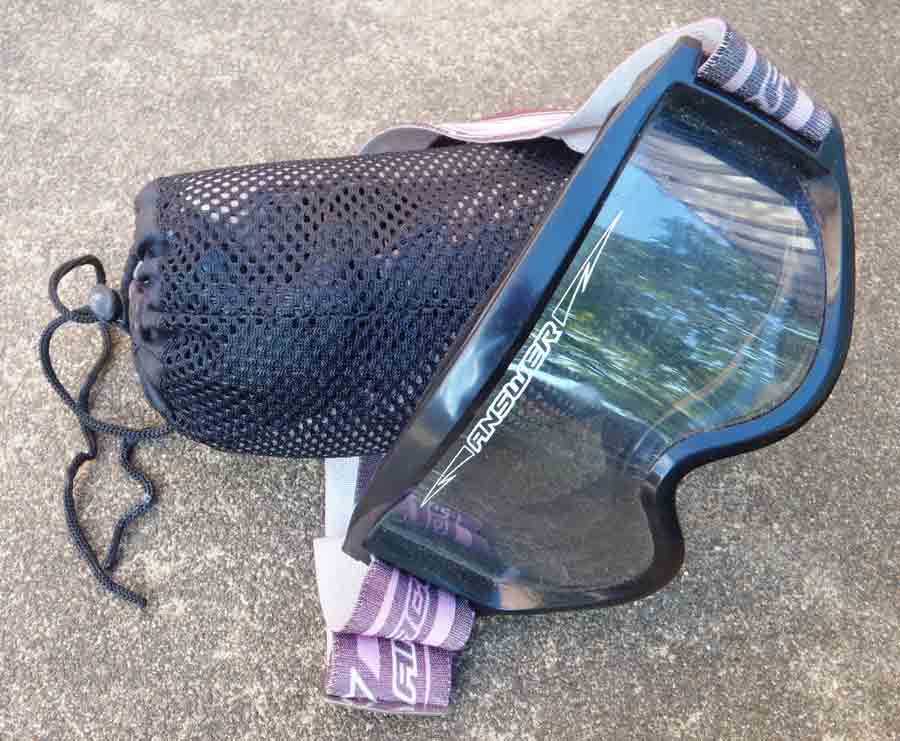
 It seems that goggle manufacturers these days are always trying to one up each other. I’m sure you remember when $20 got you a decent pair… but not these days. Top of the line goggles now reach into the triple digits. So, why would somebody pay $160 for a set of goggles? I know it would have been a difficult decision for me—until I tested Oakley’s “Airbrake” units.


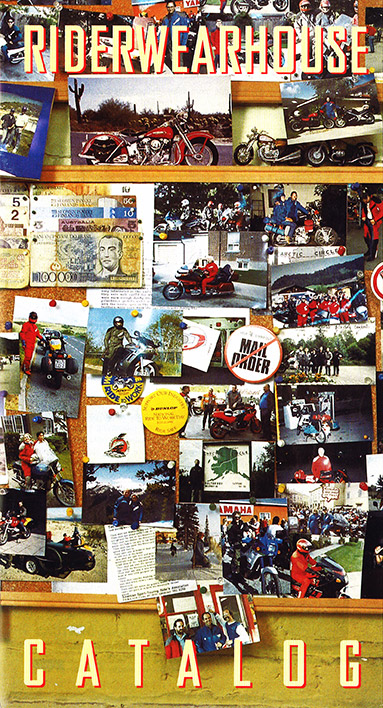 On the ADV industry stage, some players have been around longer than others. Many of us who’ve been riding for more than 10 years remember the days before the internet dominated retail shopping and catalogs still ruled the roost. We kept them for wish lists and passed them around for discussions about the latest gear and gadgetry.
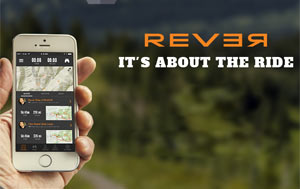
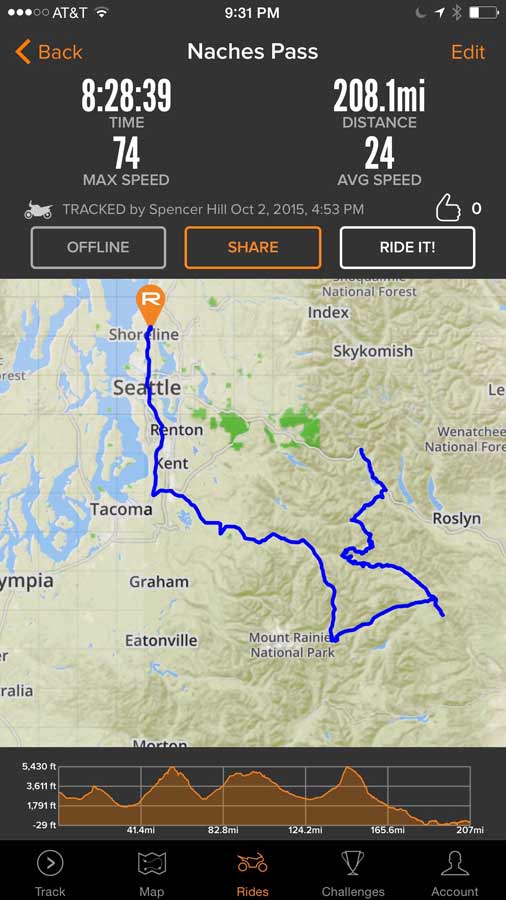 One part Butler Maps, one part interactive ride tracking; the Rever app solves problems that you never knew you had. It allows you to plan a ride on your computer utilizing Butler Maps, track that ride and then share it with friends/fellow riders. Keep tabs on your epic adventures (or trips to Starbucks) and then share them later via social media or in the Rever online user community.


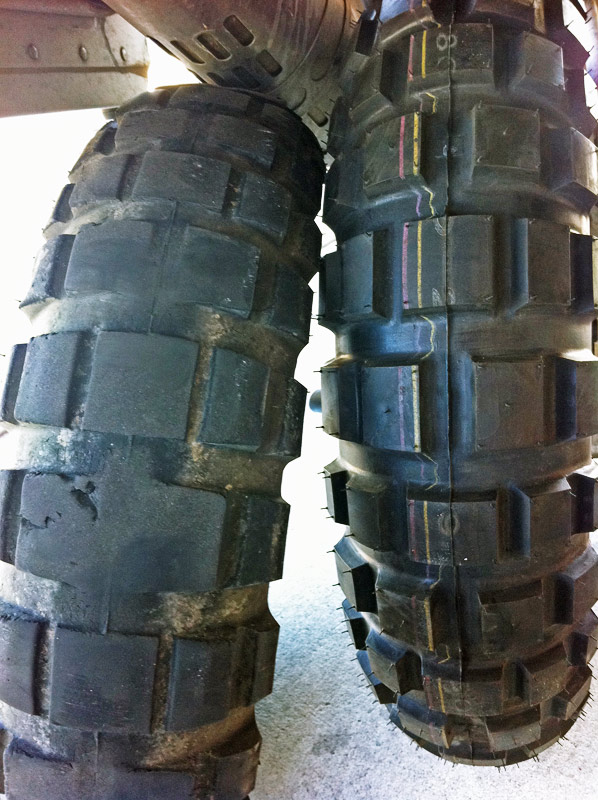
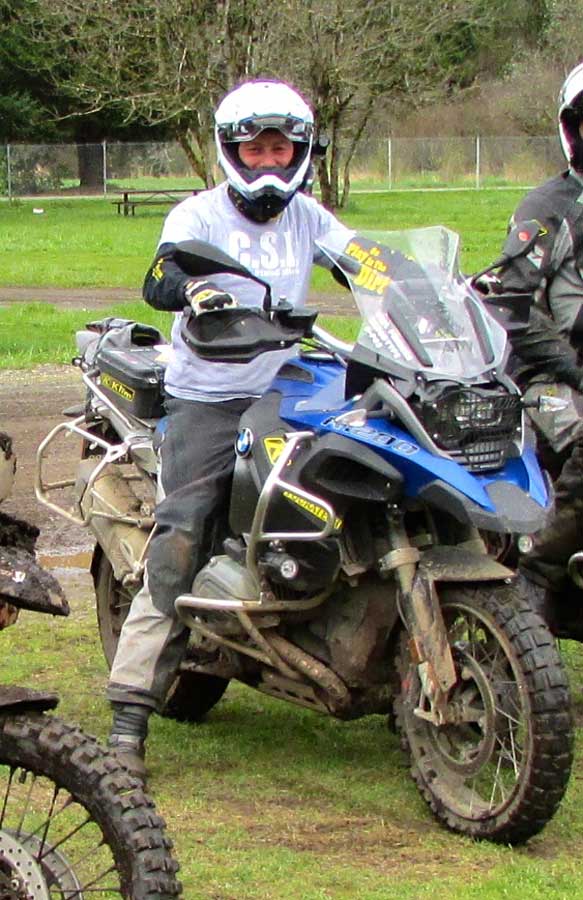
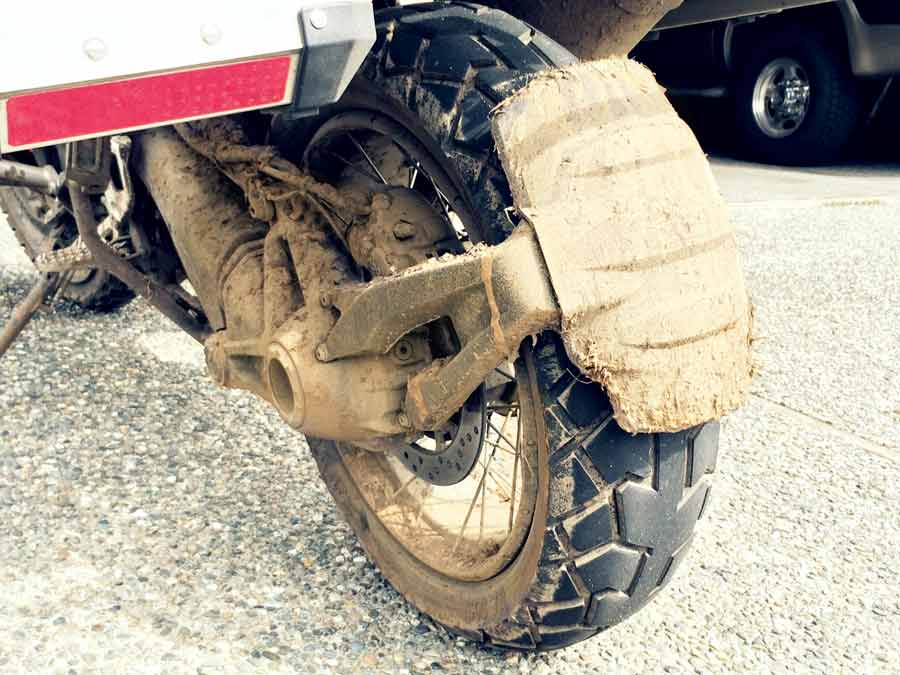
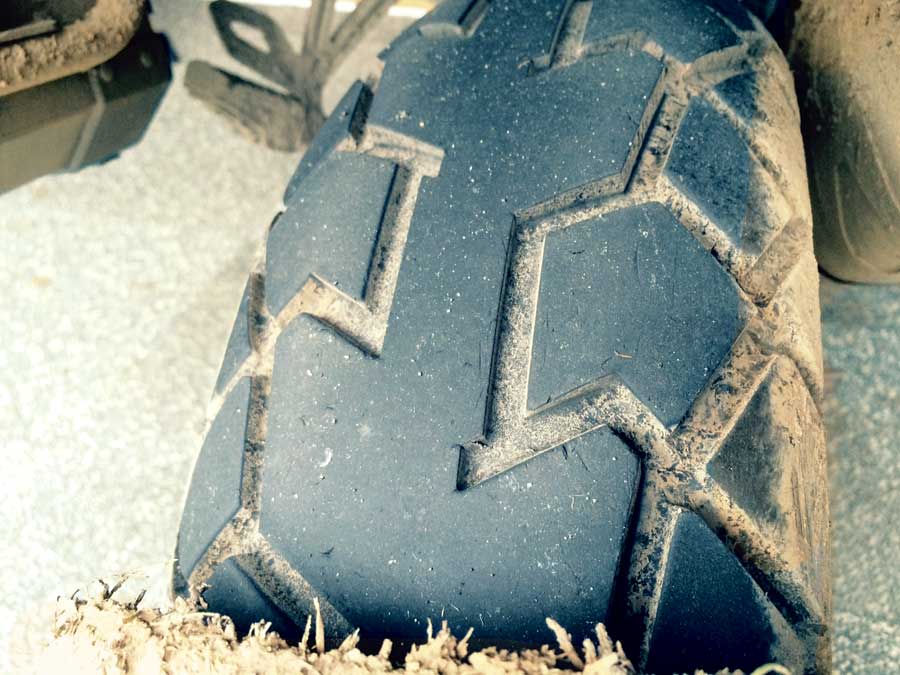
 What about wear? Do they last as well as reported? You bet. This is where the Scouts really shine. Heidenaus start life with 10.86 mm rear tread to the Continental’s 10.5. Fronts have 7.75 to the Conti’s 8.3. After more than 5,000 miles my new Heidenaus are less than half worn-out. Front tread depth still exceeds 6mm and rear is almost 7. Essentially, the front is hardly worn and the rear still has at least 50% usable life remaining.


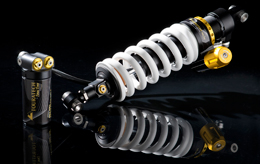
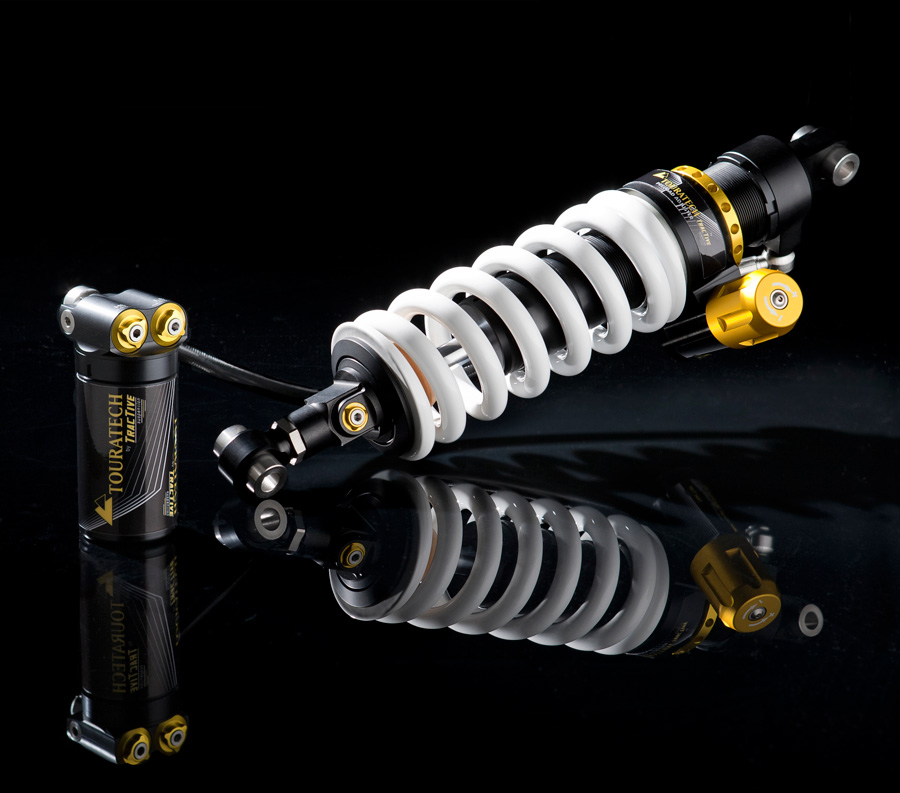 Best described as a durability tester, I’m very talented at finding product limitations (code for “I break things”). With 26k on my F800GS, living a life of hard and fast, heavily loaded ADV riding, I had already worn out the OEM shock and experienced two catastrophic shock failures (three in total). Both catastrophic failures left the bottom of my GS coated in shock oil. It was evident that I needed the most extreme shock I could find to help the wallowing GS!
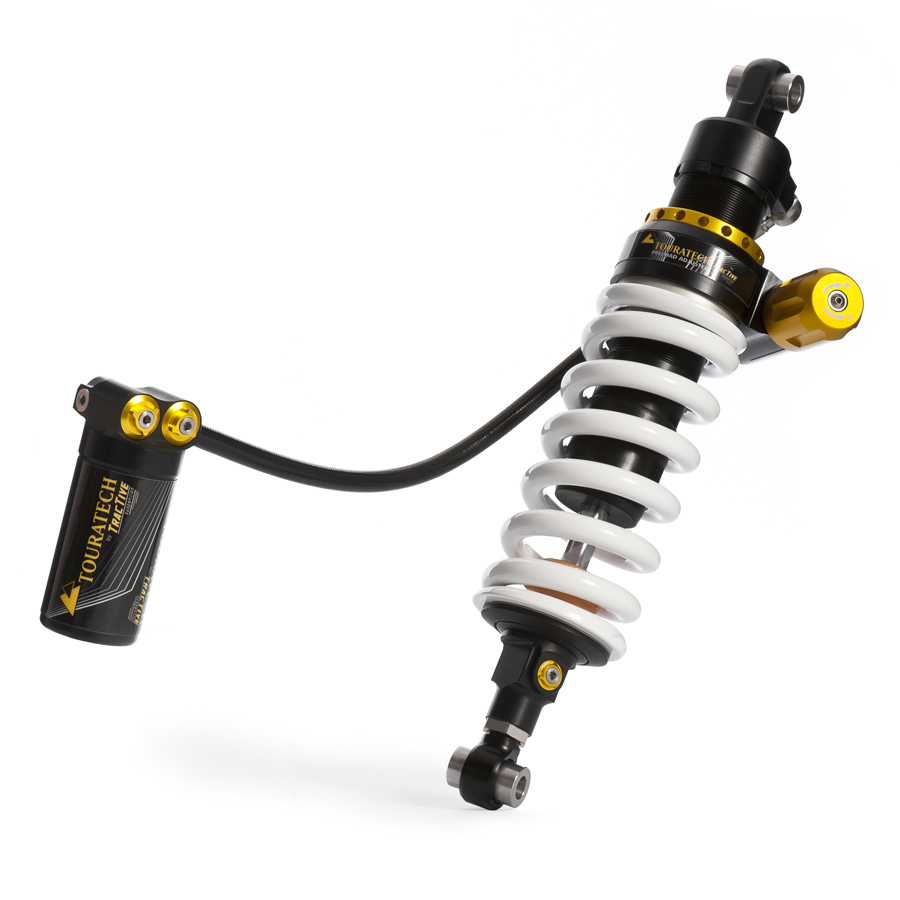 Installation was a breeze, and with the ride height maxed out I had more skid plate clearance than a stock KTM 990! Like most rides I started on the street and felt a noticeable improvement in performance right out of the box without any adjustments. The improvement was consistent when the road turned to dirt.


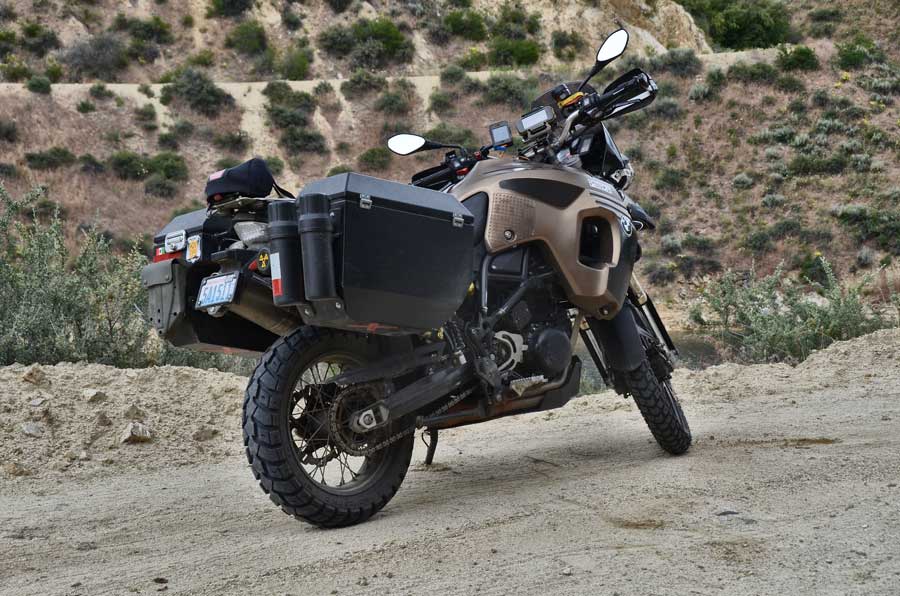
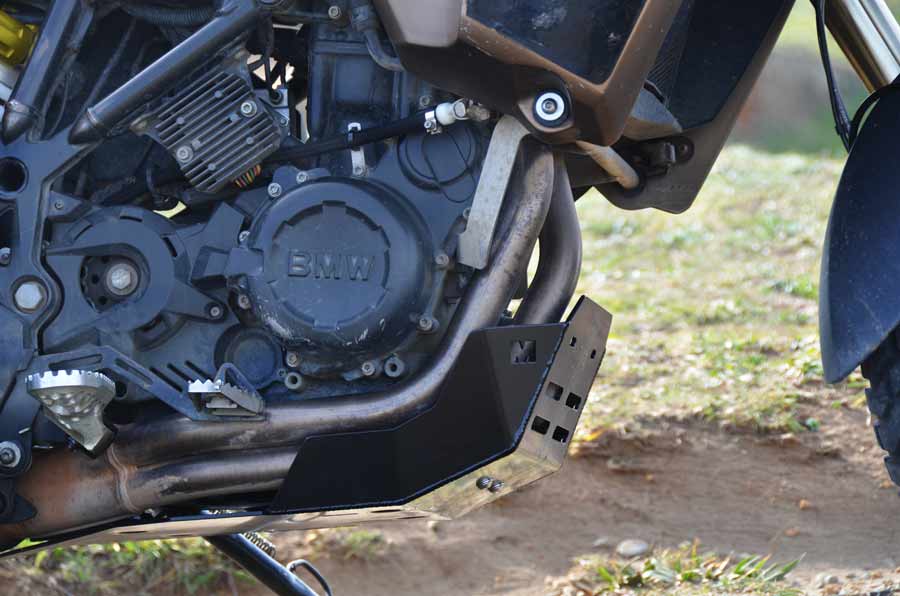
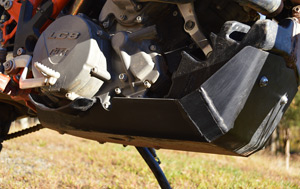
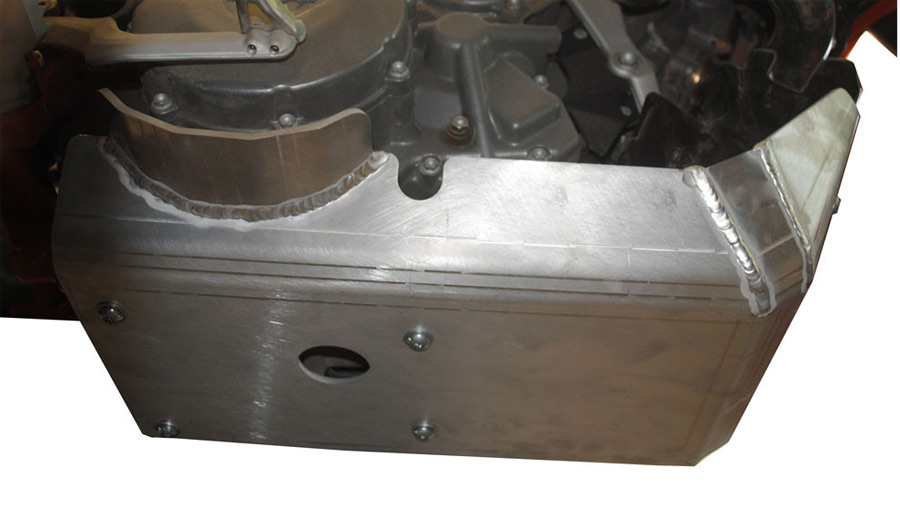
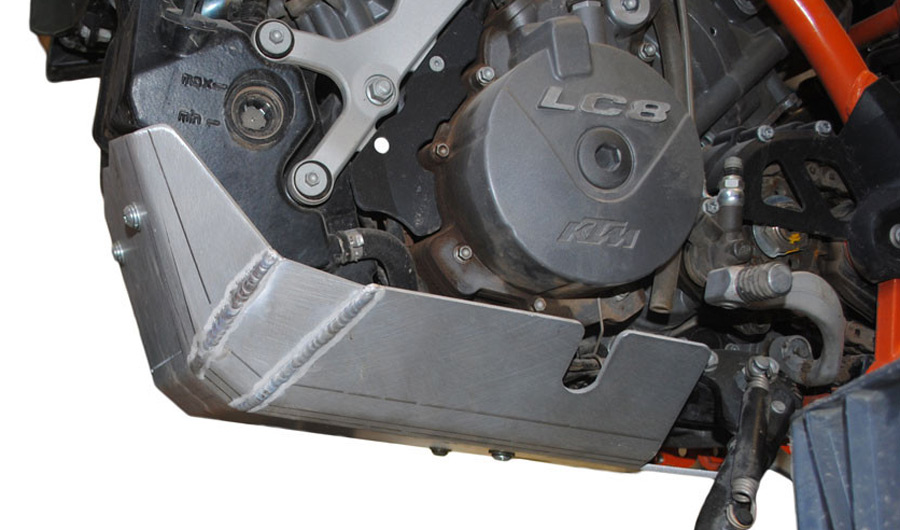
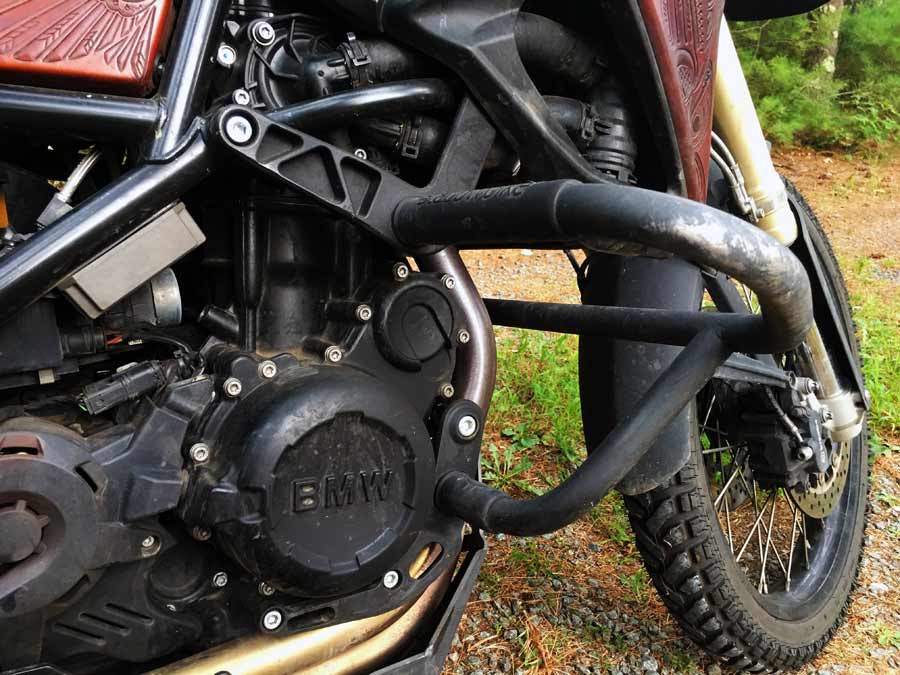
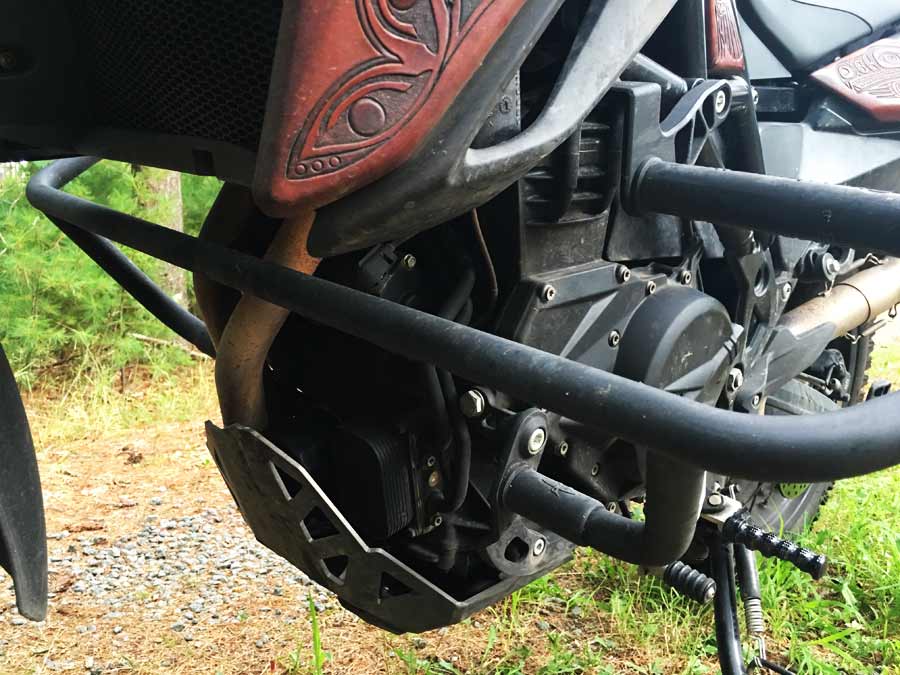
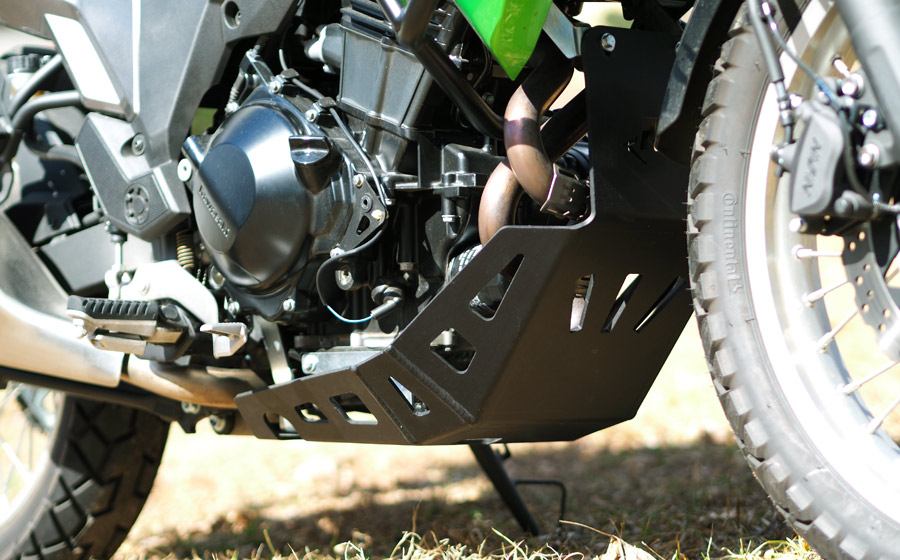
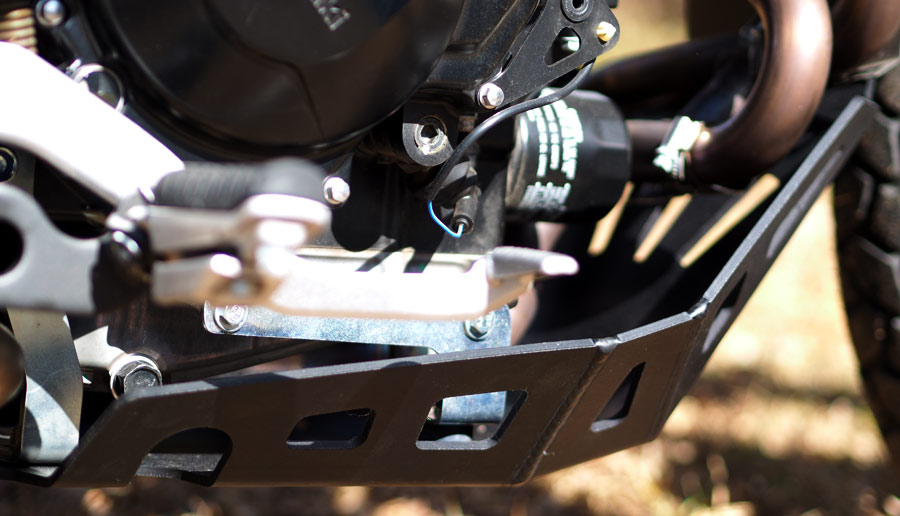
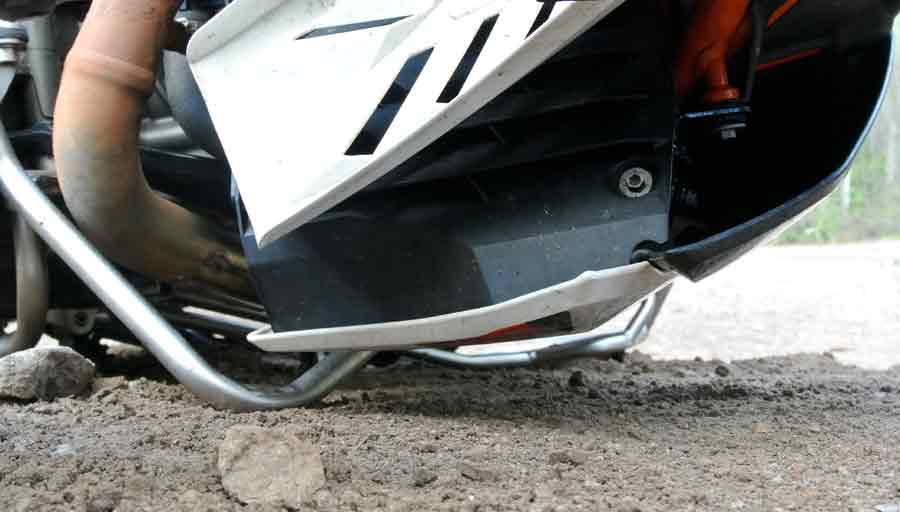
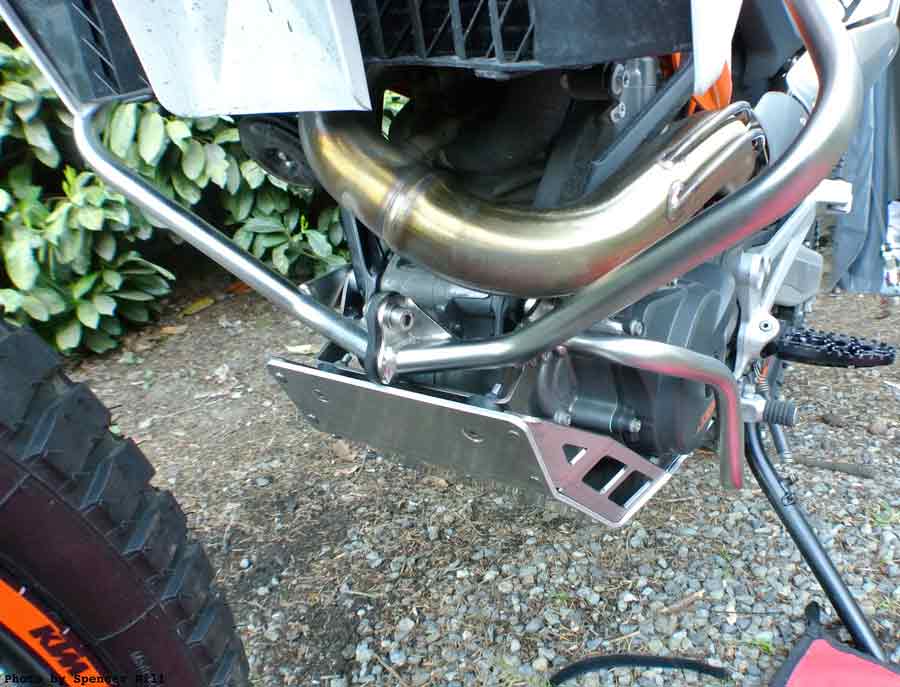
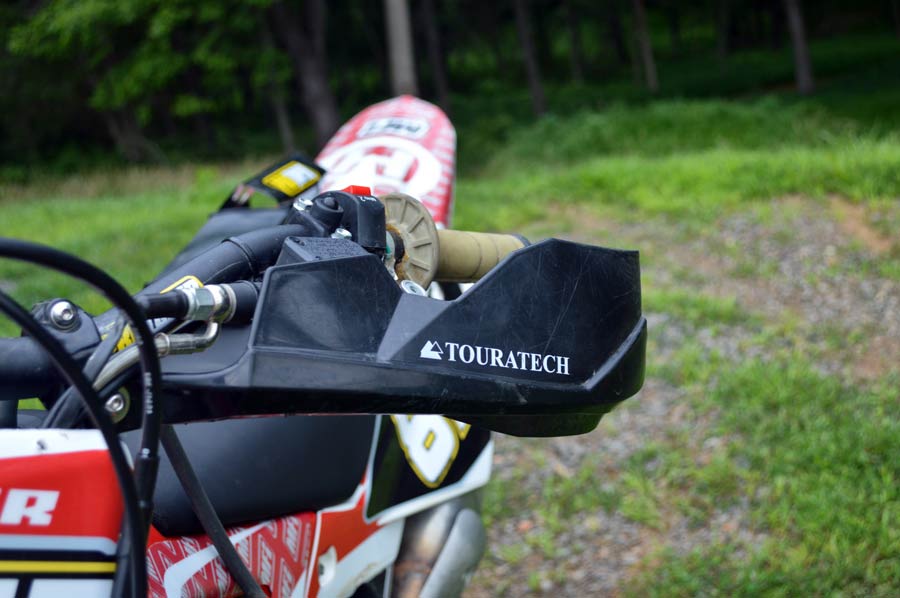
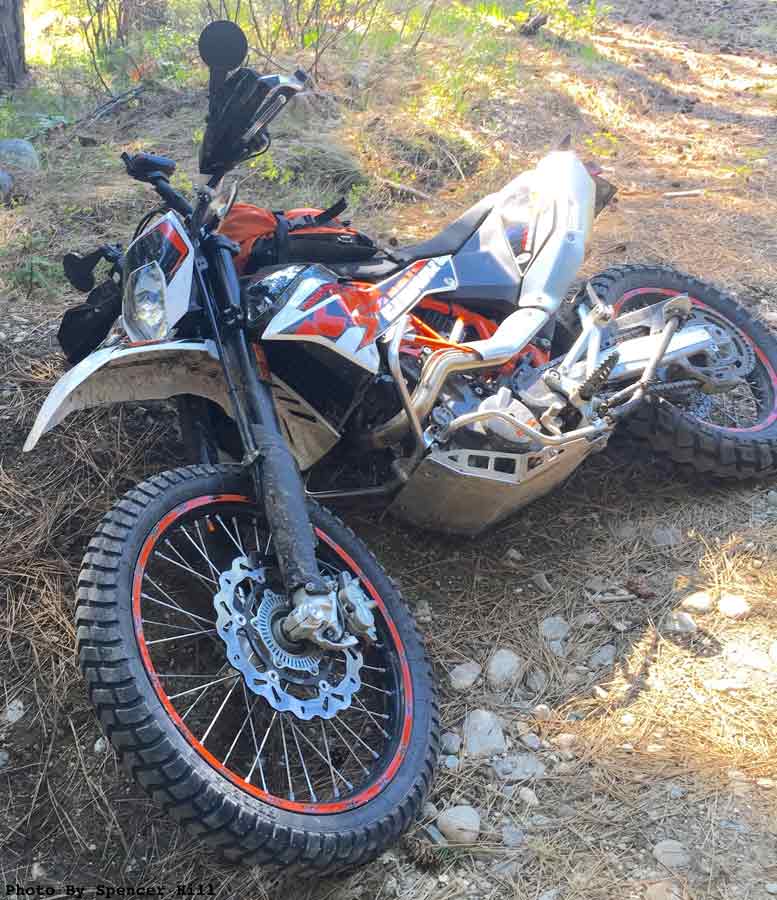 One of the first things I like to add to any new motorcycle is heavy-duty crash bars and a robust skid plate. I believe it's better to have protection and not need it then need it and not have it. A well protected motorcycle allows me to use it how it was intended, without worrying about inflicting serious damage.
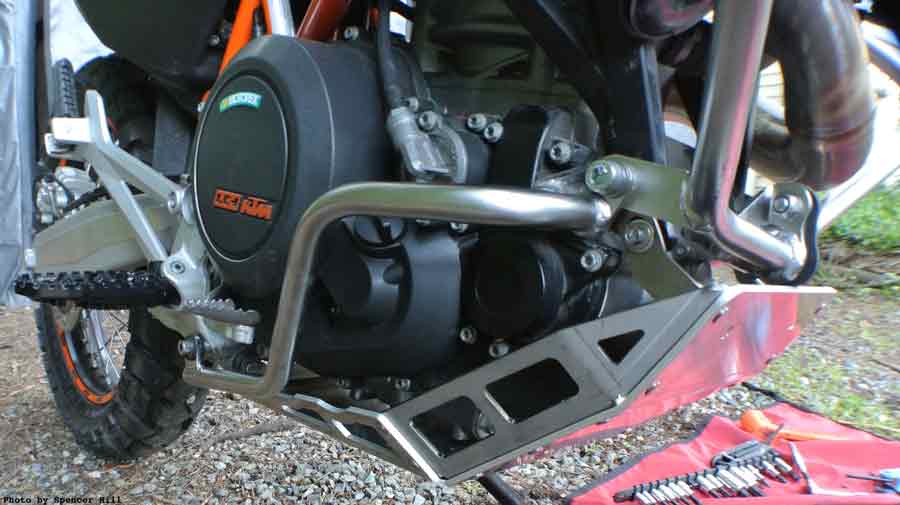
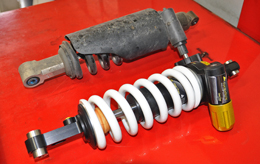
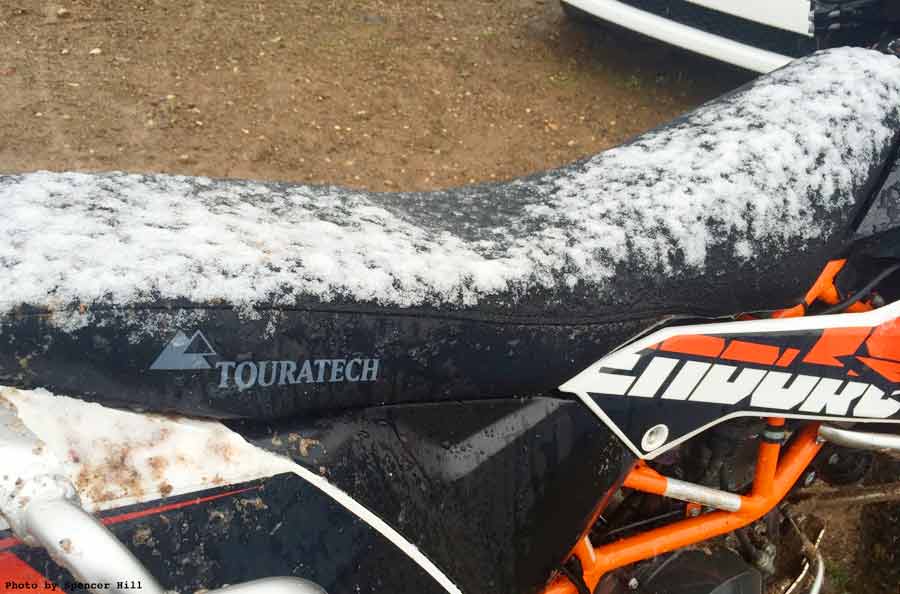
 Considering the punishment adventure bikes receive, it’s astonishing there hasn’t been more attention given to one of their weakest links—suspension. The sheer mechanical stresses a typical adventurized motorcycle is subject to virtually guarantee suspension failure at some point. There are also the dangerous riding conditions created by under-built mushy shocks or springs. Even models supposedly constructed for adventuring typically suffer from under-engineering in this area. Looking over manufacturers’ specifications one often finds mind-numbingly obvious conflicts such as “maximum luggage capacity of 15 lbs.” Er... why?!
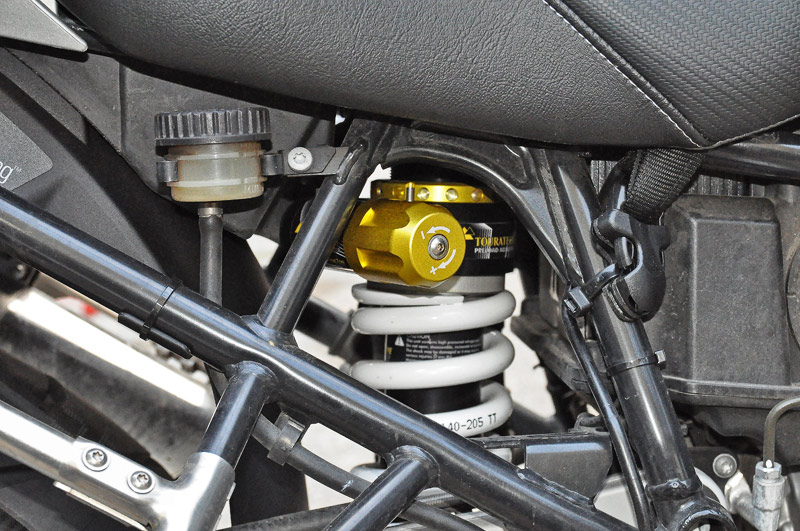 One of the big surprises to the upgrade was how well the bike now carves through long, sweeping bends. Intentionally overloading the ol’ mule barely makes it feel different. Other than the rearward weight itself, there are no notable suspension-related issues. Essentially, Touratech’s concept of “overbuilding” should conform to just about anything a rider can throw at it. And, keep in mind, I’ve been riding with the relatively “tame” version of their new line. Based on these experiences I reckon that their “Extreme” shocks would be impossible to kill, even under the craziest offroad conditions.


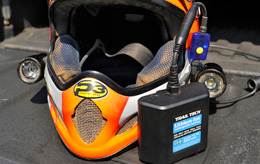
 Racing a motorcycle at night is just crazy for most people. The ADVMototesting crew must be crazy then, because that’s what we did to test out Trail Tech’s35mm dual light helmet kit at the famed Perry Mountain 24 Hour Challenge in Maplesville, Alabama. If you have ever thought about doing a 24 hour race or ride a lot at night, getting some lamps on your helmet is something to consider.